Users can divide each project into multiple stages as long as it matches the steps which the project has to go through.
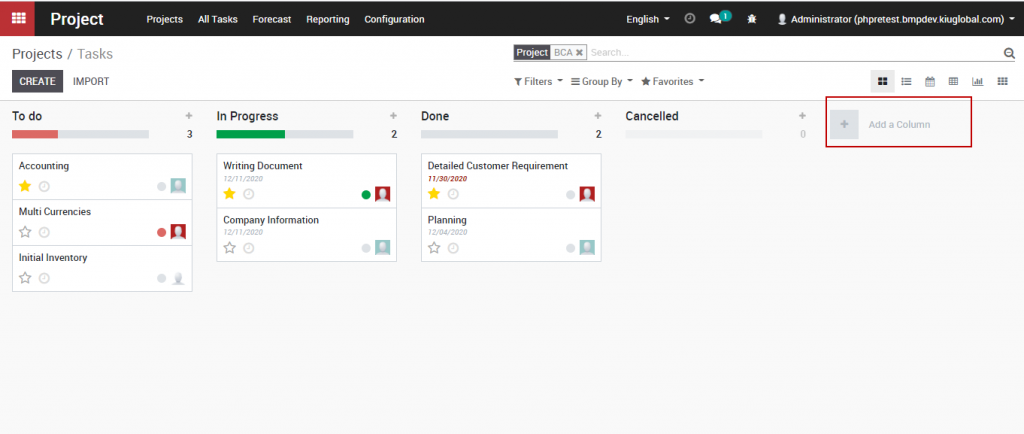
From the Kanban view of the project, users can click on [Add a column] button to create new stages
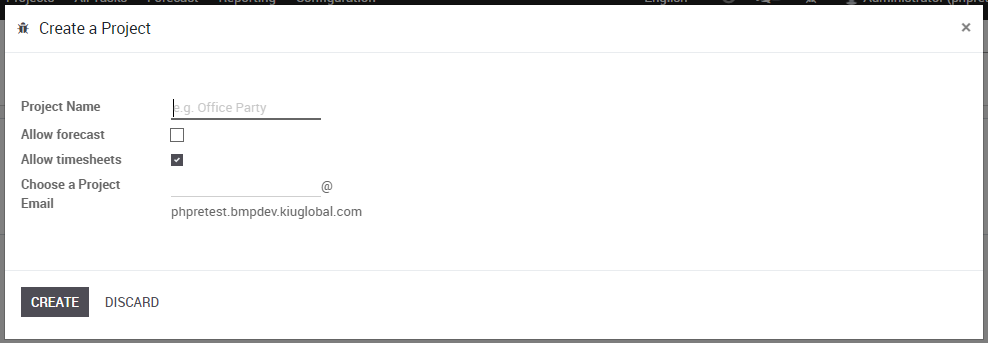
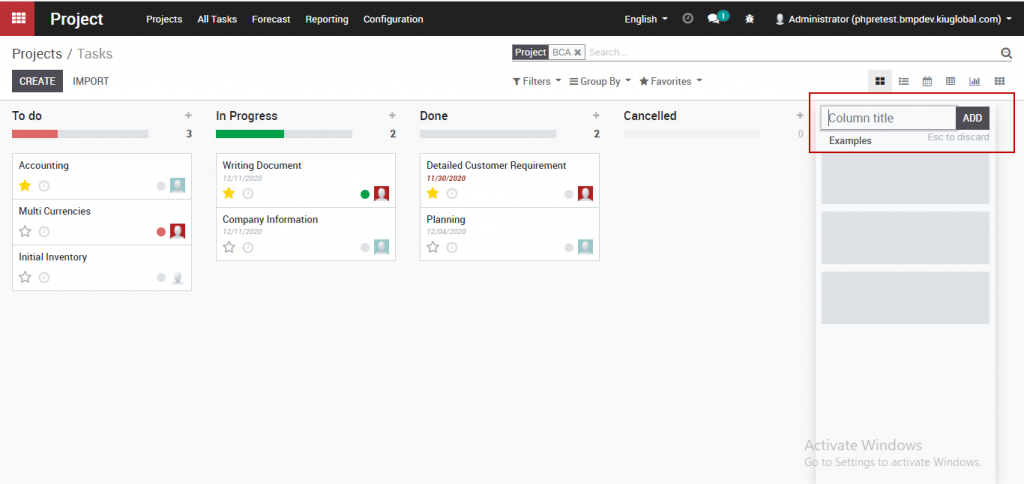
Specify the stage name and click [Add]
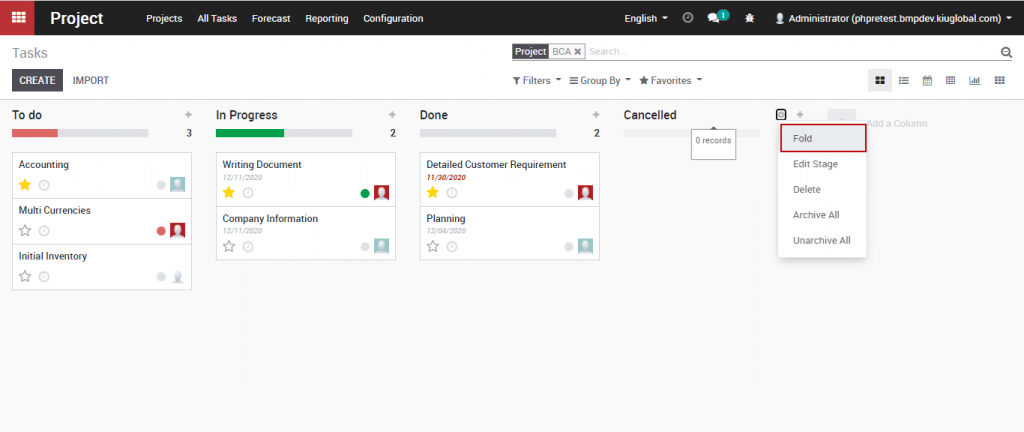
To rearrange the order of the stages, you can drag and drop columns to the position you want and you can also fold or unfold stage by clicking on Setting >> Fold
Users can also set a list of activities in each stage of the project to process or manage tasks through all stages by dragging and dropping tasks in the corresponding stages to make sure each task is processed through all steps.
To create new tasks, click on [+] button at the top right of each stage
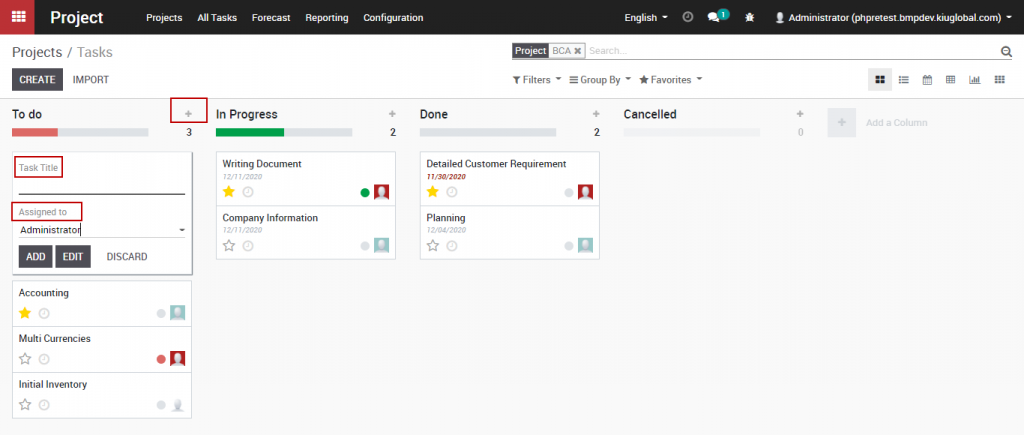
Input Task Title, select the assigned employee and click [Add] to create a new task.
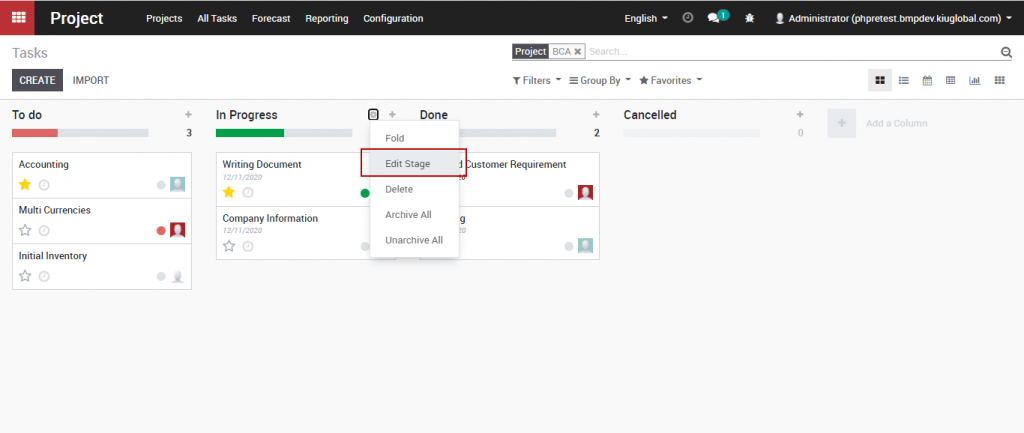
In each stage, tasks can be set markers or status by clicking on Setting >> Edit Stage
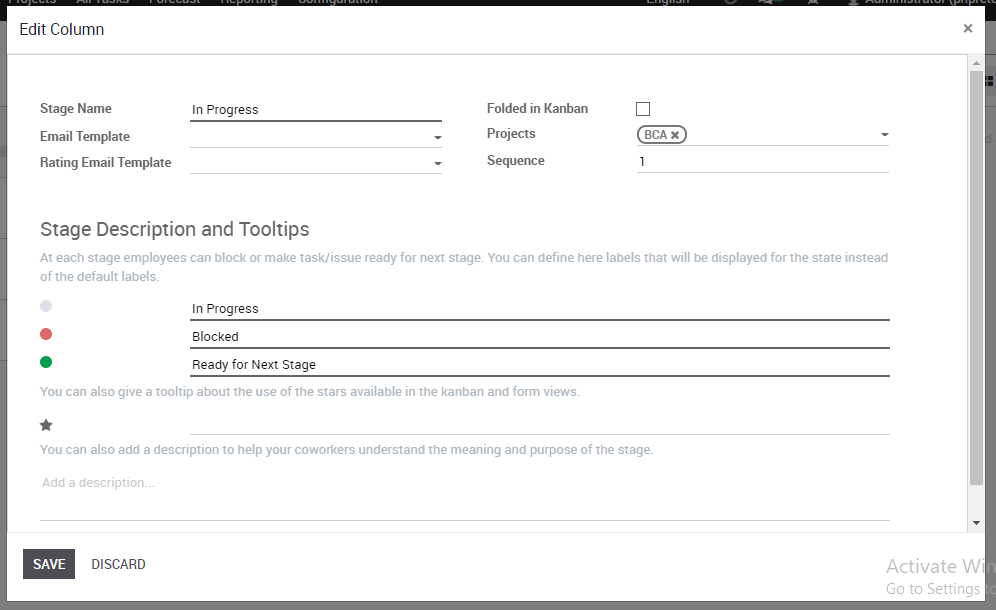
In Edit Column window, you can edit the description of each task marker to give the task any significations to require attention as needed.
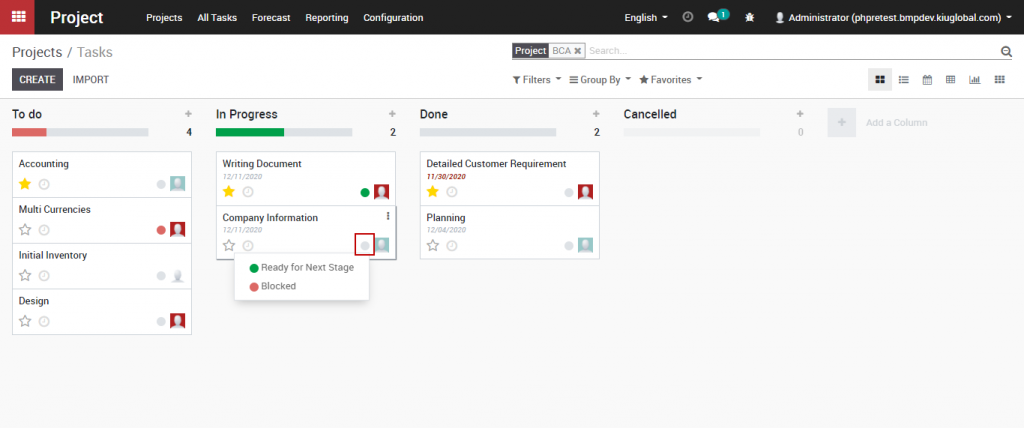
In the Kanban view of the project, click on the dot at the bottom of a task to mark status for this task so that employees can see which tasks are important and require attention.
 .
.
Users can divide each project into multiple stages as long as it matches the steps which the project has to go through.
From the Kanban view of the project, users can click on [Add a column] button to create new stages
Specify the stage name and click [Add]
To rearrange the order of the stages, you can drag and drop columns to the position you want and you can also fold or unfold stage by clicking on Setting >> Fold
Users can also set a list of activities in each stage of the project to process or manage tasks through all stages by dragging and dropping tasks in the corresponding stages to make sure each task is processed through all steps.
To create new tasks, click on [+] button at the top right of each stage
Input Task Title, select the assigned employee and click [Add] to create a new task.
In each stage, tasks can be set markers or status by clicking on Setting >> Edit Stage
In Edit Column window, you can edit the description of each task marker to give the task any significations to require attention as needed.
In the Kanban view of the project, click on the dot at the bottom of a task to mark status for this task so that employees can see which tasks are important and require attention.
.