2. Selling at POS

This is the most important part, helping you manage the quantity and amount of goods sold during the day. The system automatically calculates grand total amount in case customer buy multiple products at the same time or help you calculate excess amounts to be returned to the customer.

  • To check out products, you should follow steps below:

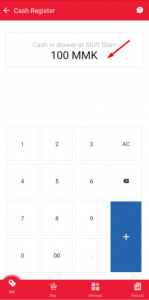
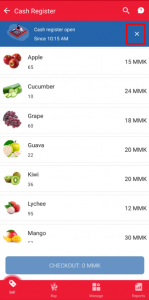
In Step 2: Users set opening balance in this box.

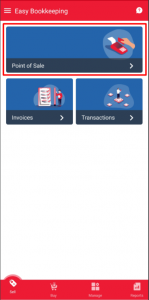
Step 1 – Go to POS menu

Step 2 – Open session

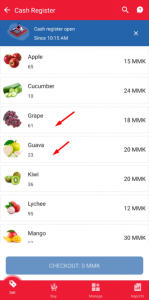
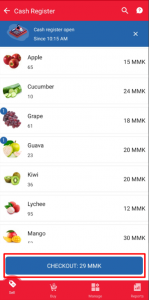
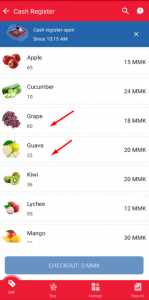
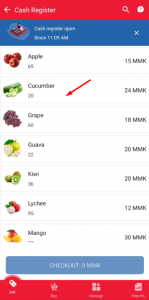
Step 3 – Choose product

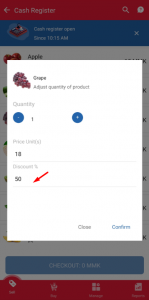
Step 4 – Choose product quantity

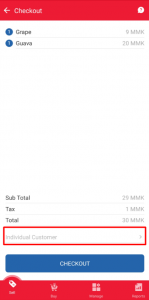
Step 5 – Click on Check out button

Step 6 – Choose customer

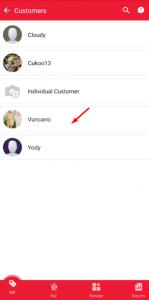
Step 7 – You can search customer

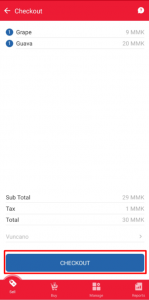
Step 8 – Click on Check out button

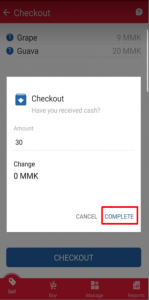
Step 9 – Enter paid amount

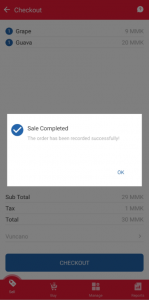
Step 10 – Order completed

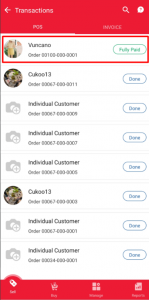
Step 11 – Sales Transactions

Step 12 – Inventory updated

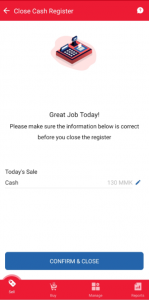
  • To Close session, users can do as steps below:

Step 1 – Close session

Step 2 – Check cash in drawer


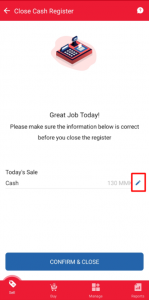
●        If Cash in your drawer is not the same as calculated in App, you should click on “Adjust Cash”

Step 3 – Adjust Cash

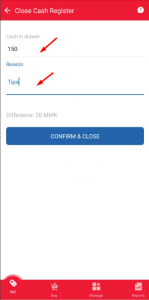
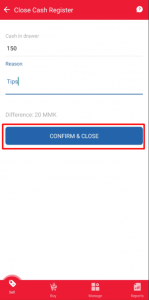
Step 4 – Type amount and reason

Step 5 – Confirm and close

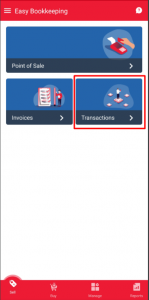
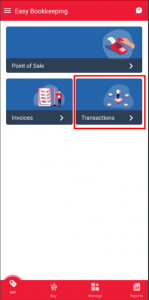
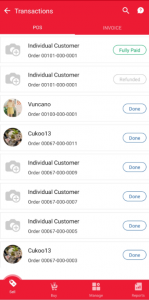
  • To view POS orders, go to Dashboard, click on Sale Transactions menu > tab POS

Step 1 – Go to Sale Transactions

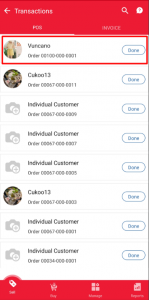
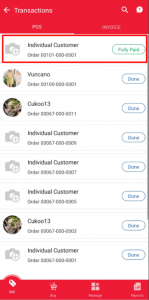
Step 2 – Choose POS order

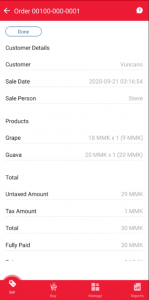
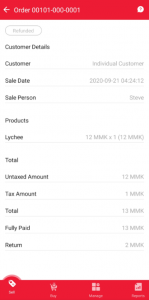
Step 3 – Detail POS order

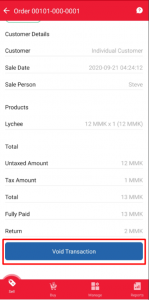
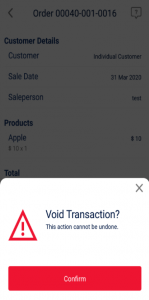
  • Voiding POS orders means canceling the order you recorded before, products will be returned and money is refunded. Each POS order only can void one time. A new refund order will be created if you complete voiding a transaction.

Step 1 – Go to Sale Transactions

Step 2 – Choose POS order

Step 3 – Click on Void Transaction

Step 4 – Confirm to void

Step 5 – POS order after voiding

Step 6 – A refund order created

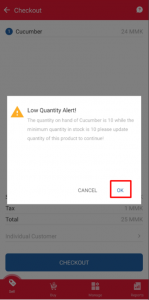
  • If your product quantity is not enough to sell or less than the minimum quantity set up before, the system will alert and do not let you sell. To continue selling at POS, you have to adjust quantity more than the minimum

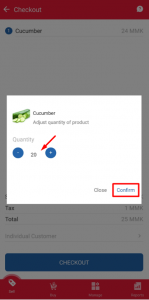
Step 1 – Click on Edit product quantity

Step 2 – Enter quantity

Step 3 – Quantity updated


1. Vendor Bills

This part helps you manage the quantity of products in stock and the products’ cost price

  • Note that in step 4&5, it is necessary to update cost price of products because if not, unit price will be the same as Sale price.

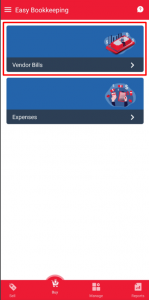
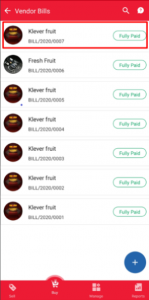
Step 1 –  Go to Vendor Bill module

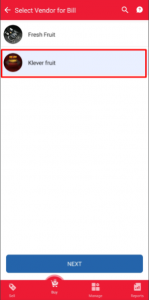
Step 2 – Select Vendor

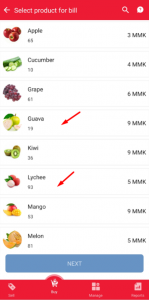
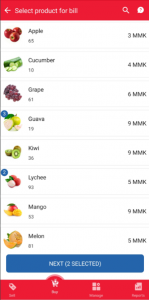
Step 3 – Select Products

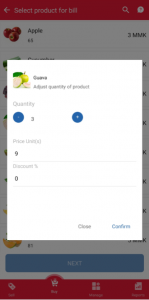
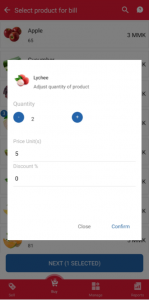
Step 4 – Choose qty

Step 5 – Choose qty

Step 6 – Click “Next” button

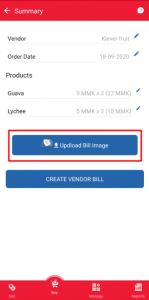
●        Each time clicking “Upload Bill Image”, users can only choose one picture. In order to upload another picture, users continue to click “Upload Bill Image”

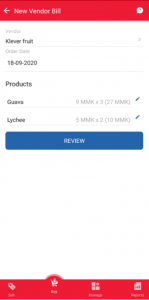
Step 7 – Review Bill info

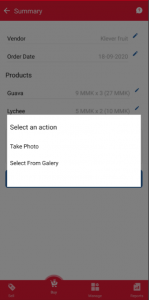
Step 8 – Upload Bill Image

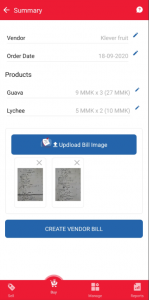
Step 9 – Select image

Step 10 – Create Vendor Bill

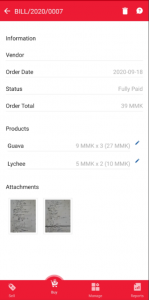
Step 11 – Vendor Bill detail

Step 12 – Inventory updated

  • To make adjustment an existing Vendor Bill

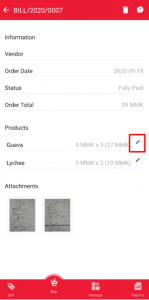
Step 1 – Click Make adjustment

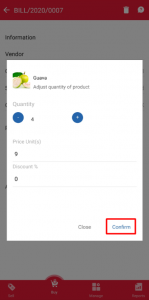
Step 2 – Click “Tap to edit”

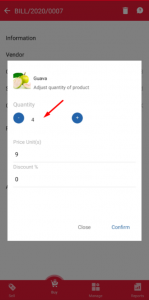
Step 3 – Revise Qty or Price


Step 4 – Click “Confirm” to save

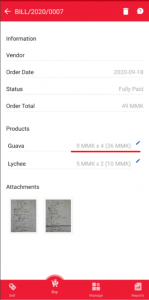
Step 5 – Bill detail updated

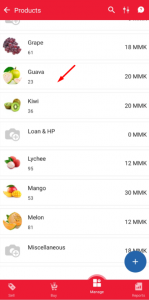
Step 6 – Inventory updated


  • To delete an existing Vendor Bill

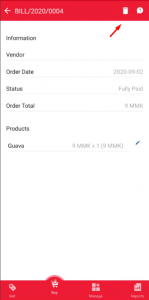
Step 1 – Click “Delete”

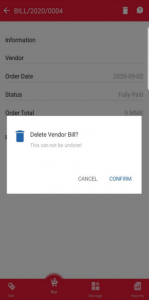
Step 2 – Confirm to remove

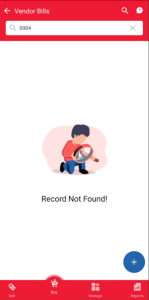
Step 3 – Remove completed


Step 4  – Inventory updated

6. How to update/delete existing customer

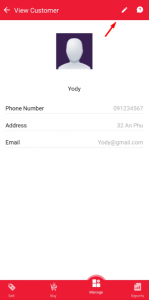
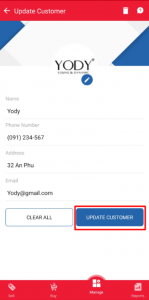
  • How to update customer

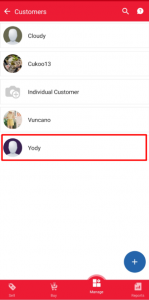
Step 1 – Choose Customer

Step 2 – Click “Update” button

Step 3 – Fill Customer info

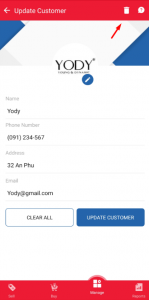
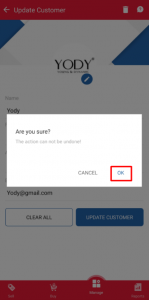
  • How to update existing customer   

Step 1 – Click “Delete” to remove

Step 2 – Confirm to remove

5. How to create a new customer

This is the part that you can create customer information to store information of regular customers

To enter customer information, you need to:

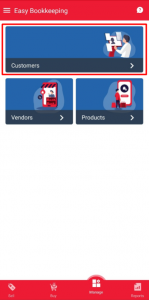
Step 1 – Go to Manage>Customers

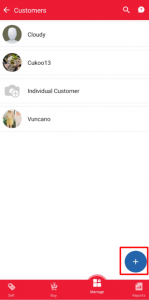
Step 2 – Click “+” button

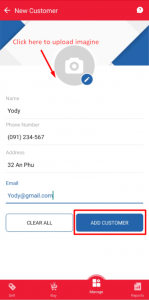
Step 3 – Update Customer info


4. How to update/delete existing vendor

  • How to update vendor

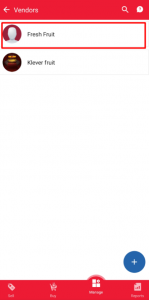
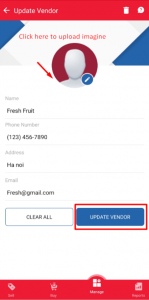
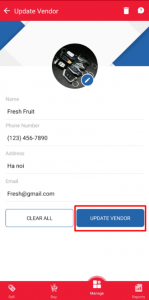
Step 1 – Choose Vendor

Step 2 – Update Vendor info

Step 3 – Update Vendor

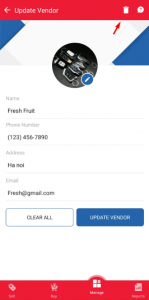
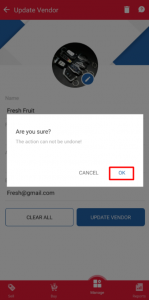
  • How to delete existing vendor

Step 1 – Click “Delete” to remove Vendor

Step 2 – Confirm to remove

3. How to create a new vendor

This part helps you manage vendor contact information

In order to fill Vendor information, you should:

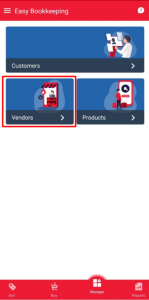
Step 1 – Go to Manage>Vendor

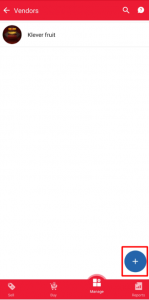
Step 2 – Click “+” button

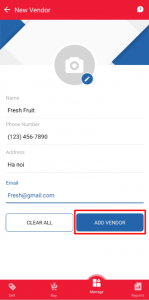
Step 3 – Fill Vendors information

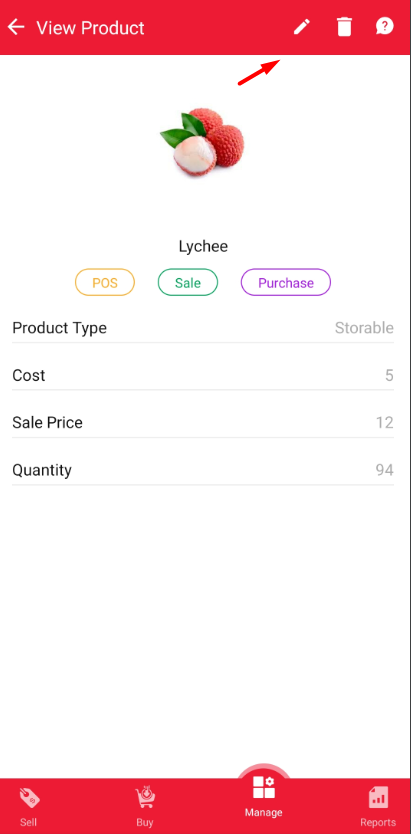
2. How to update/delete existing product

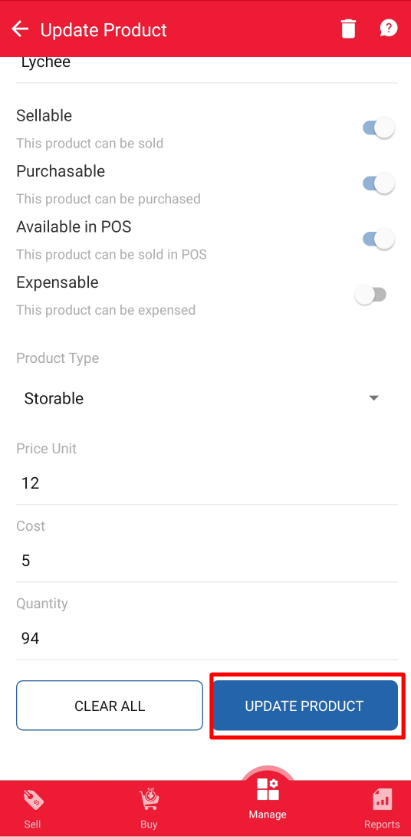
  • How to update product

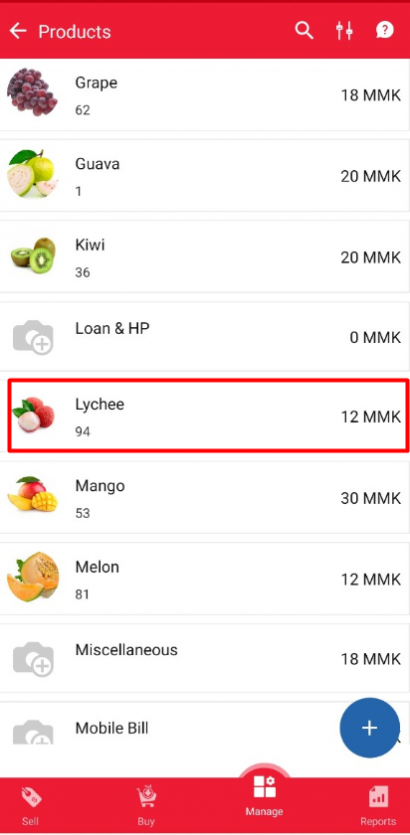
Step 1 – Choose product

Step 2 – Click “Edit” button

Step 3 – Change product info

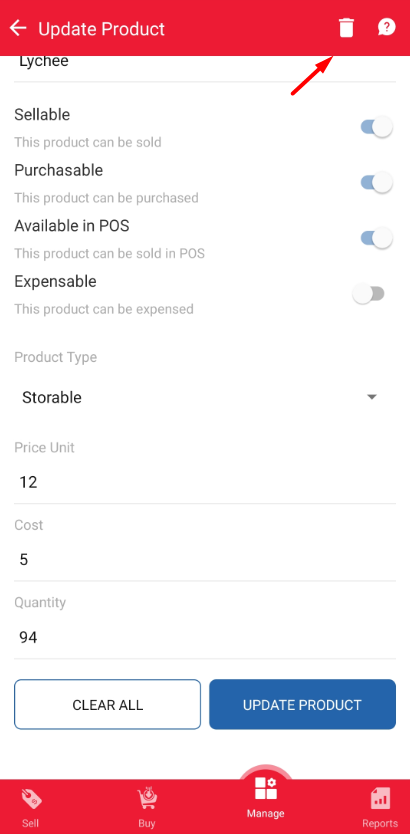
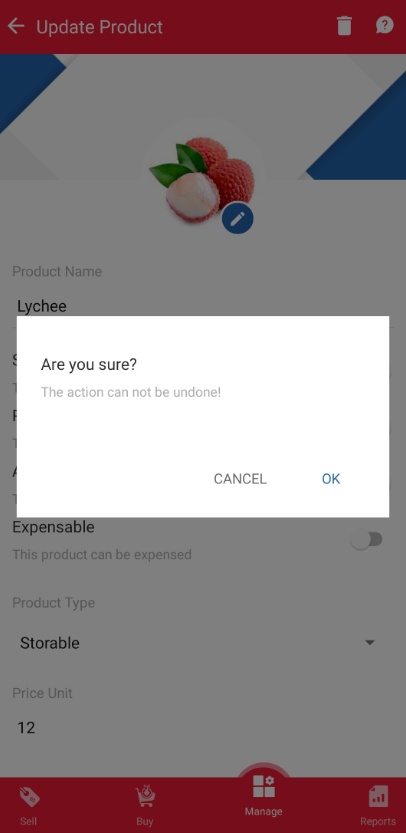
  • How to delete existing product

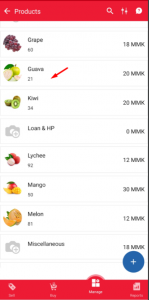
Step 1 – Click “Delete” to remove

Step 2 – Confirm to remove

1. How to create a new product

This is a required part to help you manage your storable products

In order to create a product, you should follow these below steps:

  • Note that in step 3, it is necessary to update cost price of products because it will be linked to Accounting module in BMP when user sales products.
  • Only storable product can update quantity
  • With normal products for user purchase then sell, do not choose Expensable. If users choose Expensable, they can not see vendor bills when purchase products, it will display in Expense menu.


Step 1 – Go to Products module

Step 2 – Click on “+” button

Step 3 – Fill product information


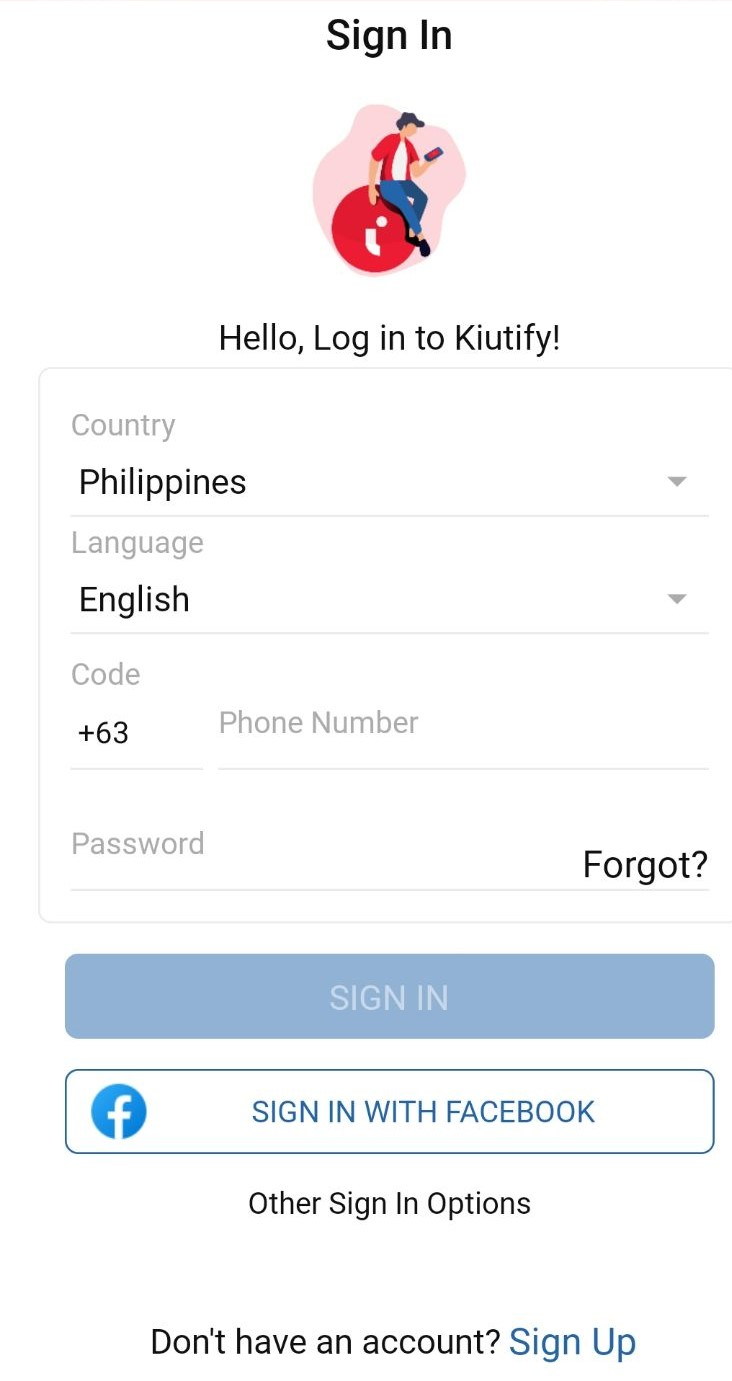
How to register new account on Kiu App

  • Sign up with phone number
Step 1: Click Sign up Step 2: Fill Company name Step 3: Fill personal information
Step 4: Fill contact information Step 5 – Fill password and Sign up Step 6 – Notice when complete
  • Sign up with Facebook account
Step 1: Click Sign in Facebook Step 2: Fill Company name Step 3: Fill personal information
Step 4: App take information Step 5: Fill password and Sign up Step 6: Notice when complete