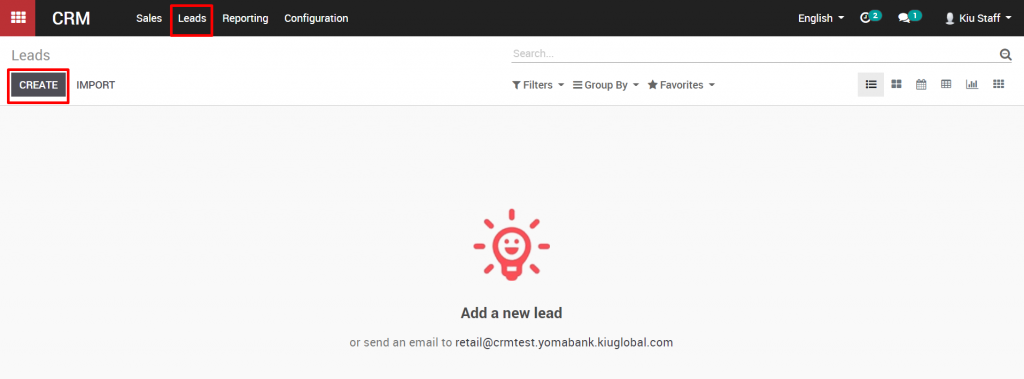
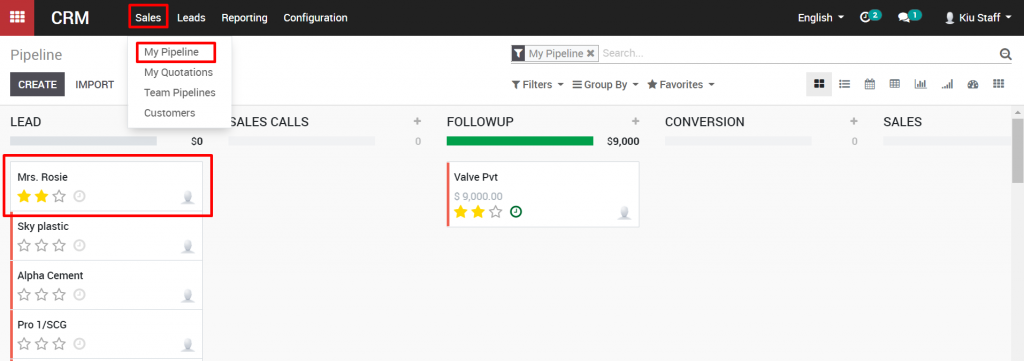
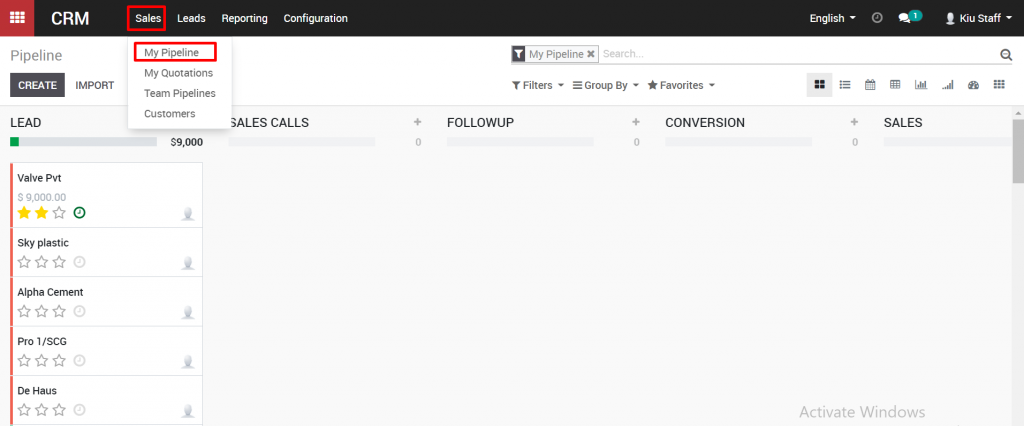
A well structured sales pipeline is crucial in order to keep control of your sales process and to have an overview of your leads, opportunities and customers. The pipeline is a visual representation of the sales process. You can track all of your sales opportunities, from the beginning to the end of their life cycle, either as a win, or as a loss. Go to the pipeline by clicking on the Sales drop down menu at the top, then clicking on My Pipeline.
The sales pipeline is a visual representation of your sales process, from the first contact to the final sale. It refers to the process by which you generate, qualify and close leads through your sales cycle.
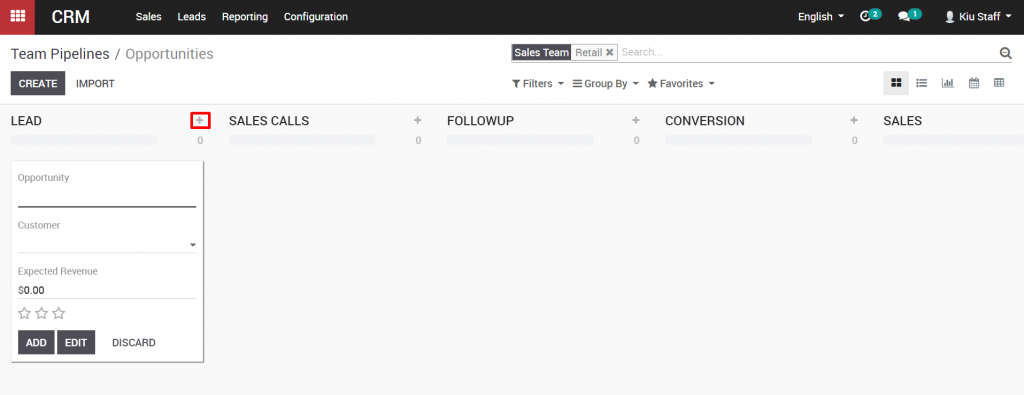
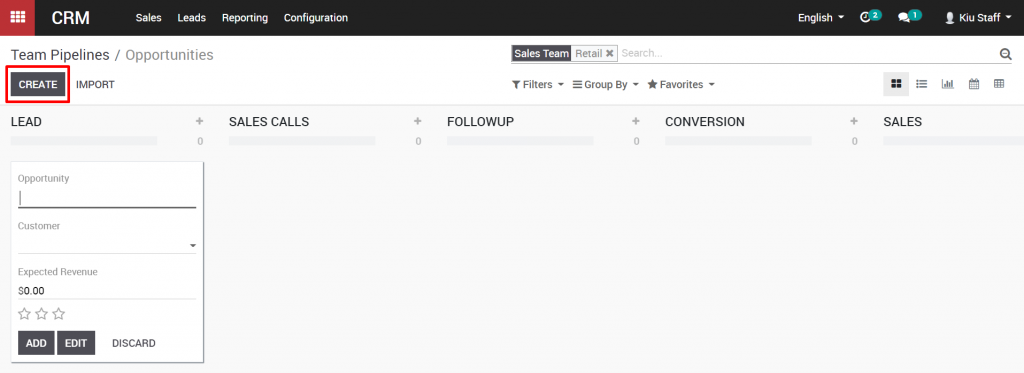
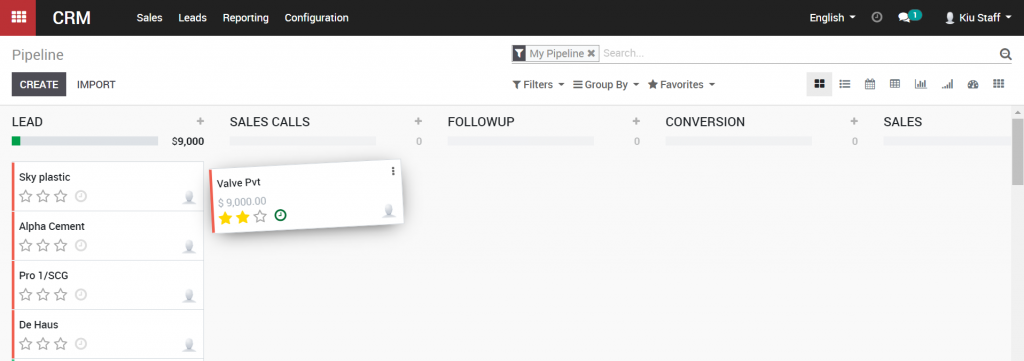
Each stage refers to a specific step in the sales cycle and specifically the sale-readiness of your potential customer. The number of stages in the sales funnel varies from one company to another. An example of a sales funnel will contain the following stages: Lead, Sales calls, follow-up, Conversion, Sales. You can choose to use these steps, or customize them to fit your business by click on “Add the column”

Each stage can be moved around the sales pipeline simply by clicking on them and dragging them to a new stage in the pipeline. Stages are typically oriented from left to right, with the lowest probability of a successful sale on the left, and the highest probability on the right.
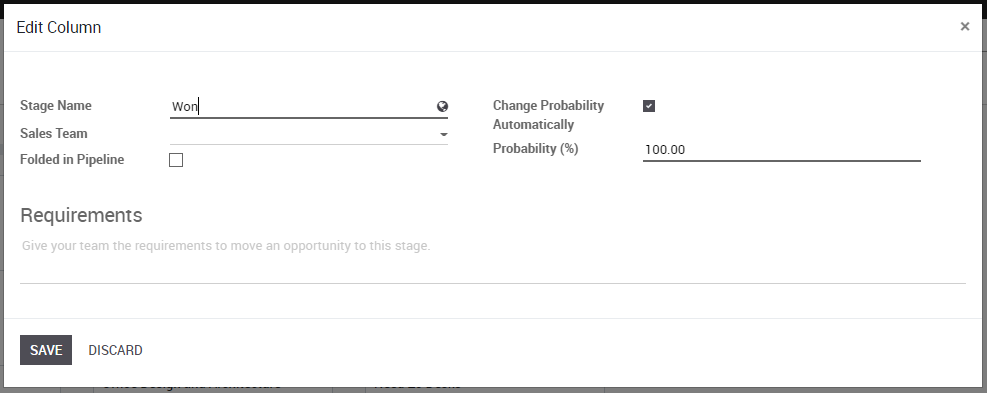
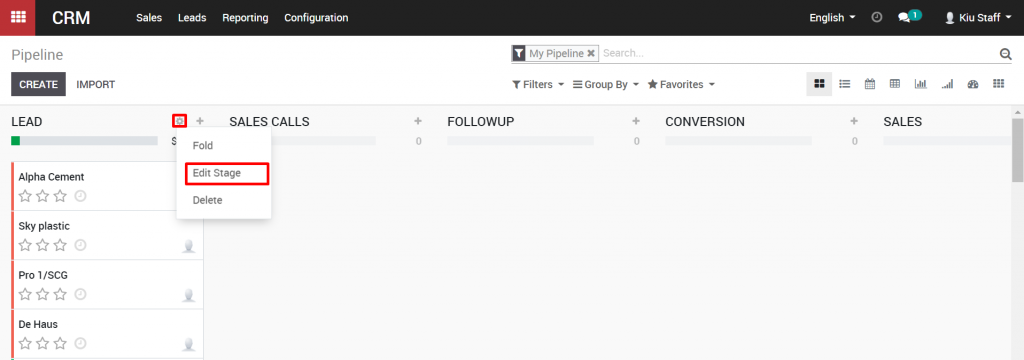
You can also customize each stage by moving over its title, and when the hidden gear icon appears, clicking on it. You can “Fold” the stage, to hide its contents from view, or “Delete” it entirely. Let’s click “Edit” to see a few other options for a stage.
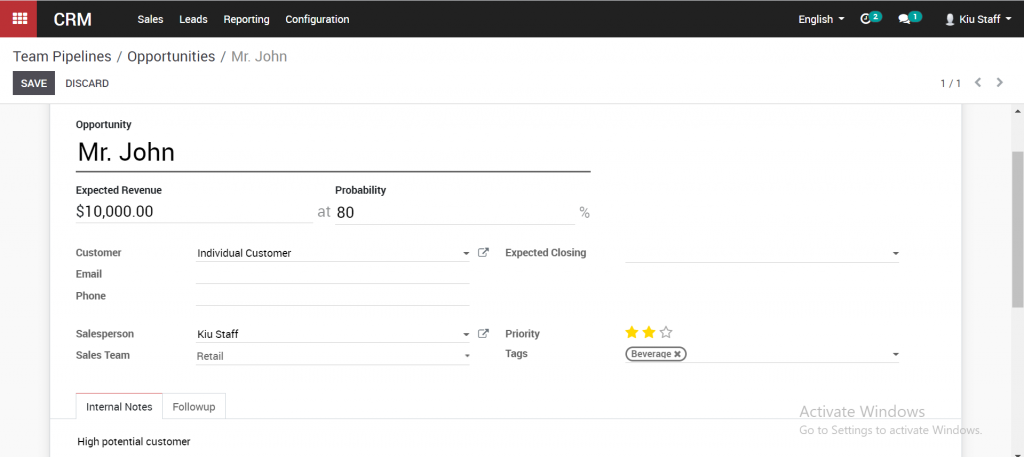
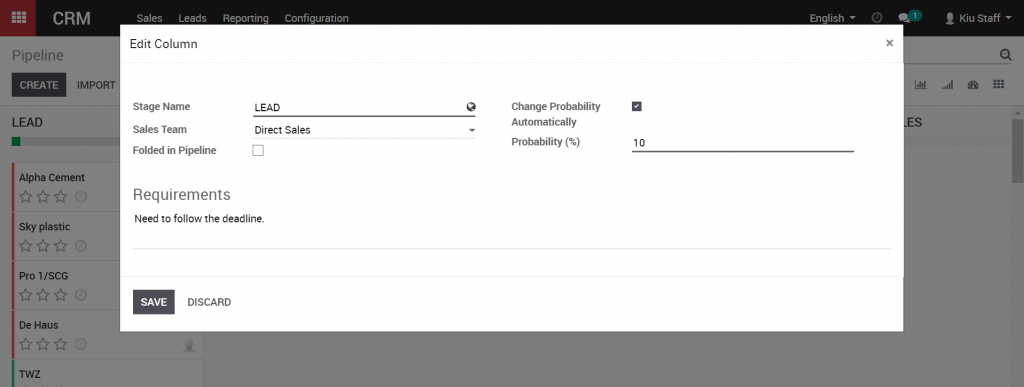
We can change the stage name, change the sales team for that stage, choose if the stage will be folded, with its contents hidden by default, and change the probability of a successful sale for opportunities within that stage. We can also add notes within the Requirements section, where we can describe the opportunities that belong in this stage.
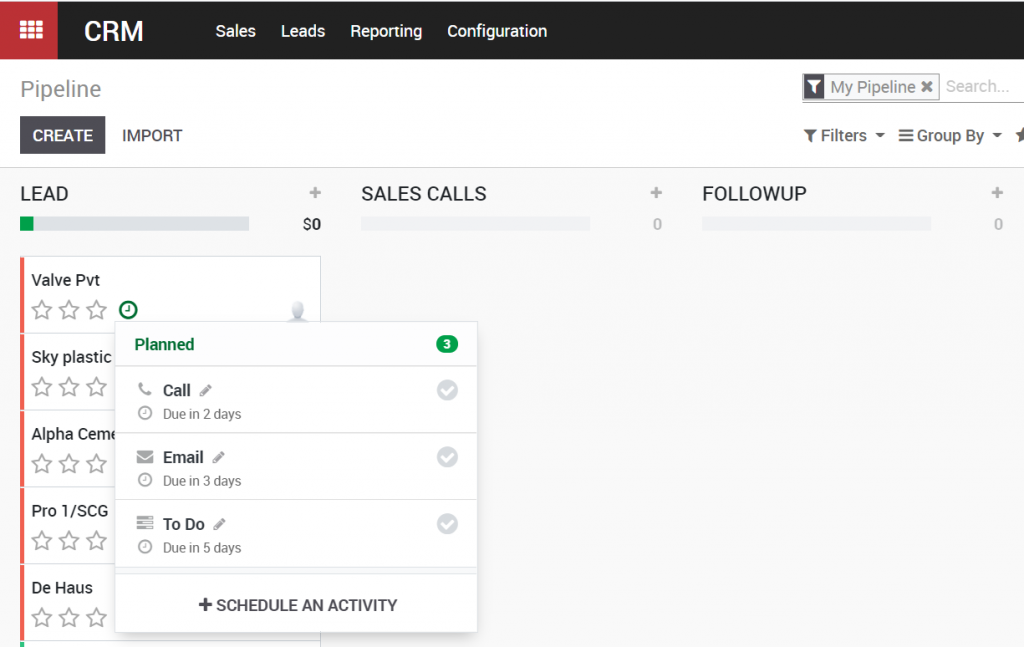
Planning activities is the ideal method to keep on track with your work. Get helped to remember what should be done and plan the following activities to attempt. Users can click on clock icon to check activities
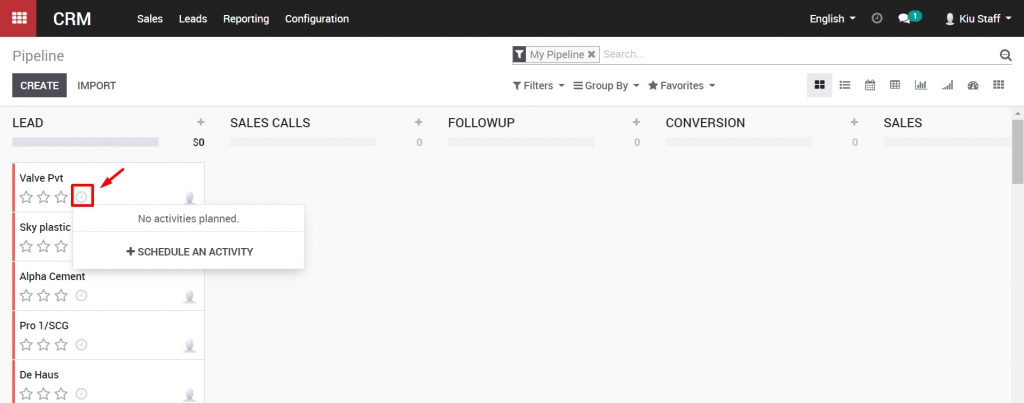
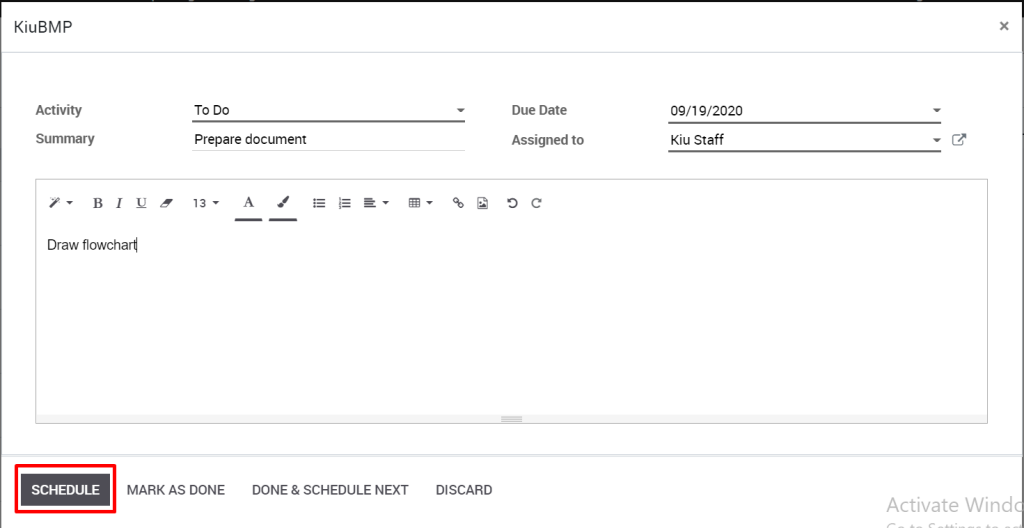
In order to create new activities, click to “Schedule an activity”. New pop up will be shown, choose activity, due date, PIC and click “Schedule” to confirm.
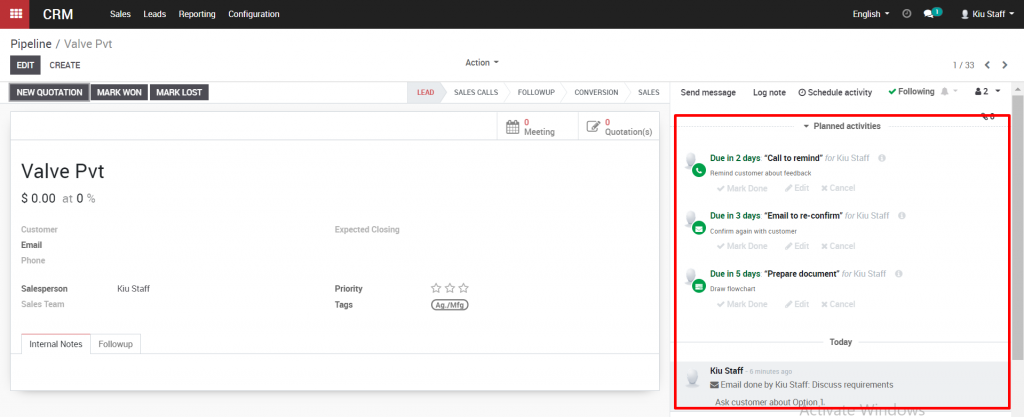
Kiu CRM enables you to track the activities in the least complex manner. Activities can be tracked on each and every archive. One can view the exercises like – activities in due, or activities to be performed today or in future.
Activities can be followed from two spots i.e. from both Kanban card and from the form view.
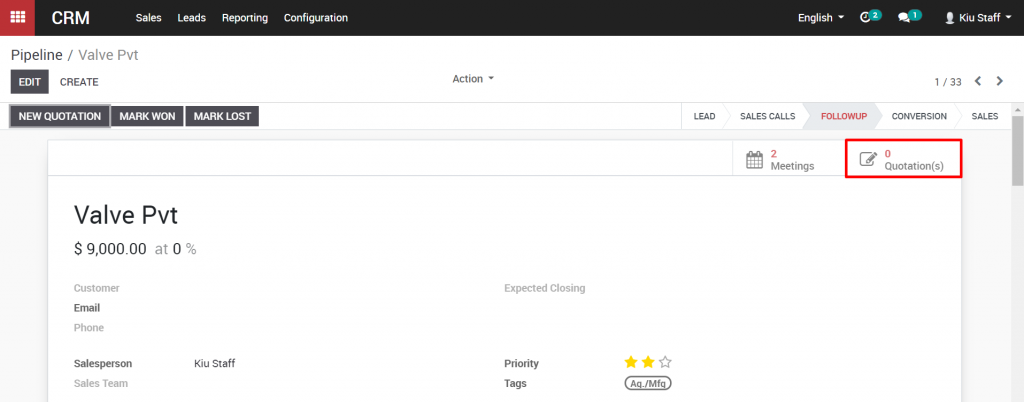
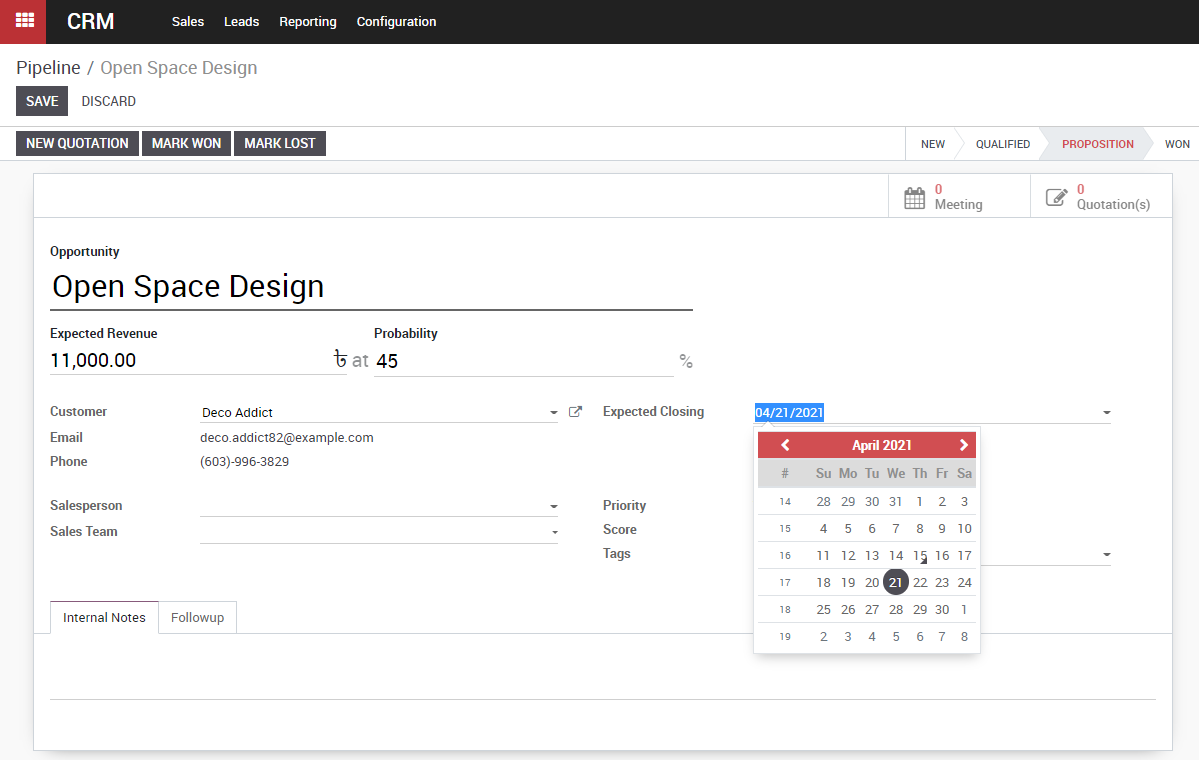
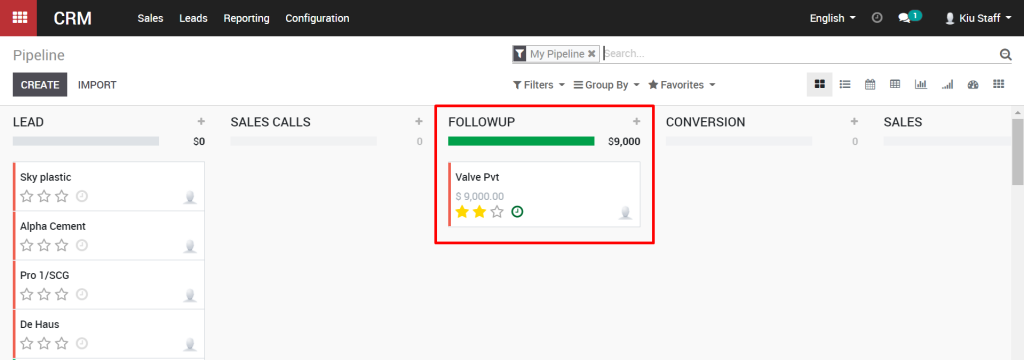
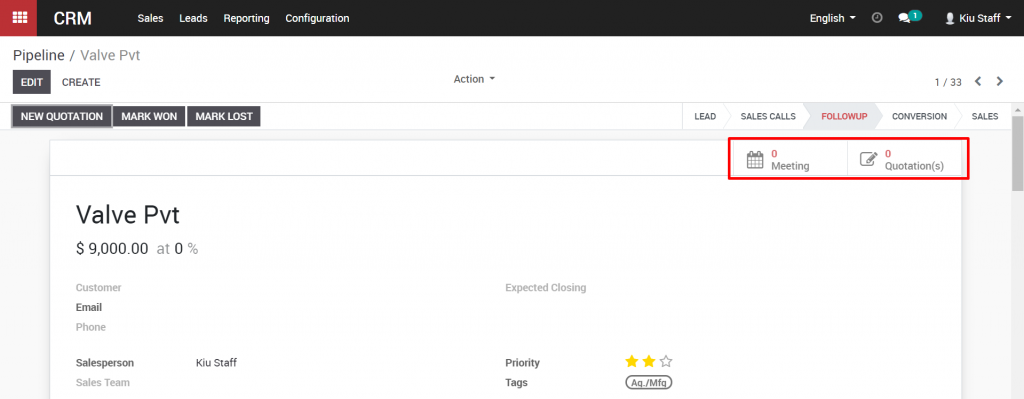
When an opportunity is advanced to the Follow up stage, you can instruct your sales team to create a new quotation for that opportunity.
There are two options in the top right of the Opportunity view. One is for Meetings and the other is for Quotes. Let’s quickly look at the Meetings button, by clicking on the button.
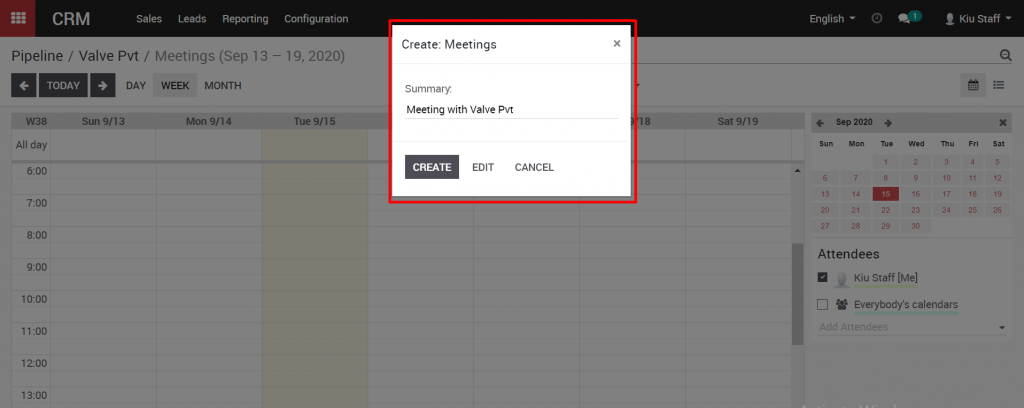
When the calendar view opens, you can create a meeting as with many other calendar programs, like Microsoft Outlook or Google Calendar. Click on the calendar to create an event, and give the event a Summary for a name, and click Create.
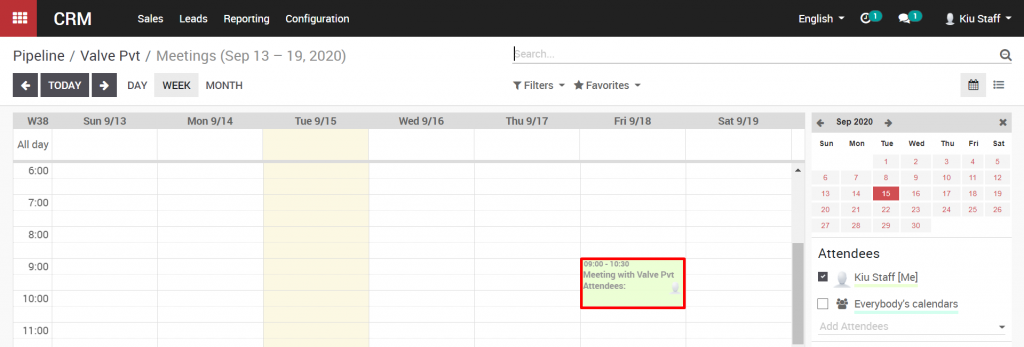
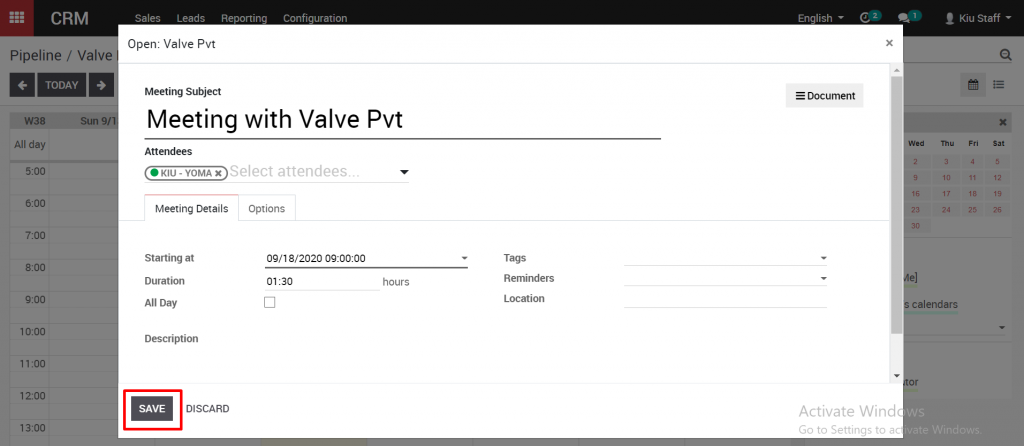
Click on the event in the calendar to view it, and click Edit to change the event details.
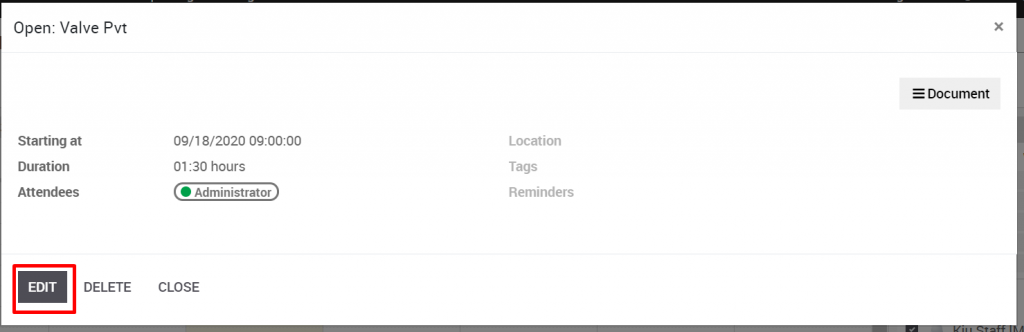
You can change the meeting subject, add attendees, and update the time and duration of the meeting. Click Save in the top right when you are finished.
Going back to the pipeline, We can now create a new quotation for this opportunity. To create a new quotation, we can also click on the Quote button in the top right of the Opportunity window. The detailed guidance about creating a quotation can be found here.