
This part helps you manage the quantity of products in stock and the products’ cost price
- Note that in step 4&5, it is necessary to update cost price of products because if not, unit price will be the same as Sale price.
|
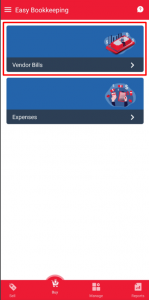
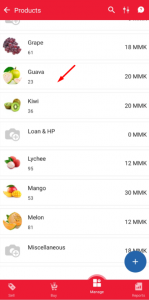
Step 1 – Go to Vendor Bill module |
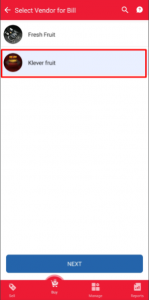
Step 2 – Select Vendor |
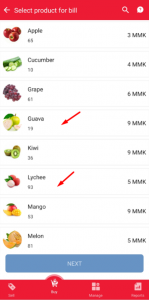
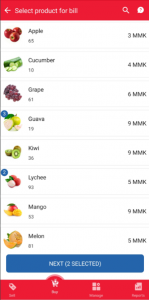
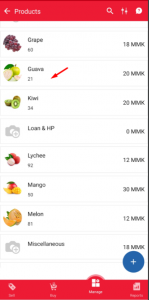
Step 3 – Select Products |
 |
 |
 |
|
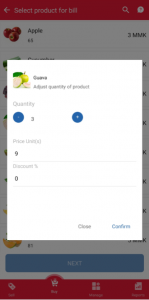
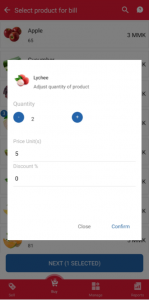
Step 4 – Choose qty |
Step 5 – Choose qty |
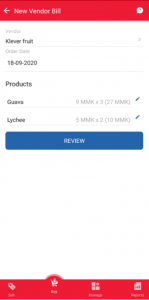
Step 6 – Click “Next” button |
 |
 |
 |
|
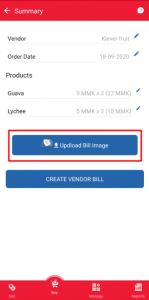
● Each time clicking “Upload Bill Image”, users can only choose one picture. In order to upload another picture, users continue to click “Upload Bill Image” |
||
|
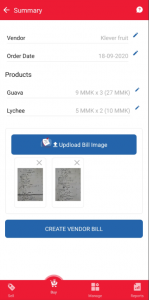
Step 7 – Review Bill info |
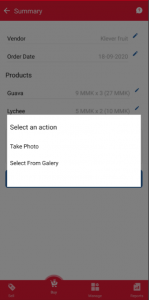
Step 8 – Upload Bill Image |
Step 9 – Select image |
 |
 |
 |
|
Step 10 – Create Vendor Bill |
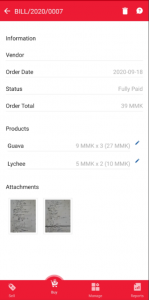
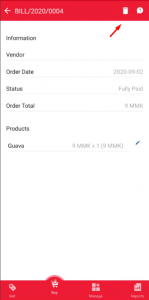
Step 11 – Vendor Bill detail |
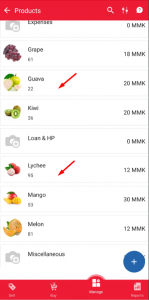
Step 12 – Inventory updated |
 |
 |
 |
- To make adjustment an existing Vendor Bill
|
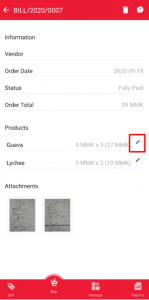
Step 1 – Click Make adjustment |
Step 2 – Click “Tap to edit” |
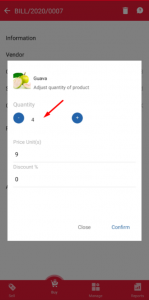
Step 3 – Revise Qty or Price |
 |
 |
 |
|
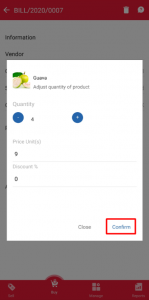
Step 4 – Click “Confirm” to save |
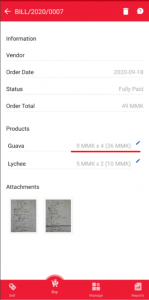
Step 5 – Bill detail updated |
Step 6 – Inventory updated |
 |
 |
 |
- To delete an existing Vendor Bill
|
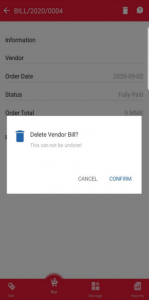
Step 1 – Click “Delete” |
Step 2 – Confirm to remove |
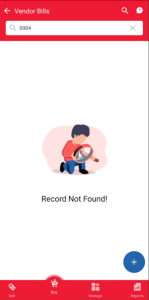
Step 3 – Remove completed |
 |
 |
 |
|
|
||
|
Step 4 – Inventory updated |
||
 |
||