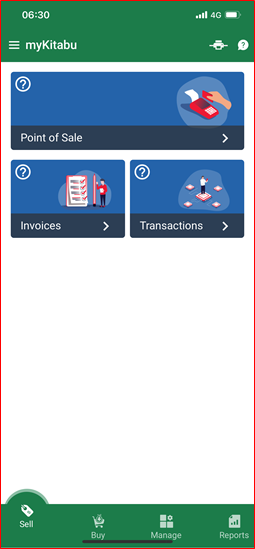
| ‘Point of Sale’ |
- The Point of Sale is like your digital cash regiser.
- ‘Cash in Drawer’ as shift start – opens cash register in the morning by registering how much cash was left in the drawer. This can be any registered cash/change business will use to start the day. Enter value and press ‘+’.
- By pressing on any of the defined items, a person selling can start sales transaction by:
- Adjusting quantity sold.
- Adjusting price unit(s).
- Adjusting discount (if any).
- Pressing ‘Checkout’ button.
- Confirming ‘Cash Received’.
|
| ‘Invoices’ |
- STEP1 – selection of customer. Any customer that has already been registered under ‘Manage’ > ‘Customers’ would automatically appear on the list of customers. Select existing customer or select ‘Individual Customer’ and click ‘Next’.
- STEP2 – add any registered product or service to your invoice.
- STEP3 – add quantity sold, price per unit, and discount and press ‘Confirm’.
- STEP4 – press ‘Next’
- STEP5 – select “Payment Term’ and ‘Due Date’ and press ‘Next’
- STEP6 – edit ‘Customer’ and ‘Order Total’ fields if necessary and press ‘Save’
- STEP7 – press ‘Register Payment’
- STEP8 – “Enter Paid Amount’, select ‘Mode of Payment’ (Bank, MPESA, Cash) and press ‘Record Payment’.
|
| ‘Transactions’ |
- ‘PoS’ – record of all transactions created with point-of-sale,
- ‘Invoice’ – record of all invoices generated.
|