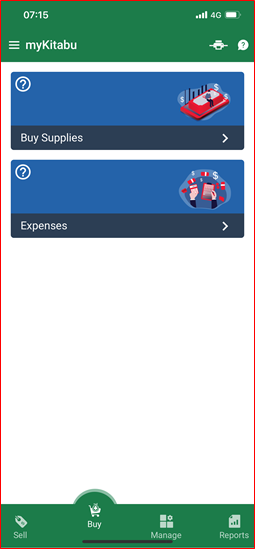
3. ‘Buy’ Screen

‘Buy Supplies’

A place where you can purchase supplied for your business as follows:

  • STEP1 – press ‘+’ button in lower-right corner.
  • STEP2 – select ‘Vendor’ you are purchasing from (you can register the vendor on ‘Manage’ page).
  • STEP3 – select ‘Product you are purchasing (you can add the product on ‘Manage’ page).
  • STEP4 – adjust quantity, price-per-unit, discount and press ‘CONFIRM’.
  • STEP5 – press ‘NEXT (1 SELECTED)’
  • STEP6 – press ‘REVIEW’
  • STEP7 – edit ‘Vendor’, ‘Order Date’, ‘Products’, and upload invoice image. Press ‘Save’.
  • STEP8 – Select ‘Pay Later’ or ‘Pay’.
  • STEP9 – enter ‘Paid Amount’, ‘Mode of Payment’, and press ‘RECORD PAYMENT’.
‘Expenses’

A place where you record any business-related expenses as follows:

  • STEP1 – press ‘+’ button in lower-right corner.
  • STEP2 – Pick ‘Expense Category in the pull-down menu, record ‘Expense Date’, ‘Amount’ and ‘Description’ and press ‘LOG EXPENSE’.