4.6.1. Check Your Win/Loss Ratio

To see how well you are doing with your pipeline, take a look at the Win/Loss ratio.

To access this report, go to your Pipeline view under the Reporting tab.

From there you can filter to which opportunities you wish to see, yours, the ones from your sales channel, your whole company, etc. You can then click on filter and check Won/Lost.

You can also change the Measures to Total Revenue.

You also have the ability to switch to a pie chart view.

4.5.4. Send Quotations

When you qualify a lead into an opportunity you will most likely need to send them a quotation. You can directly do this in the CRM App with KIU BMP.

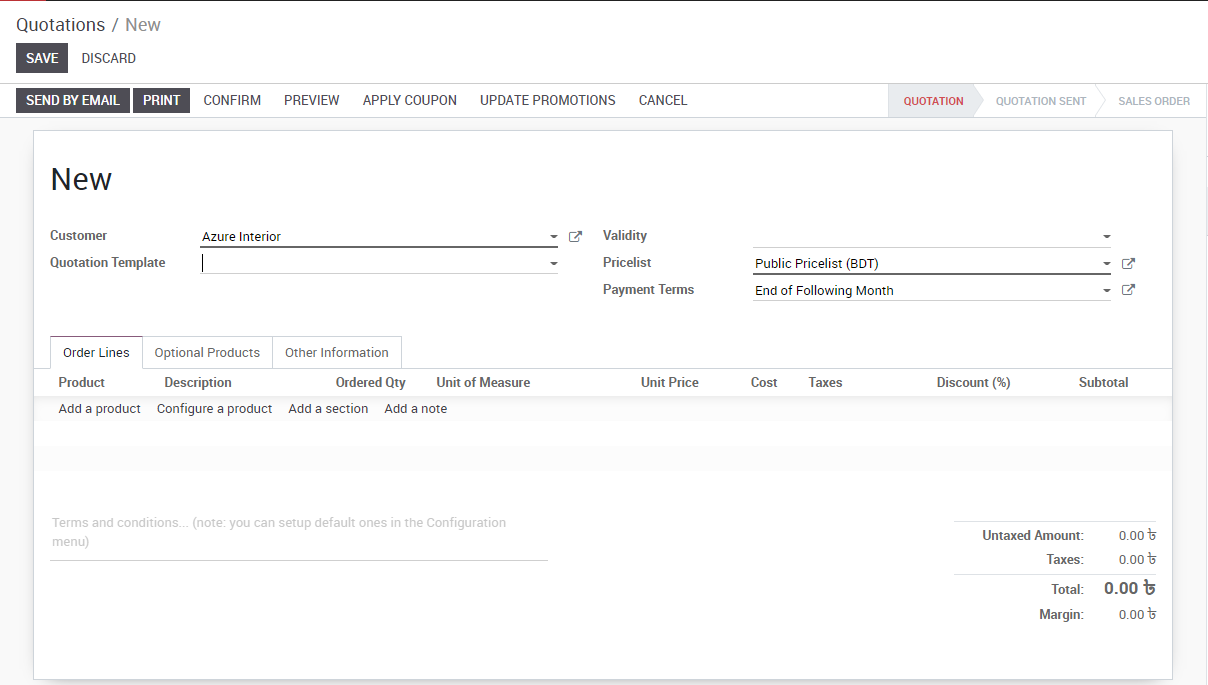
Create a new quotation

By clicking on any opportunity or lead, you will see a New Quotation button, it will bring you into a new menu where you can manage your quote.

You will find all your quotes to that specific opportunity under the Quotations menu on that page.

Mark them won/lost

Now you will need to mark your opportunity as won or lost to move the process along.

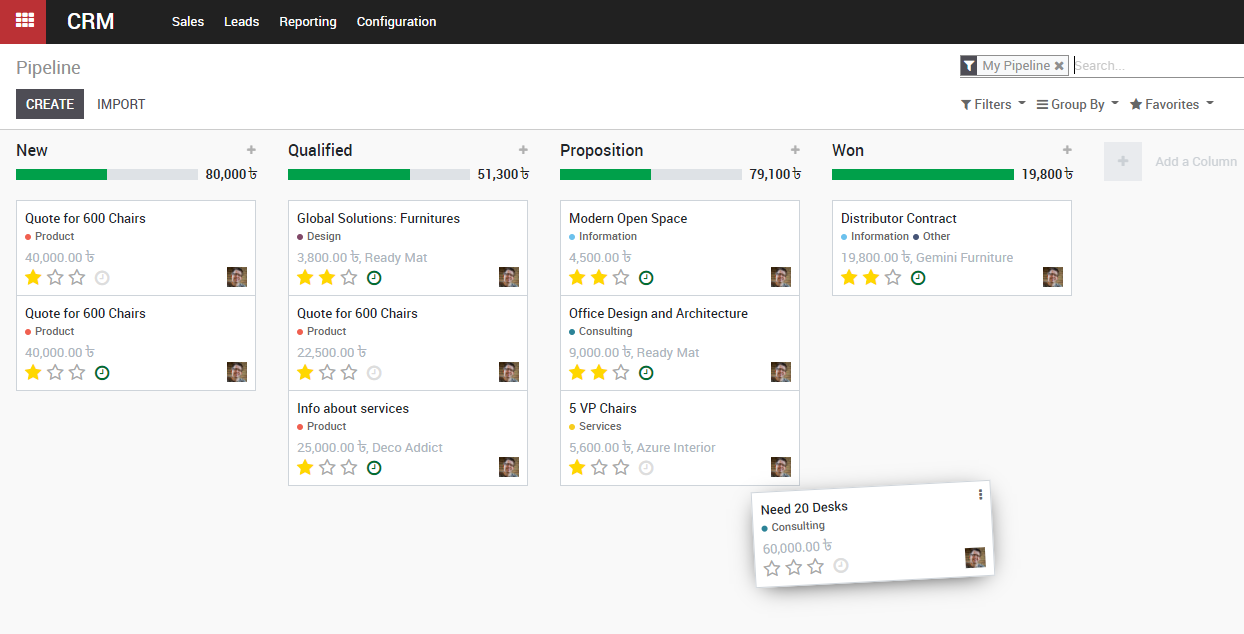
If you mark them as won, they will move to your Won column in your Kanban view. If you however mark them as Lost they will be archived.


Generate leads/opportunities from emails

Automating the lead/opportunity generation will considerably improve your efficiency. By default, any email sent to sales@database_domain.ext will create an opportunity in the pipeline of the default sales team.

Configure email aliases

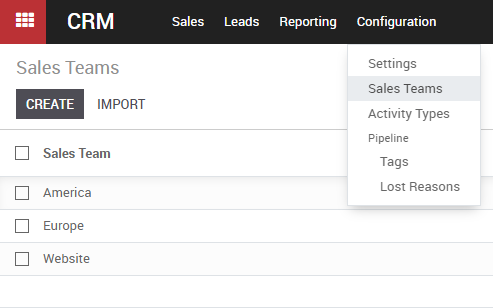
Each sales teams can have its own email alias, to generate leads/opportunities automatically assigned to it. It is useful if you manage several sales teams with specific business processes. You will find the configuration of sales teams under Configuration ‣ Sales Teams.

4.5.1 Convert Leads Into Opportunities

The system can generate leads instead of opportunities, in order to add a qualification step before converting a Lead into an Opportunity and assigning to the right sales people. You can activate this mode from the CRM Settings. It applies to all your sales teams by default. But you can make it specific for specific channels from their configuration form.

Configuration

For this feature to work, go to CRM ‣ Configuration ‣ Settings and activate the Leads feature.

You will now have a new menu Leads where they will aggregate.

Convert a lead into an opportunity

When you click on a Lead you will have the option to convert it to an opportunity and decide if it should still be assigned to the same channel/person and if you need to create a new customer.

If you already have an opportunity with that customer KIU will automatically offer you to merge with that opportunity. In the same manner, KIU will automatically offer you to link to an existing customer if that customer already exists.


Manage lost opportunities

While working with your opportunities, you might lose some of them. You will want to keep track of the reasons you lost them and also which ways KIU BMP can help you recover them in the future.

Mark a lead as lost

While in your pipeline, select any opportunity you want and you will see a Mark Lost button.

You can then select an existing Lost Reason or create a new one right there.

Manage & create lost reasons

You will find your Lost Reasons under Configuration ‣ Lost Reasons.

You can select & rename any of them as well as create a new one from there.

Retrieve lost opportunities

To retrieve lost opportunities and do actions on them (send an email, make a feedback call, etc.), select the Lost filter in the search bar.

You will then see all your lost opportunities.


Get organized by planning activities

Planning activities is the perfect way to keep on track with your work. Get reminded of what needs to be done and schedule the next activities to undertake.

Your activities are available wherever you are in KIU BMP. It is easy to manage your priorities.
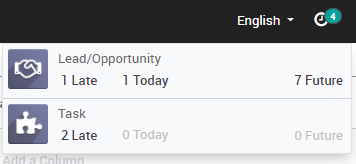
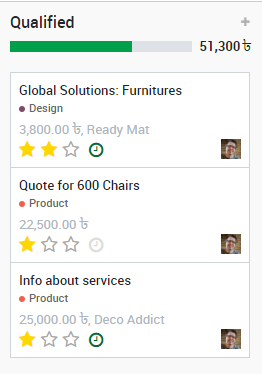
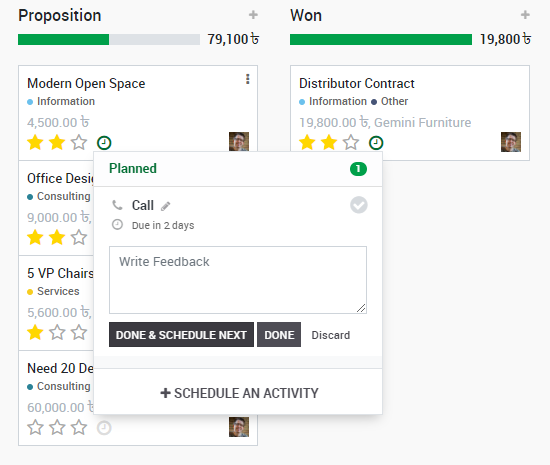
Activities can be planned and managed from the chatters or in the kanban views. Here is an example for opportunities :
Set your activity types

A number of generic activities types are available by default in KIU BMP (e.g. call, email, meeting, etc.). If you would like to set new ones, go to Settings ‣ General settings ‣ Activity types.

Schedule meetings

Activities are planned for specific days. If you need to set hours, go with the Meeting activity type. When scheduling one, the calendar will simply open to let you select a time slot.

Tip

If you need to use other activity types with a calendar planning, make sure their Category is set as Meeting.

Schedule a chain of activities to follow

KIU BMP helps you easily plan your usual flow of activities. Go to Configuration ‣ Activity Types and set the common following steps as Recommended next activities.

Now, when an activity is completed, you can select Done & schedule next.

You will be able to set the next activity.
 

Have fun getting better organized by planning activities!


HR Kenya Manual guide – Table of content

This manual is for HR Kenya user only. You’ll learn how to use HR Kenya module to match it to your needs or those of each individual user of the system.

In HR Kenya of Kiu ERP, user must pay attention to (1) Employee Module, (2) Leave Module and (3) Payroll Module.

1. Employee

1.1. Employee creation

1.2. Employee contract creation 

1.3. Department creation

1.4. Overtime 

1.5. Salary Advance 

2. Leave module

2.1. Leave flow

2.2. Leave registration

2.3. Leave Allocation

3. Payroll module

3.1. Payroll workflow

3.2. Payslip process

3.3. Salary payment

3.4. Payslip batch process


3.4. Payslip batch process

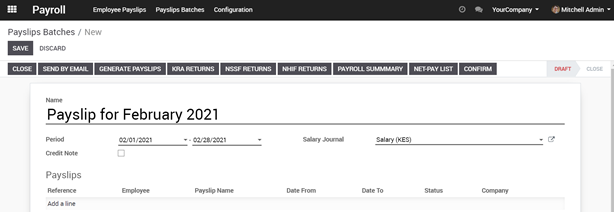
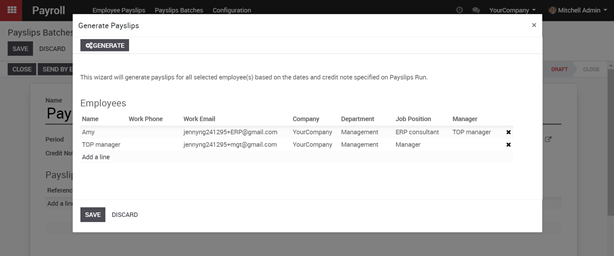
In Payroll module, Payslip batches, choose slip period and click “Generate payslips

Choose list of employee and click “Save

If each slip info of employee is correct then click on verify to mass confirm payslip.

3.3. Salary payment

After payslip is created, accountant can access Accounting –‣ Bank Statement to pay to Employee.

Accountant should fill in the necessary information regarding the salary payment for the employee, then choose the amount of net payment and click “Save” button. Please be noted that the amount should be negative.

Then, accountant need to reconcile the payment amount with the created payslip amount by click “Reconcile” button. A pop up of Reconciliation will be created as follows:

Then, accountant select the related account as “Salary payable”, then click “Reconcile


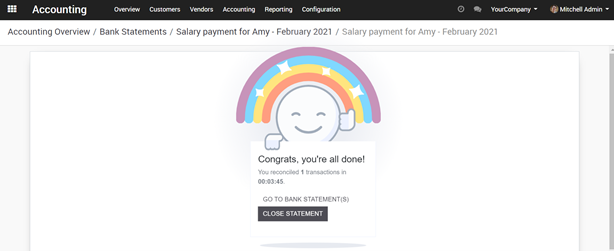
Then, the salary will be paid accordingly.

3.2. Payslip process

If fully set-up employee, contract as the manual above, in this step, HR only need to access Payroll module, create Payslip.

Choose the appropriate Employee, fill in the Payslip period and Salary Journal then click on “Save” to record into the system. Please be noted that the Salary journal is mandatory field, thus, HR can not save without such information.

HR should check the information, then click “Confirm” button, employee detail salary will be appeared on salary computation tab as below.

The status of creating Salary slip will turn from “Draft” to “Done”. At this stage, the payslip for specific period is created successfully.