Configuring lead times is a first essential move in order to compute scheduled dates. Lead times are the delays (in term of delivery, manufacturing, …) promised to your different partners and/or clients.
Configuration of the different lead times are made as follows:
At a product level
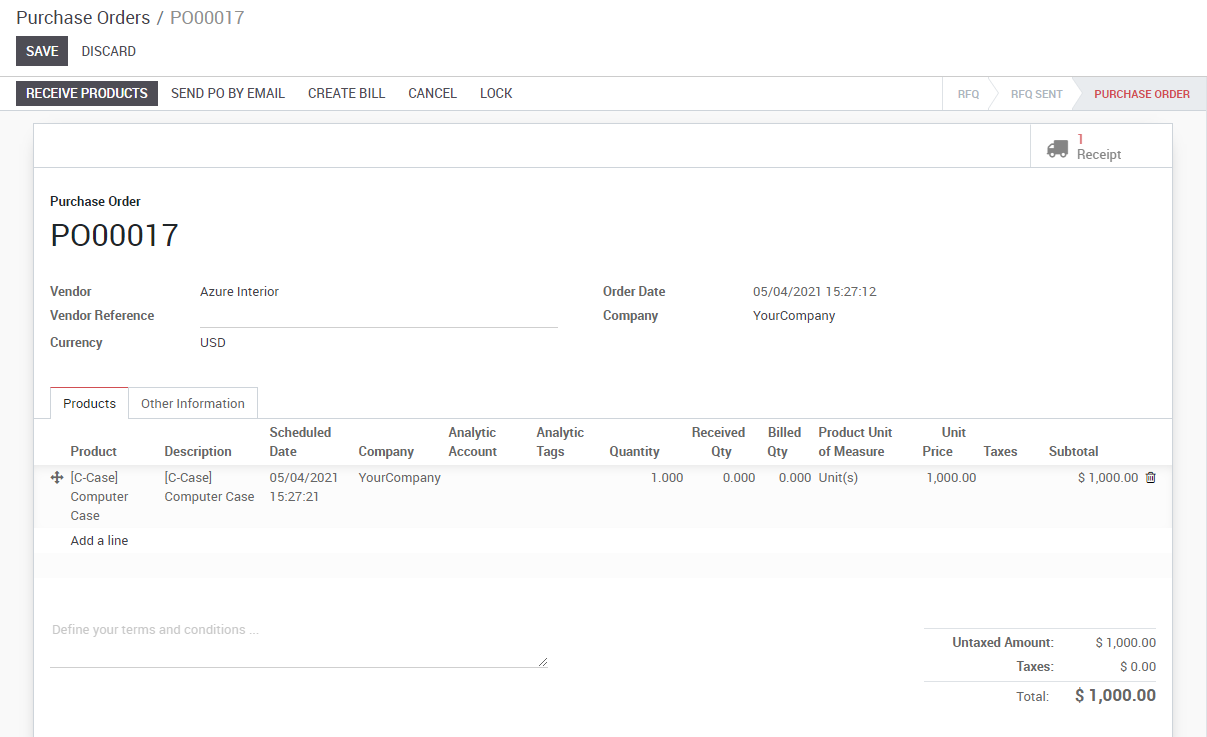
- Supplier lead time:
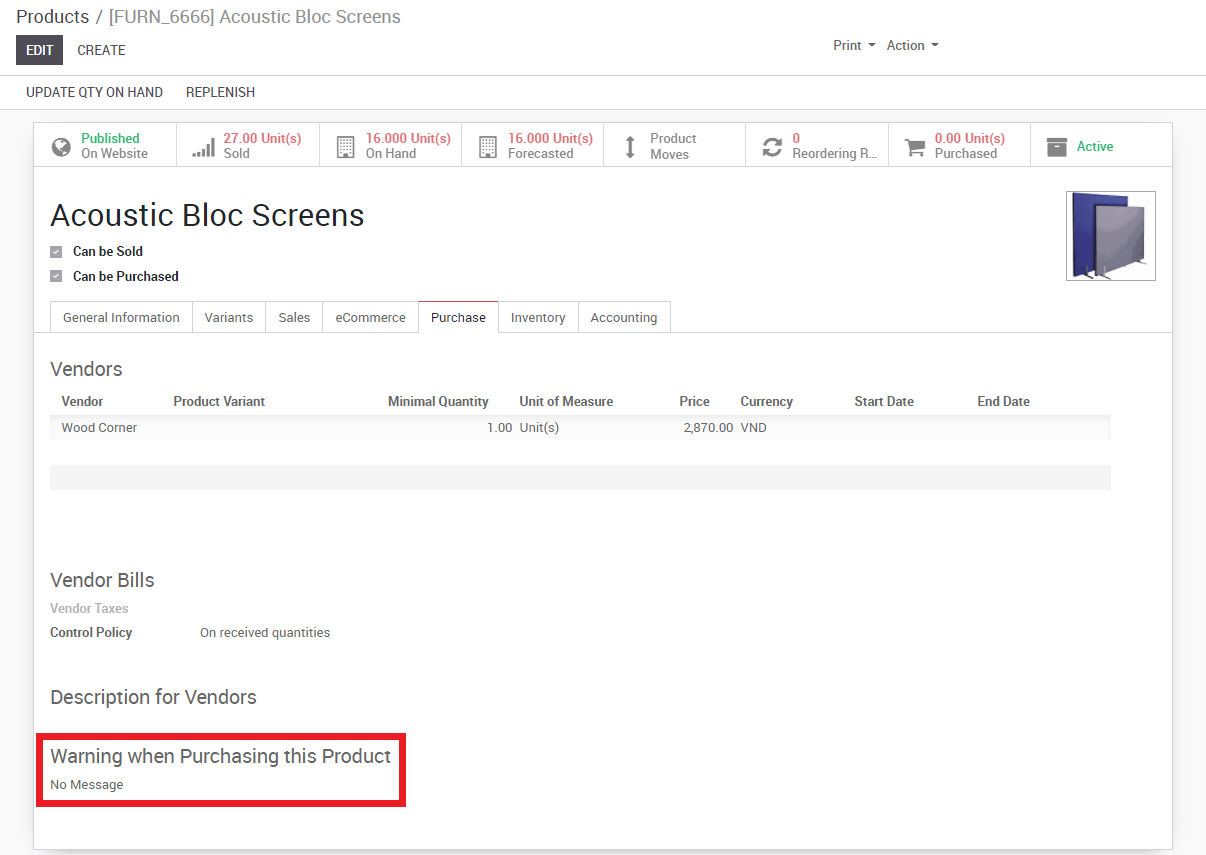
Is the time needed for the supplier to deliver your purchased product. To configure the supplier lead time select a product, and go in the Inventory tab. You will have to add a vendor to your product in order to select a supplier lead time.
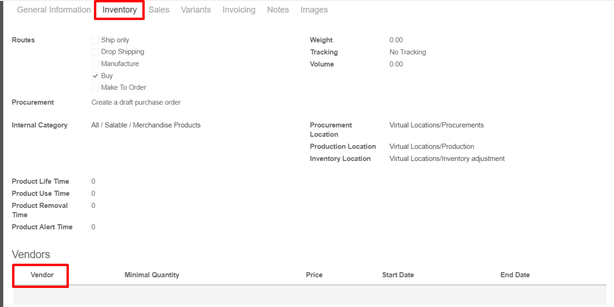
Note: Do not forget that it’s possible to add different vendor and thus different delivery lead times depending on the vendor
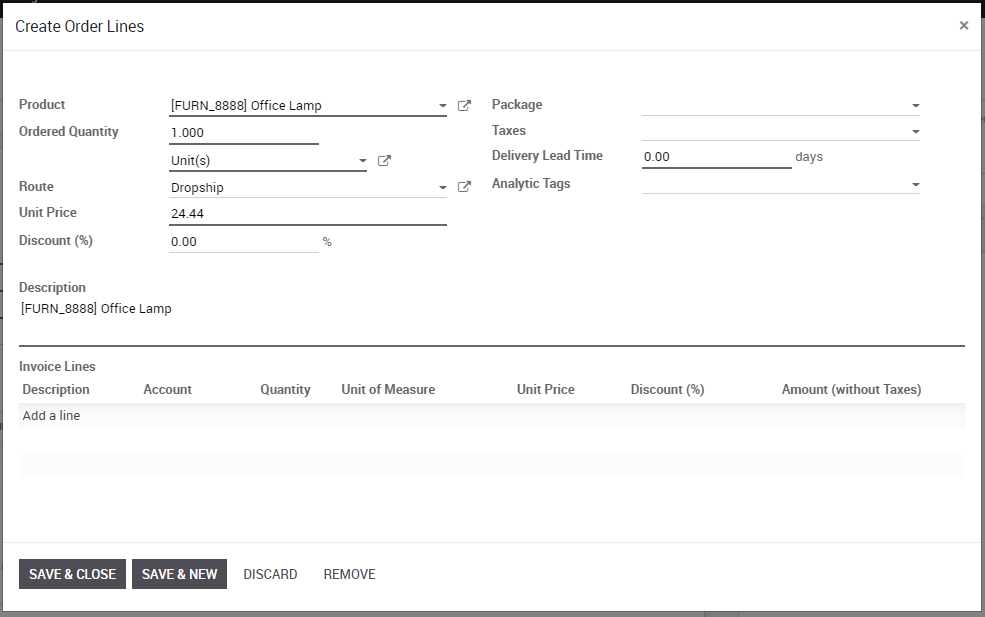
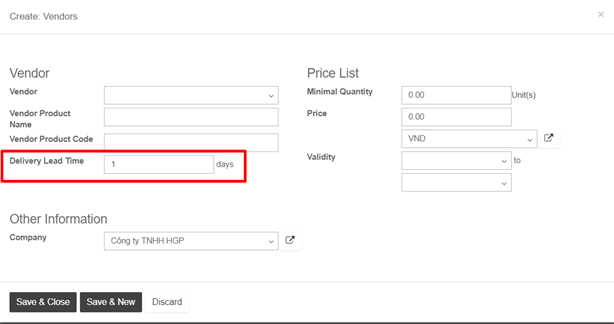
Once a vendor is selected, just open its form and fill its Delivery lead time. In this case security days have no influence, the scheduled delivery days will be equal to: Date of the purchase order + Delivery Lead Time.
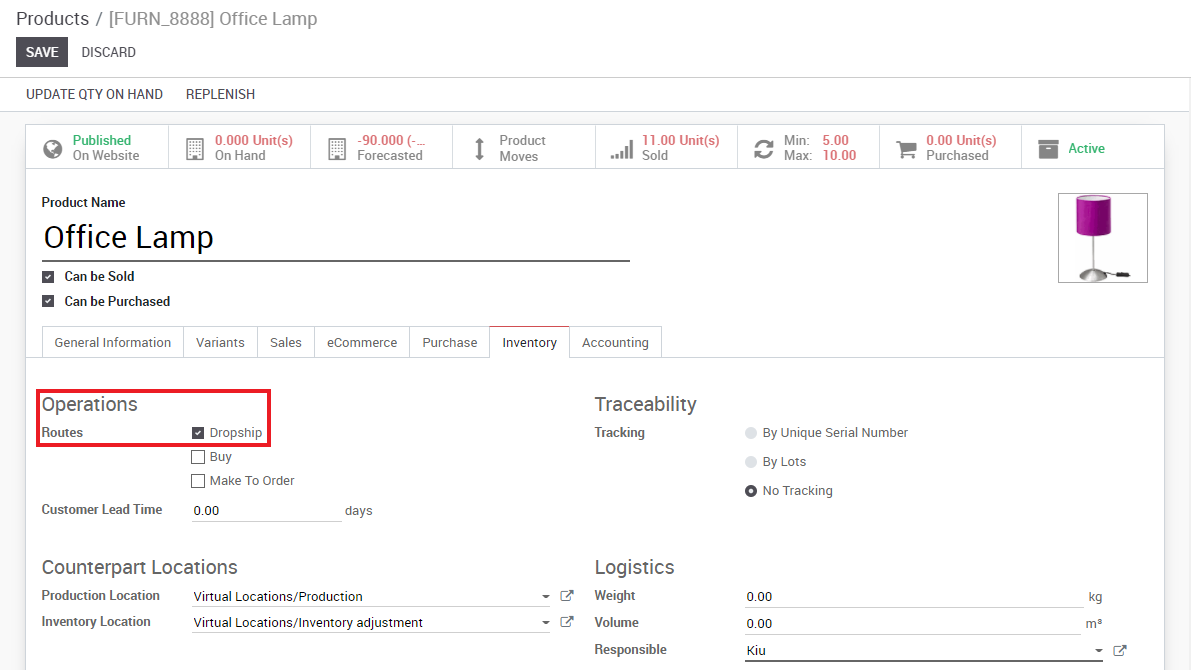
- Customer lead time:
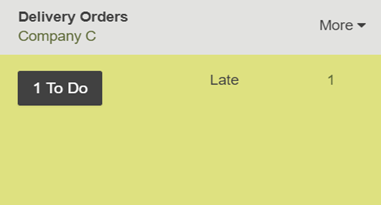
Customer lead time is the time needed to get your product from your store / warehouse to your customer. It can be configured for any product. Simply select a product, go into the sales tab and indicate your Customer lead time.
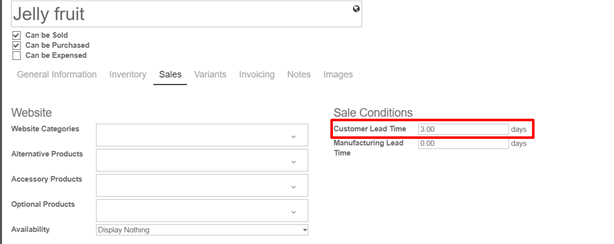
- Manufacturing lead time:
At the same page it is possible to configure the Manufacturing Lead Time as well. Manufacturing lead time is the time needed to manufacture the product.
Note: Don’t forget to tick the manufacturing box in inventory if you want to create manufacturing routes
- At route level
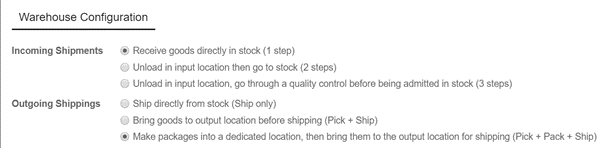
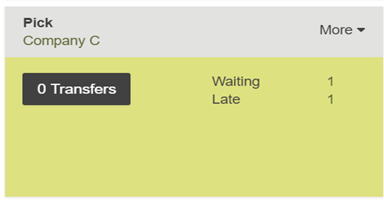
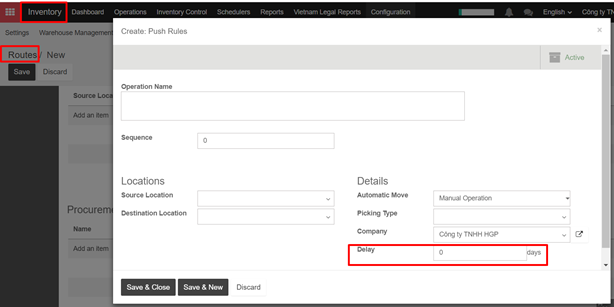
The internal transfers that a product might do due to the movement of stocks can also influence the computed date. The delays due to internal transfers can be specified in the Inventory app when creating a new push rule in a route.
Go to the push rules section on a route form to set a delay.
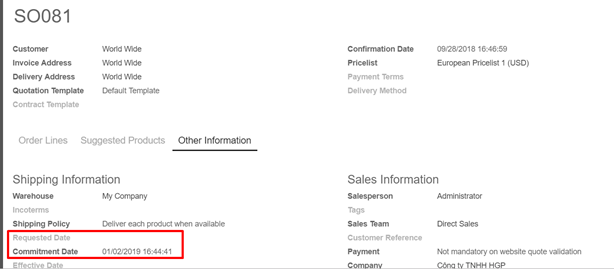
- At sale order level:
- Requested date:
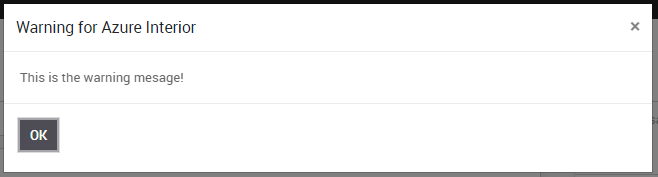
Kiu offers the possibility to select a requested date by the client by indicating the date in the other information tab of the sales order. If this date is earlier than the theoretically computed date, the system will automatically display a warning.