8.3. How journal entries on Kiu BMP were automatically generated?

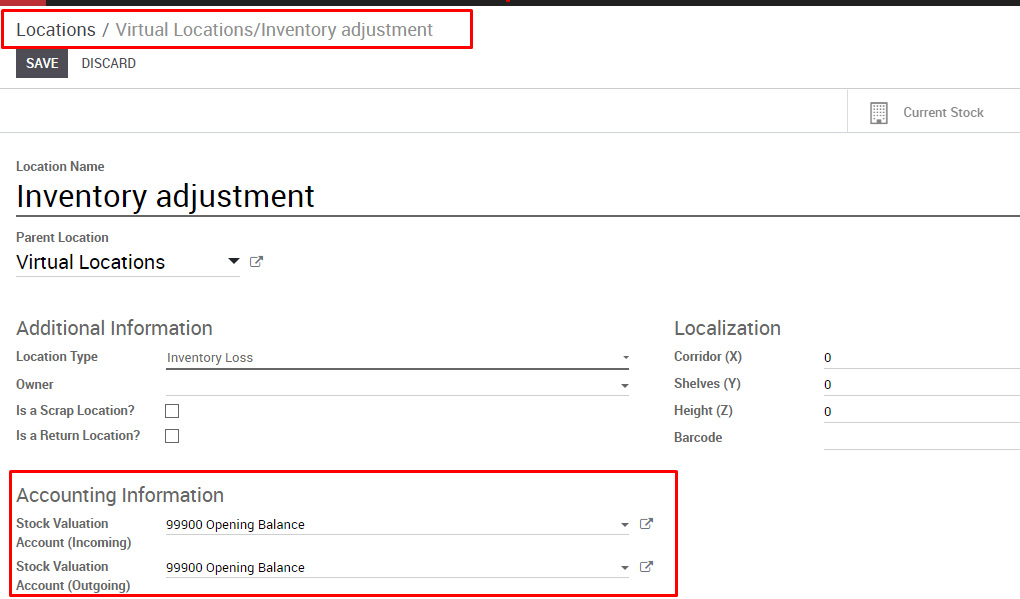
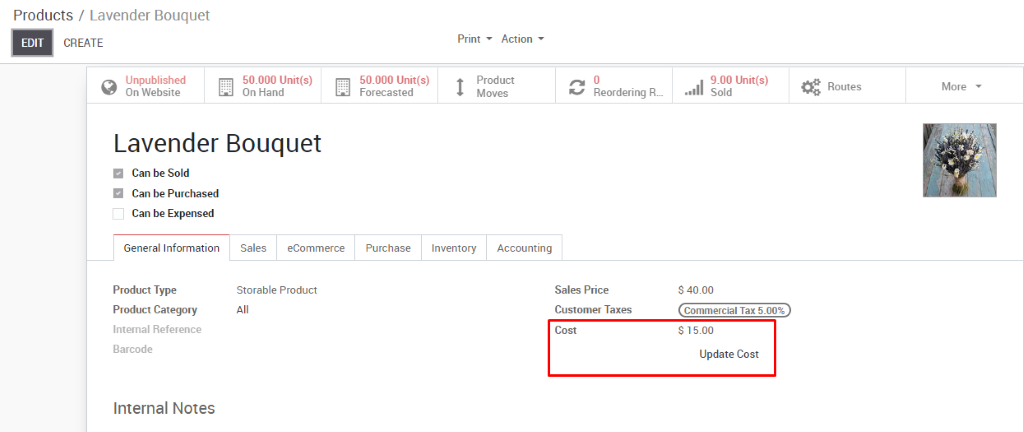
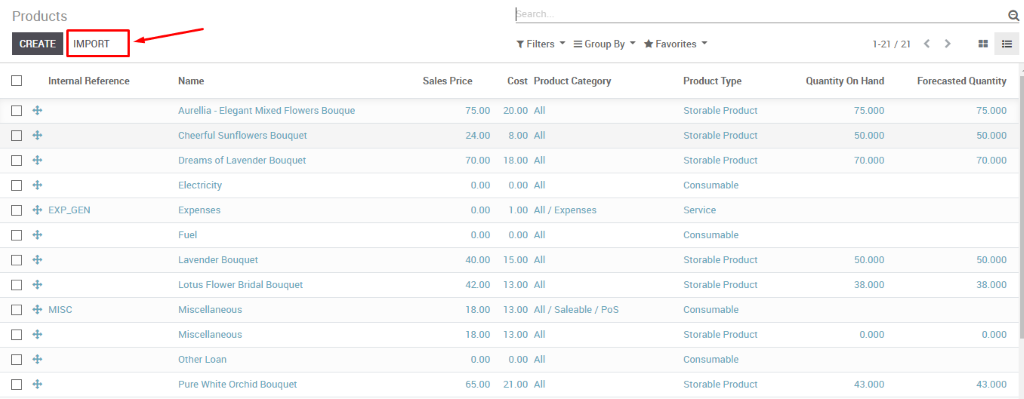
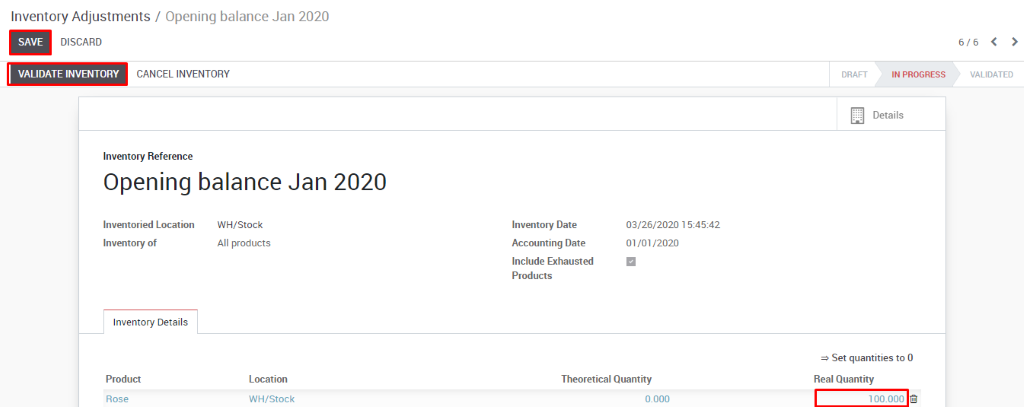
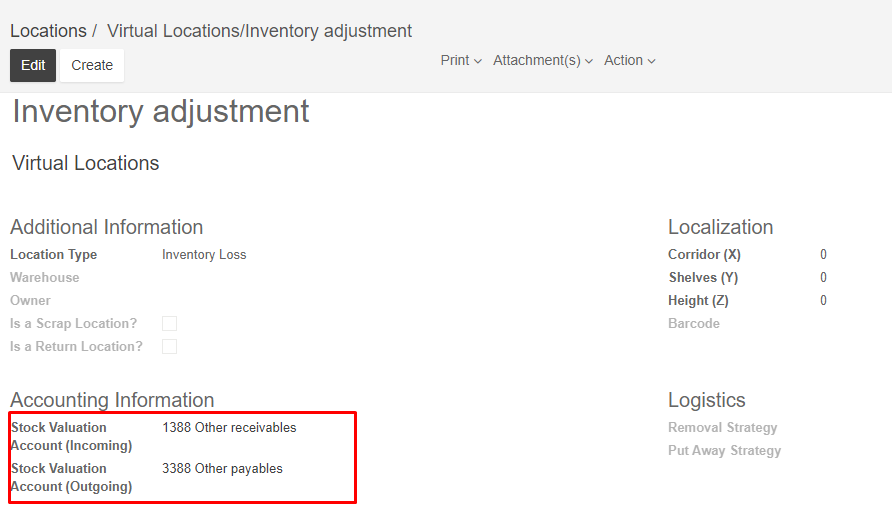
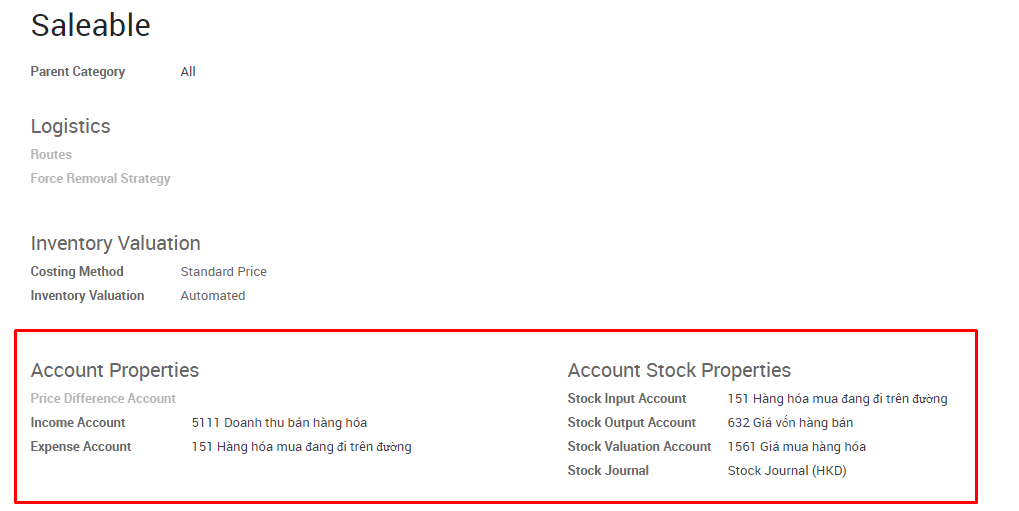
Journal entries related to product: base on the Internal category setting up on the product form

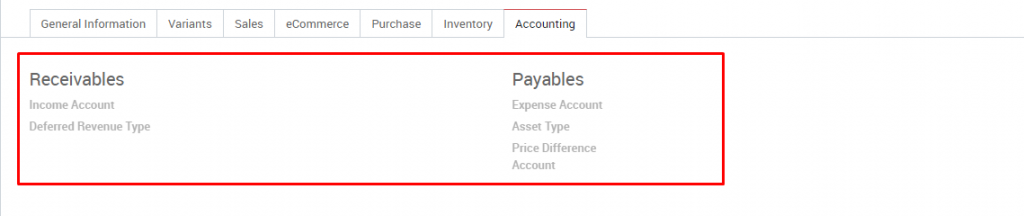
Note: The system will take value from the Accounting tab first. If there is no setting information here, the system will get value from Internal category

To check the journal entries related to these products, user can check at accounting journal for product here, it usually  Stock journal

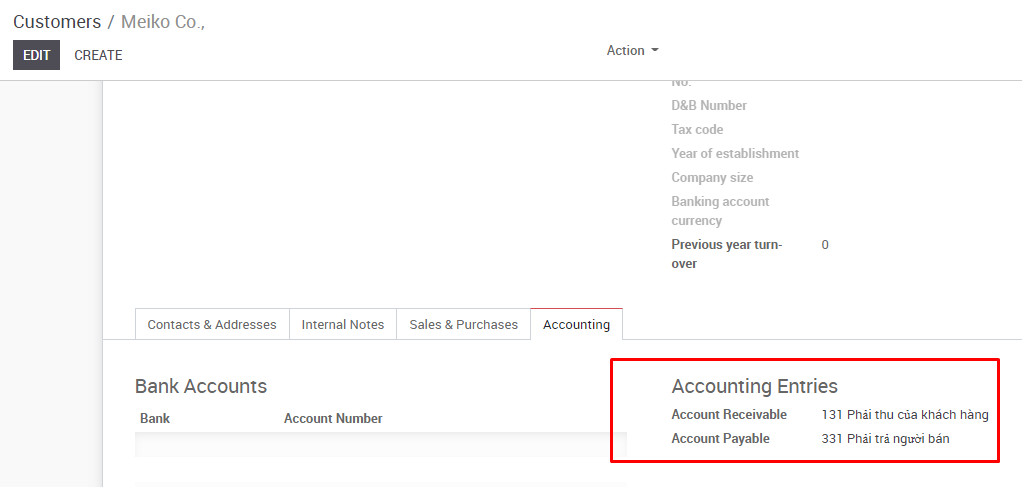
When recording vendor bills and customer invoices, the system will record account receivable and account payable as in Contract form

To check the journal entries related to these invoices, user can check at Vendor bill journal and Customer invoice journal

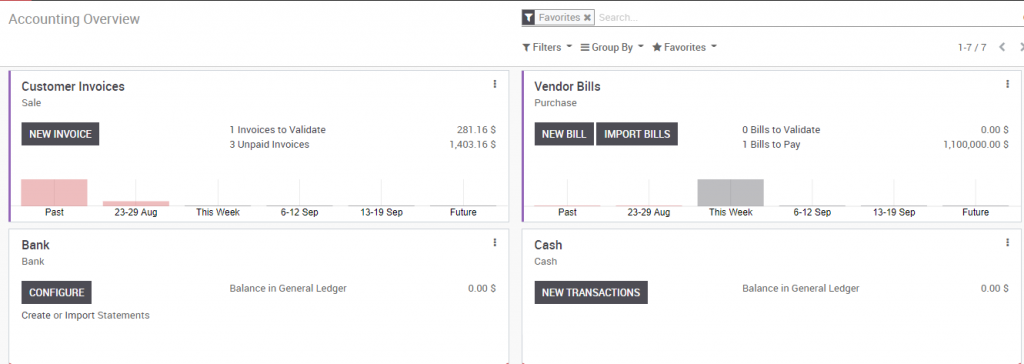
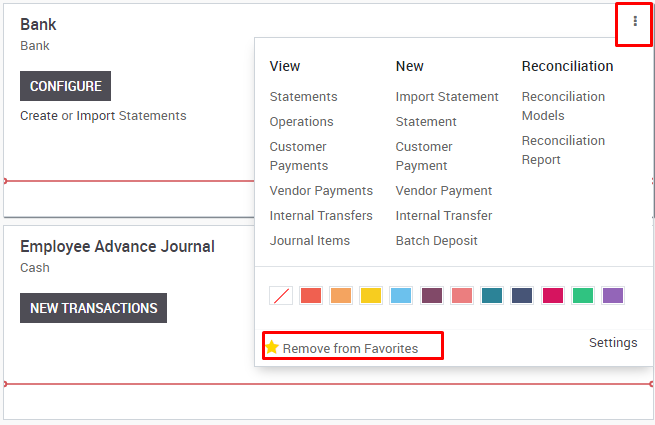
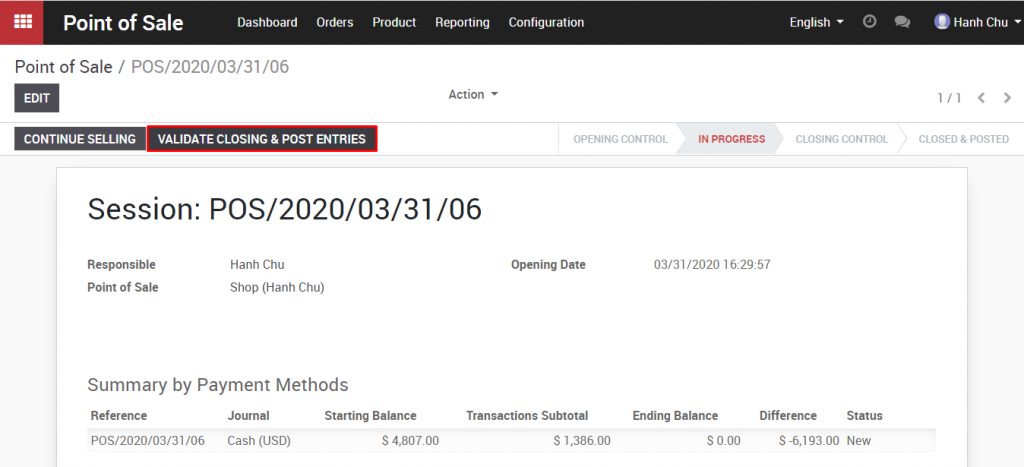
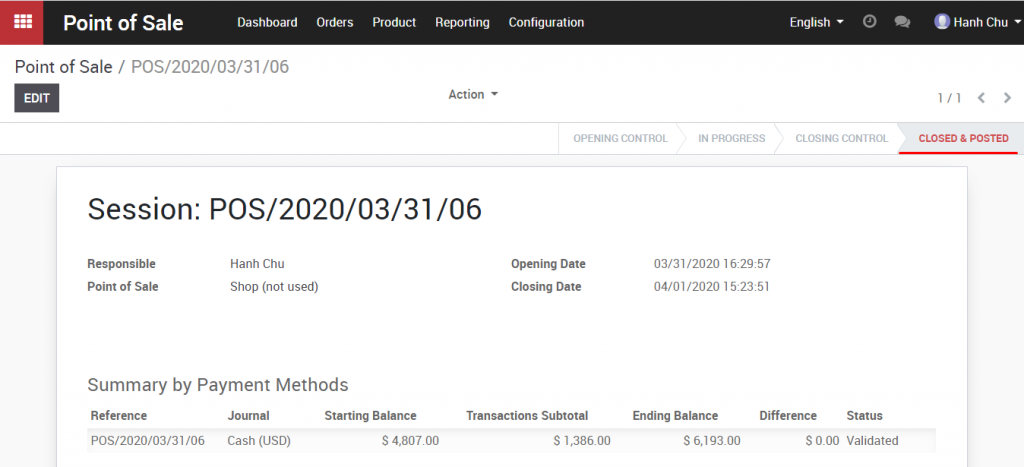
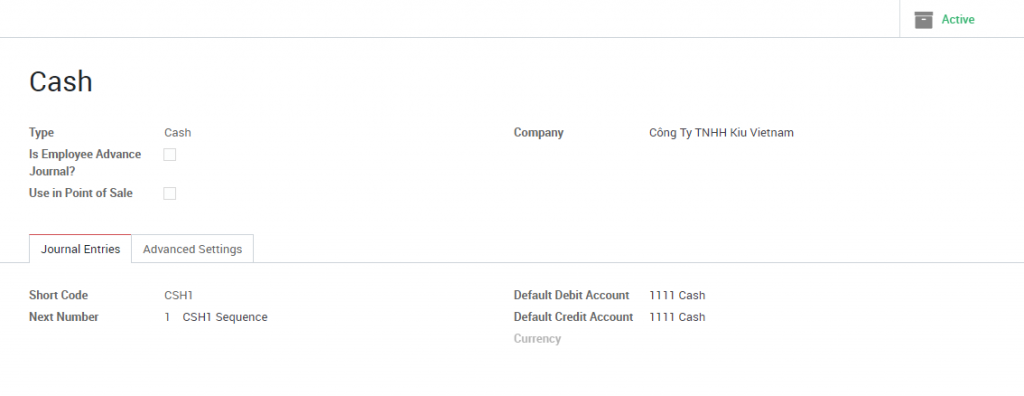
When recording payment, system will record account which was set up in Cash/Bank journal

To check the journal entries, user can check at Cash journal and Bank journal

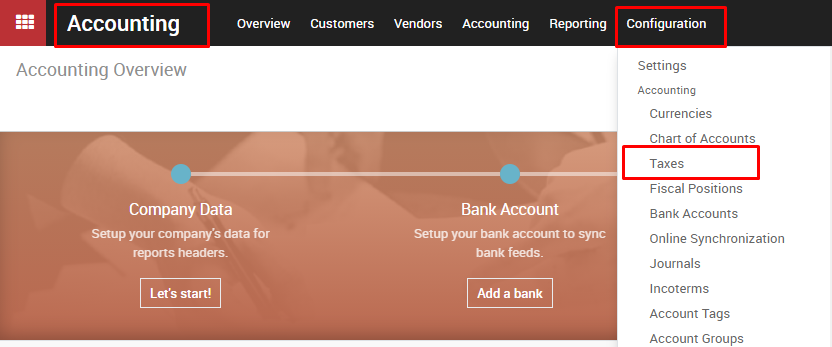
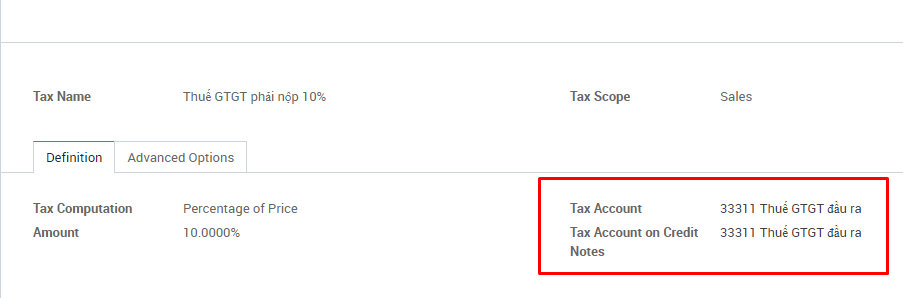
When recording the transaction related to taxes, the system will takes value from Tax menu

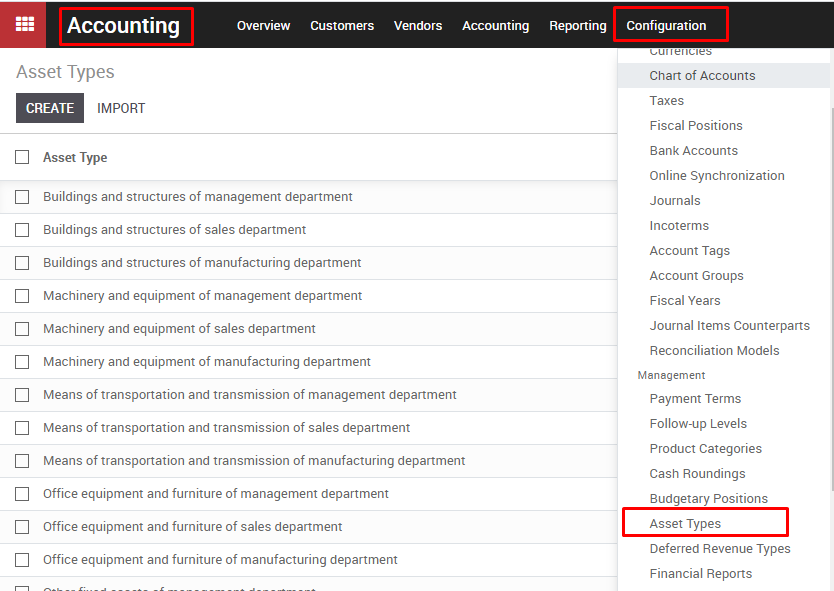
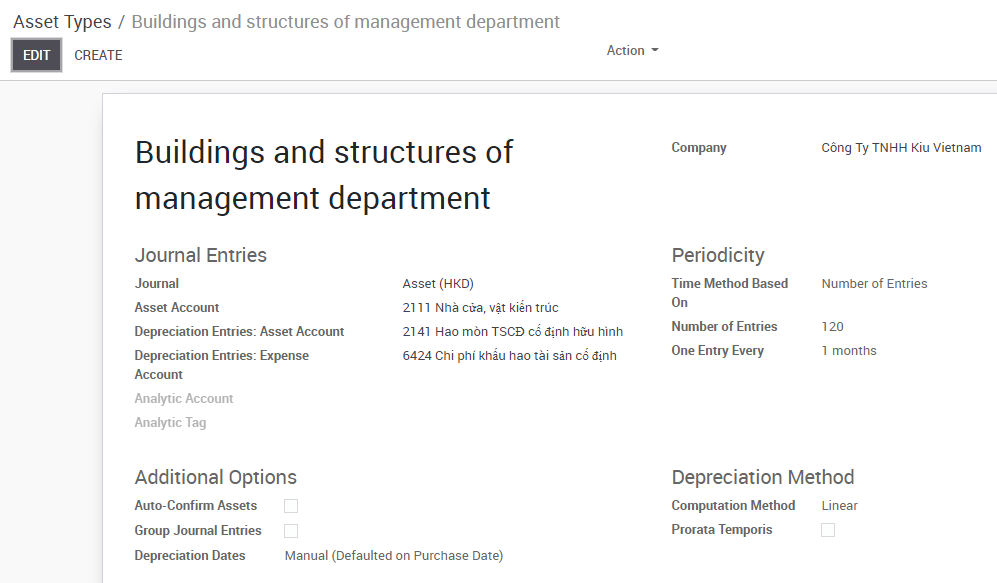
When recording the transaction related to asset, system will takes value from Asset menu

8.2. CREATE VENDOR BILL, CUSTOMER INVOICE AND REGISTER PAYMENT

Customer invoice:

Salesperson is responsible for creating draft invoices (from the Sales module). The accountant just needs to go to Accounting >>Customer >> Customer Invoices, then select the correct bill draft, check the invoice information, then click Confirm.

Vendor bill:

Go to Accounting >> Vendor >> Vendor bills, click on “ Create” button

  • Choose Vendor
  • In the field “ Auto-Complete”, the system will suggest all purchase orders related to that supplier. The accountant chooses the exact order to create a vendor bill (the system informs the bill value), the order’s information will be automatically updated. The accountant just needs to check the information and then click Confirm.
  •  

Register a payment: 

  • Accounting module >> Vendors>> Payment
  • Accounting module >> Customers >> Payment

8.1. OVERVIEW

Dashboard displays information from accounting journals. The customer invoice journal shows invoices waiting for confirmation, total pending payment. User can click on this information to view more detailed information.

Not all accounting records are displayed on a dashboard. To choose an accounting journal that displays regularly on the dashboard, user can follow these steps:

  • Remove the Favorites filter that is set by default in the search bar.
  • Select the accounting journal you want to save in the Favorites filter. Click Add. Then click the star icon next to the word Favorites to make it turn yellow.
  •  


7.6. Inventory report

To check the current stock and value of all products in internal location, go to Inventory module-> Vietnam legal reports

7.5.2. How to process a delivery

Same as receipt process above, you can retrieve the delivery order in 2 ways:

→ From the sale order:

On the top right of your sale order, you will see a button with the related Delivery:


Click on it to see the Transfer order.

→ From the Inventory Dashboard:

When opening the Inventory Module, click on # to do to see the list of your receipts to process.

Note: If the product is not in stock, the sales order will be listed as Waiting on your dashboard.

To process the stock transfer. Simply click on Validate to complete the transfer. A message will appear asking if you want to process the whole order, accept it by clicking on Apply.

7.5.1. How to process a receipt

You can retrieve the receipt order in 2 ways:

→ From the purchase order

On the top right of your confirmed purchase order, you will see a button with the related Receipt:


Click on it to see the Transfer order.

→ From the Inventory Dashboard

When opening the Inventory module, click on # to receive to see the list of your deliveries to process.

In the list, click on the one related to the purchase order:

To process the stock transfer. Simply click on Validate to complete the transfer. A message will appear asking if you want to process the whole order, accept it by clicking on Apply.

In case you receive a part of your PO, just click Edit or pen icon


7.1. Create opening balance

Create accounts to record initial inventory balance: Go to Inventory module -> Choose Configuration-> Locations-> Virtual locations/ Inventory adjustment -> Fill Opening Balance account in Accounting information field-> Save

Update cost of goods sold: You can update the cost of goods sold of a product manually in product form or you can use the import function for mass data. Go to Inventory module-> Inventory control -> Products

Or choose the import button to update Cost of many products.

Record opening balance for inventory: There are two methods of create initial quantity for inventory 

Method 1: Update inventory quantity on hand manually 

Go to Inventory module-> Inventory control-> Inventory adjustments-> Create-> Choose and fill information for reference fields including Inventoried location, accounting date, etc,..-> Start inventory 

Update actual quantity of products in real quantity field -> Validate inventory-> Save

Method 2: Update real quantity via importation 

Go to Inventory module -> Inventory control-> Inventory adjustments-> Import-> Validate 

Revise the Stock Valuation Account: After you have finished entering the opening balance for the products. On the toolbar, select Configuration-> Locations-> Virtual location/ Inventory adjustment. Change Stock valuation account (Incoming) and Stock valuation account (outgoing) suitable to your company’s accounting method.

(Example) 

6.5.2. Sales details

Step 1: Follow the link POS > Reporting > Sales Details to open report

Step 2: Input time range parameter and click Print. The report will be downloaded automatically in pdf format.

Step 3: Open the downloaded report and check your sales details.

6.5.1. Orders report

Step 1: Follow the link POS > Reporting > Orders to open report

Step 2: Make use of function buttons to have order report display in graph or pivot table (excel format)

Step 3: In excel format, users can expand orders analysis by using existing parameters (e.g. by salesman, by product, by order date, by customer, etc.) and function buttons.

Step 4: Download report. The report can be ONLY downloaded in excel format.

6.4. How to close session

Step 1: To exit the POS interface, click Close.

Confirm the exit

Step 2: In POS Dashboard, click Close

Step 3: Check the session summary and click Validate closing & Post Entries

The session is successfully validated