KIU makes the recruitent process seamless by ensuring feasible HR Process. Here we have recruitment plugins related to HR. Officers or managers can create and launch various job positions for recruitment. For these positions users can either manually apply or through the website.
a. Create Job Openings
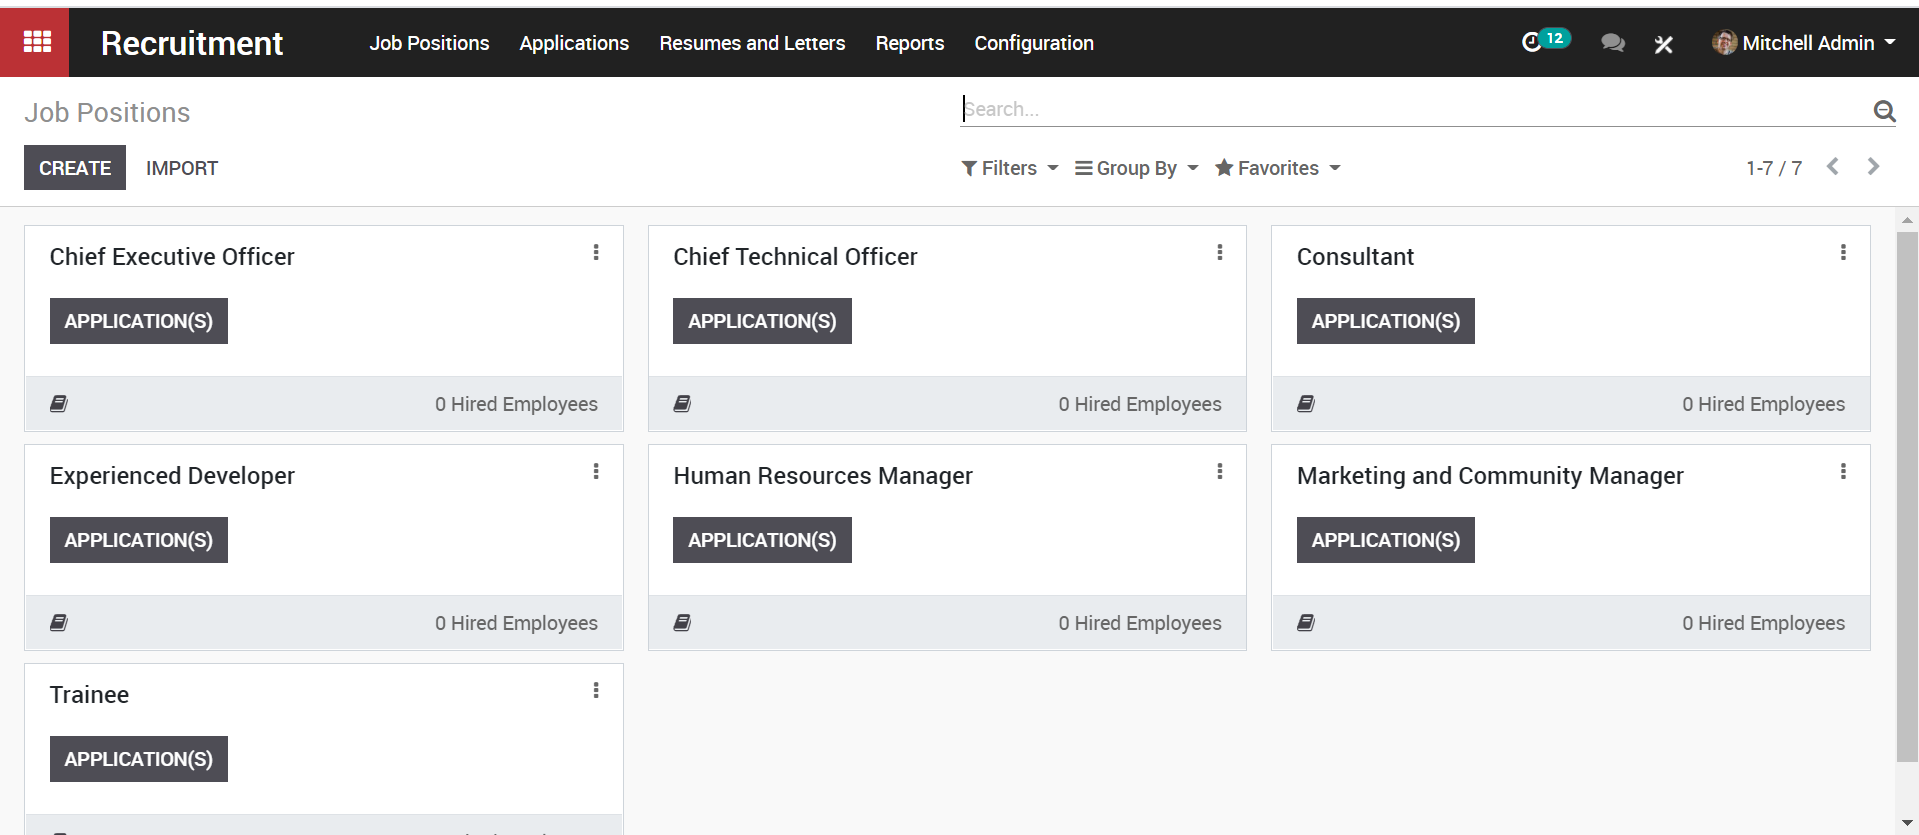
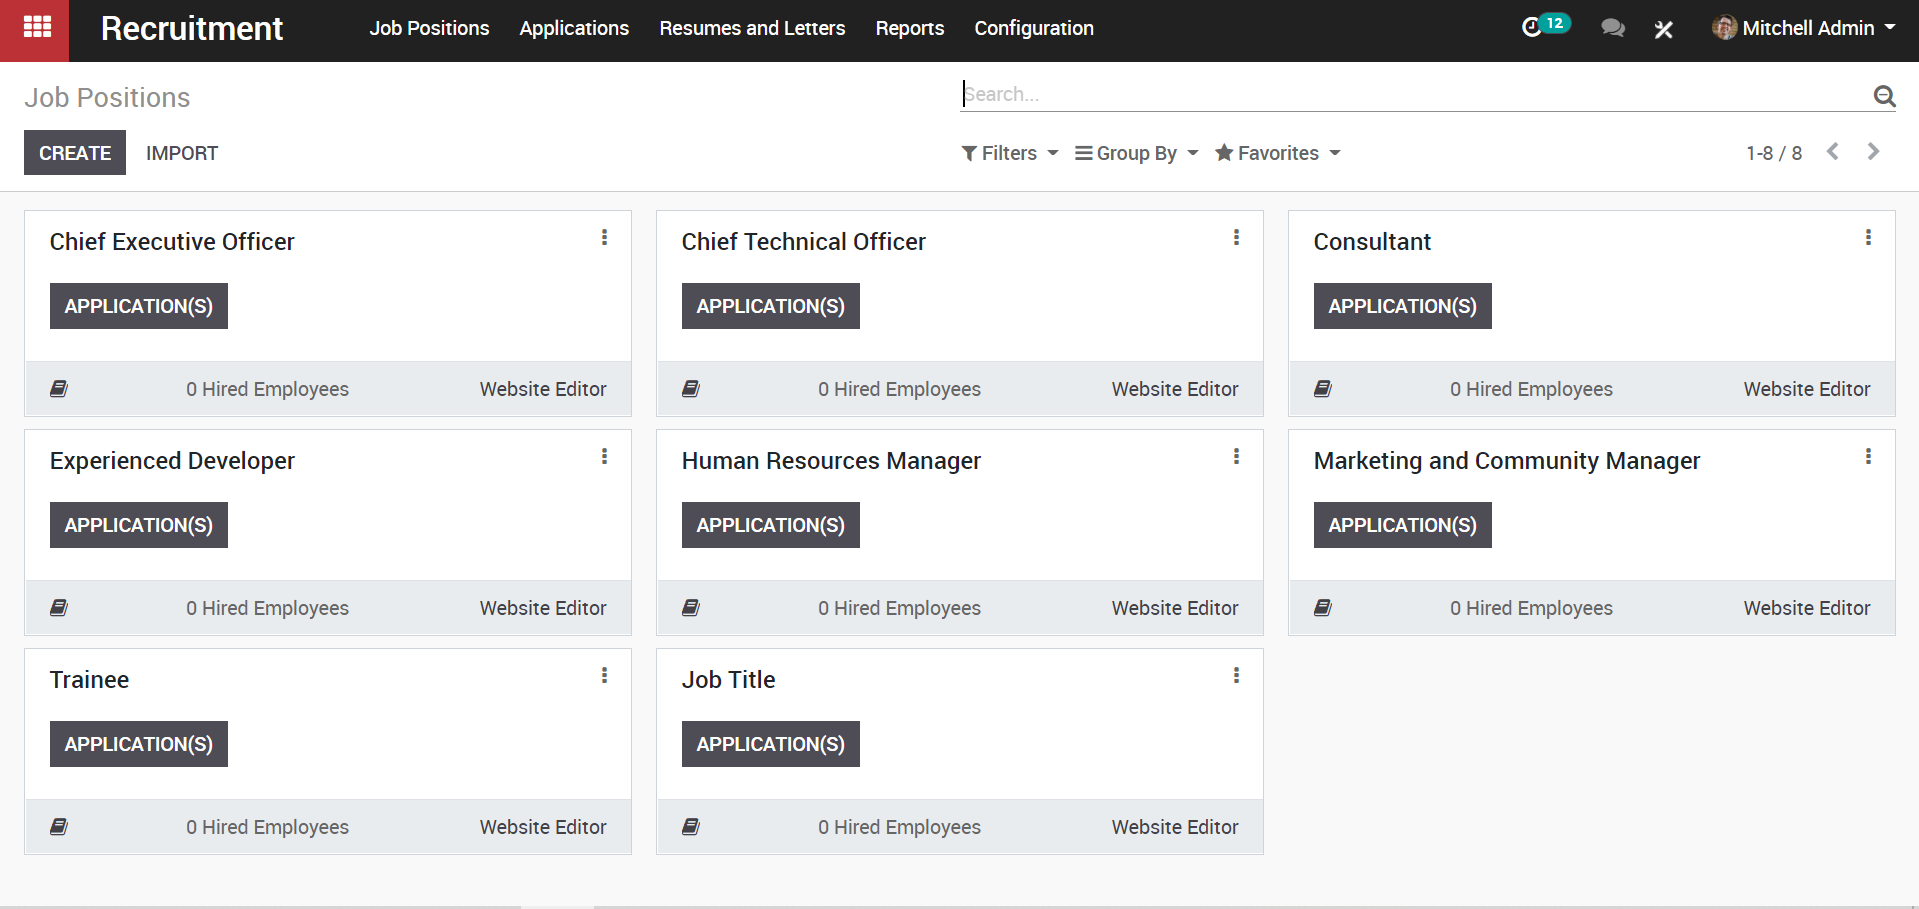
Firstly, go to the recruitment application. From here, one can gather the view of all the job decisions that the organization is currently recruiting for.
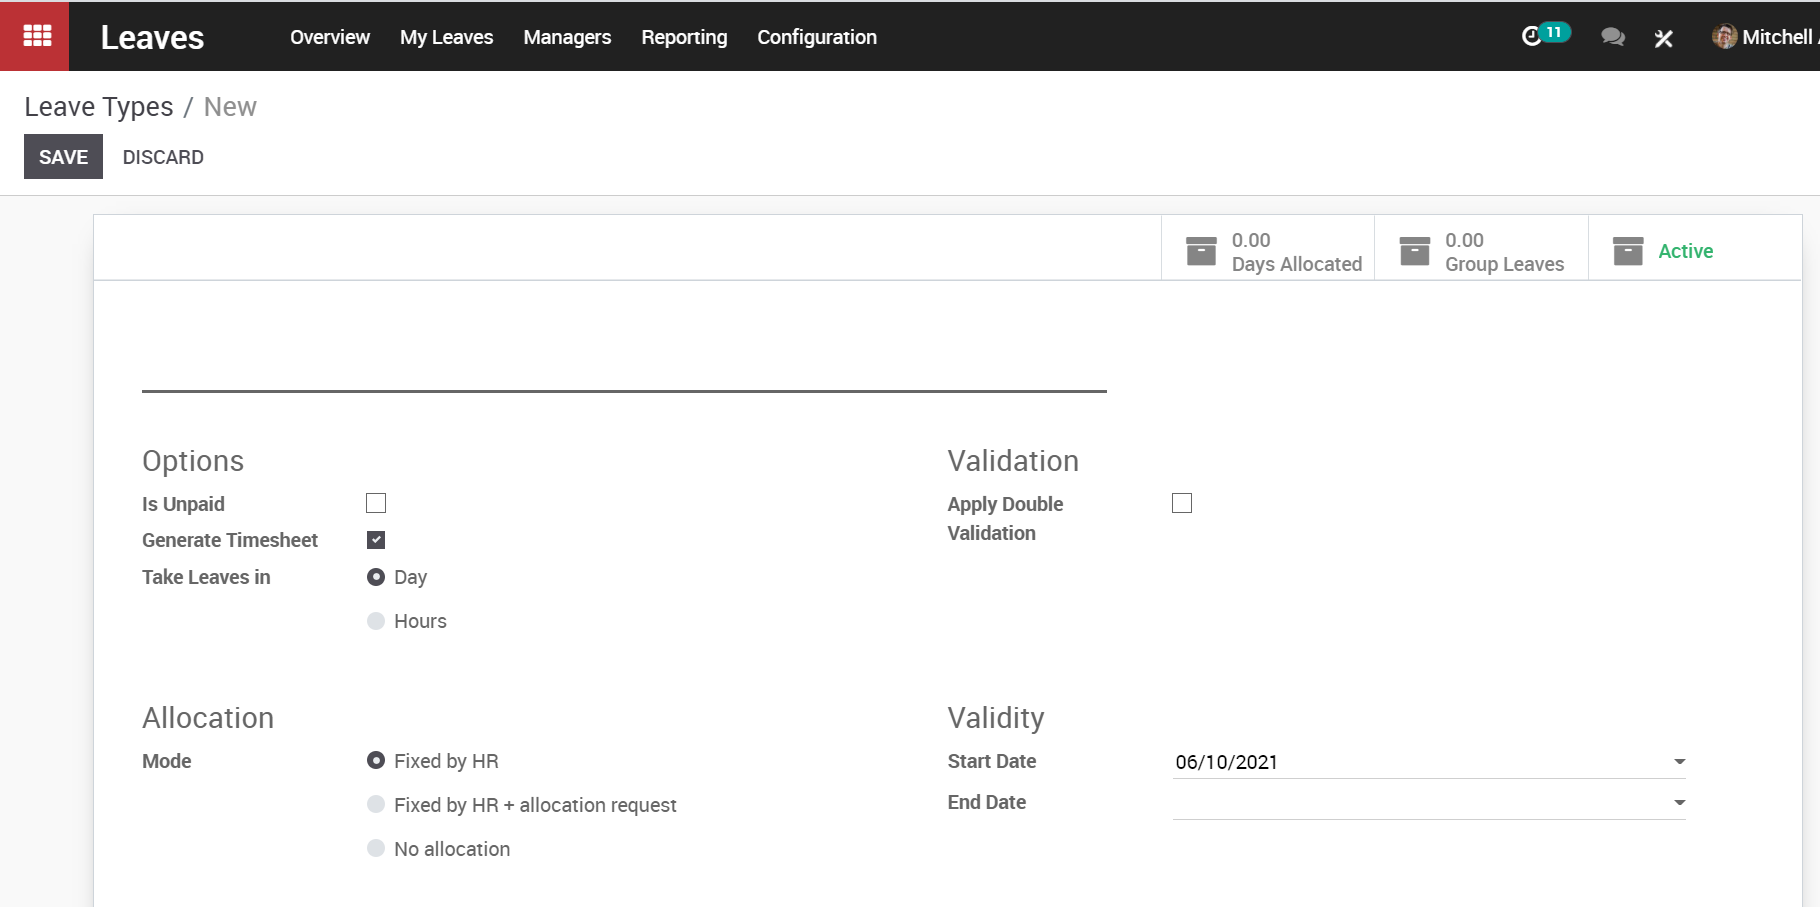
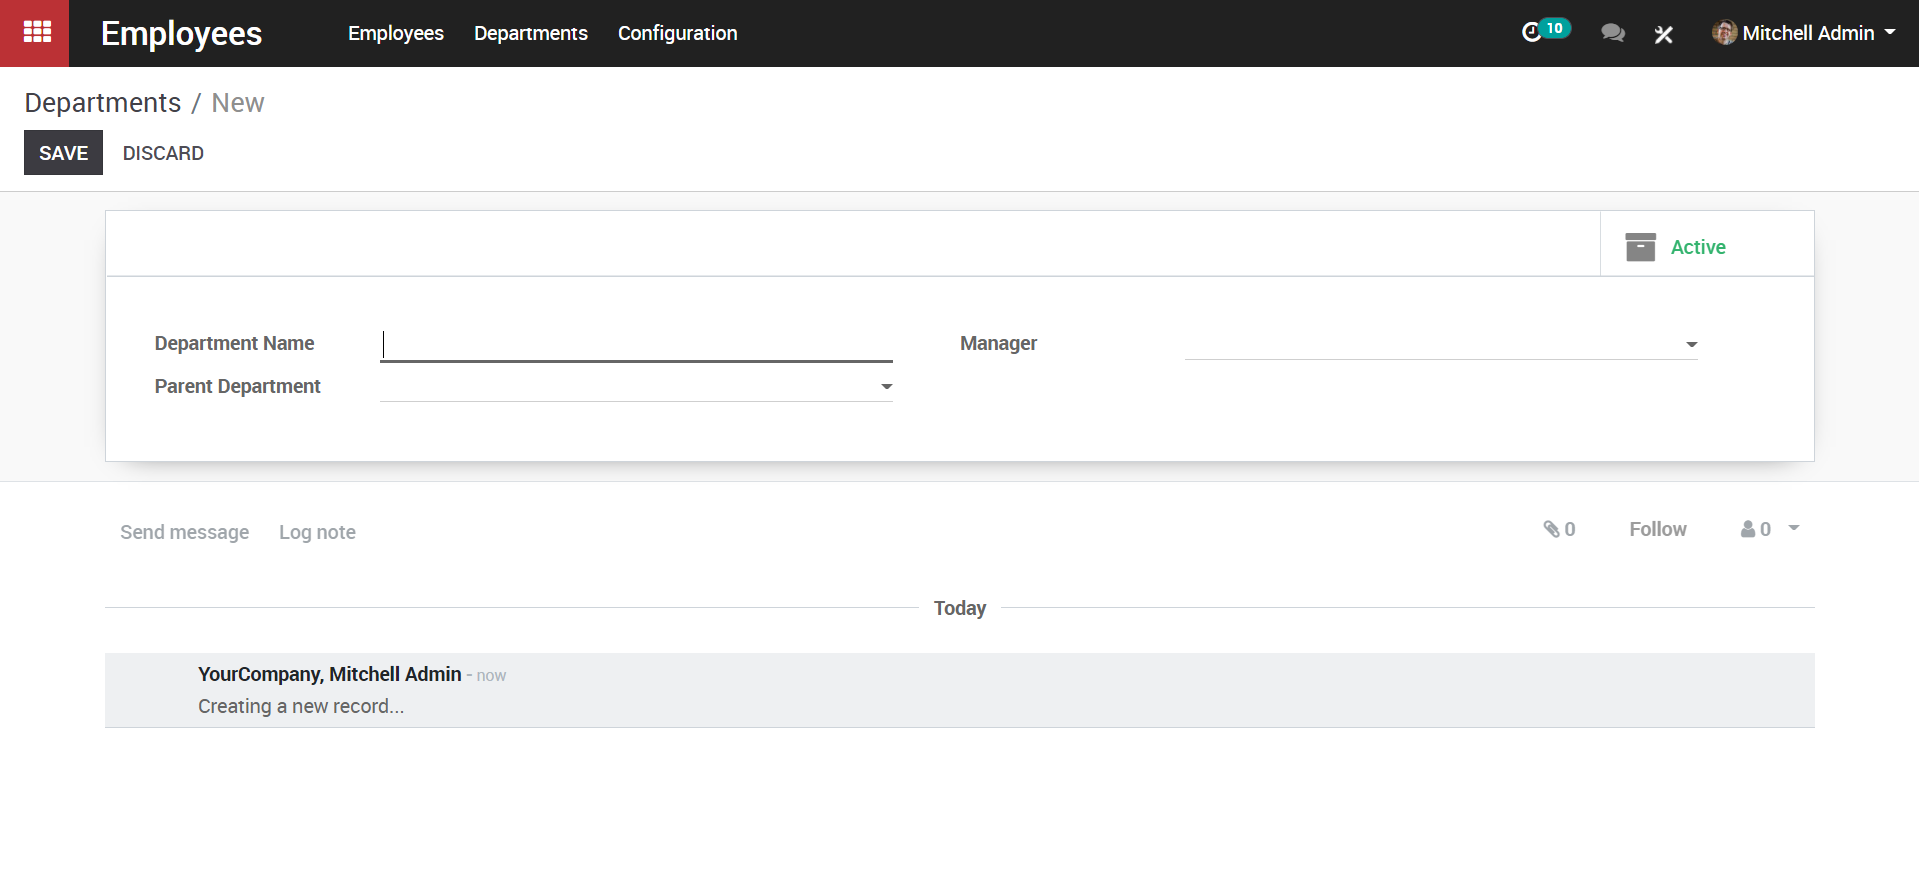
In order to create a new job position, go to Configuration->Job positions->Create.
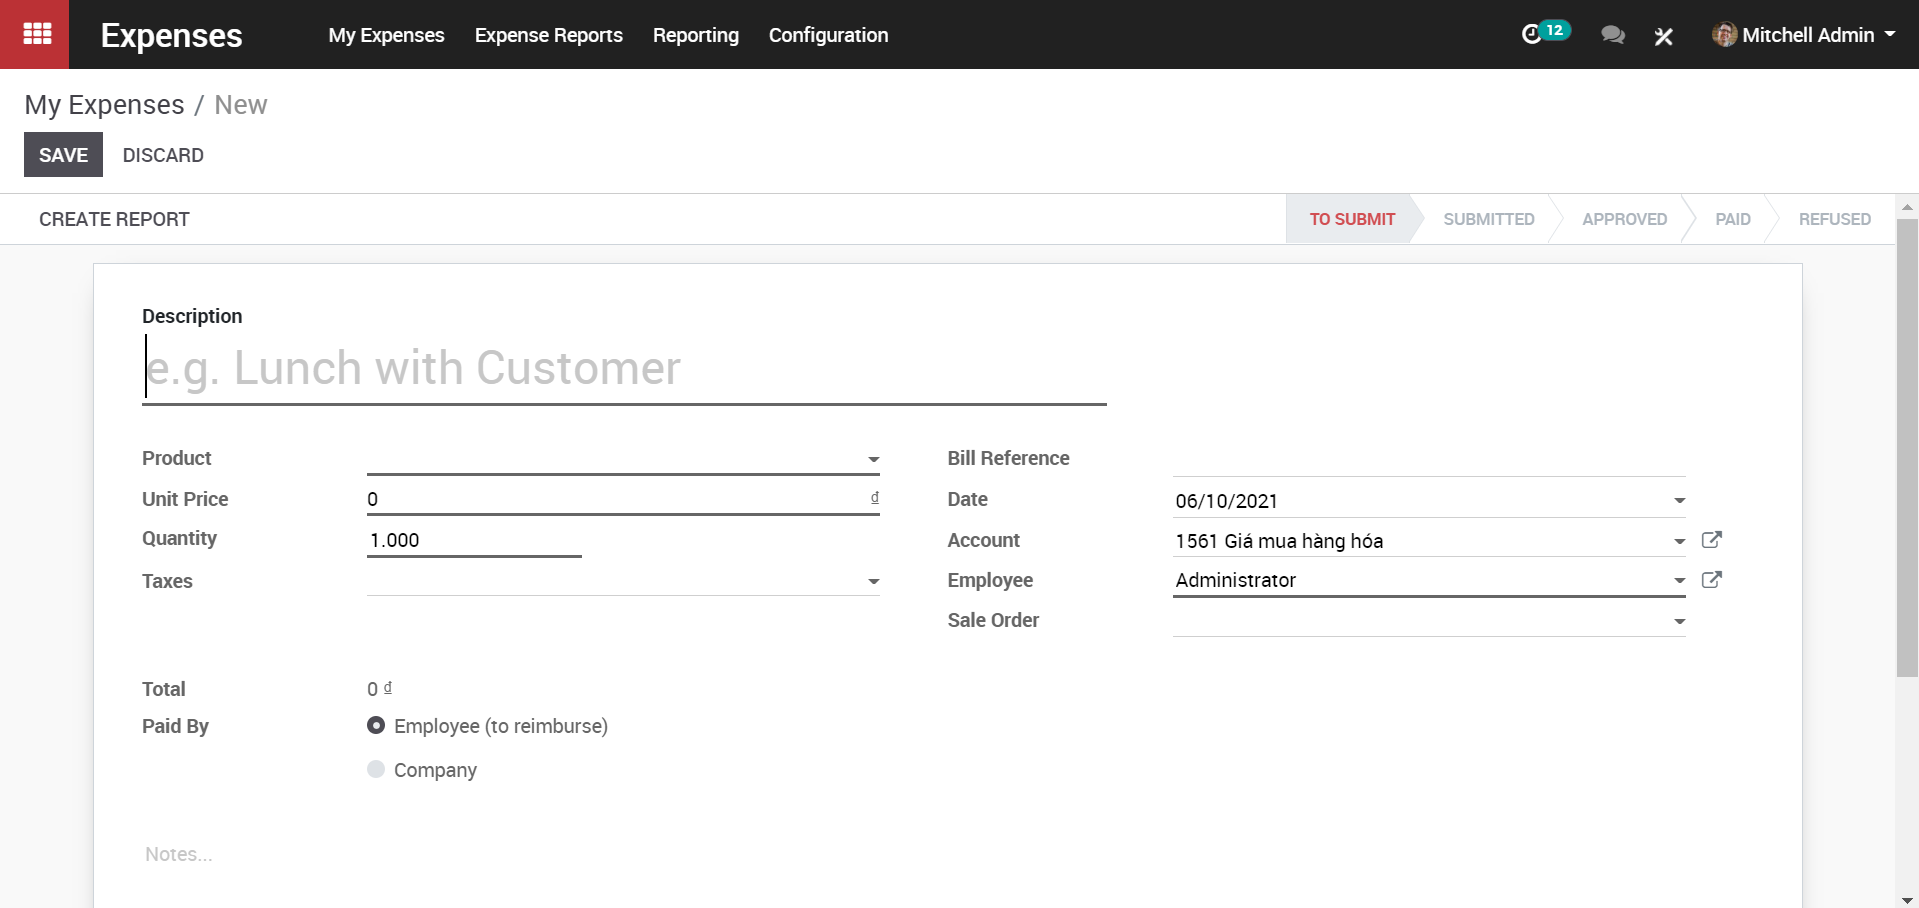
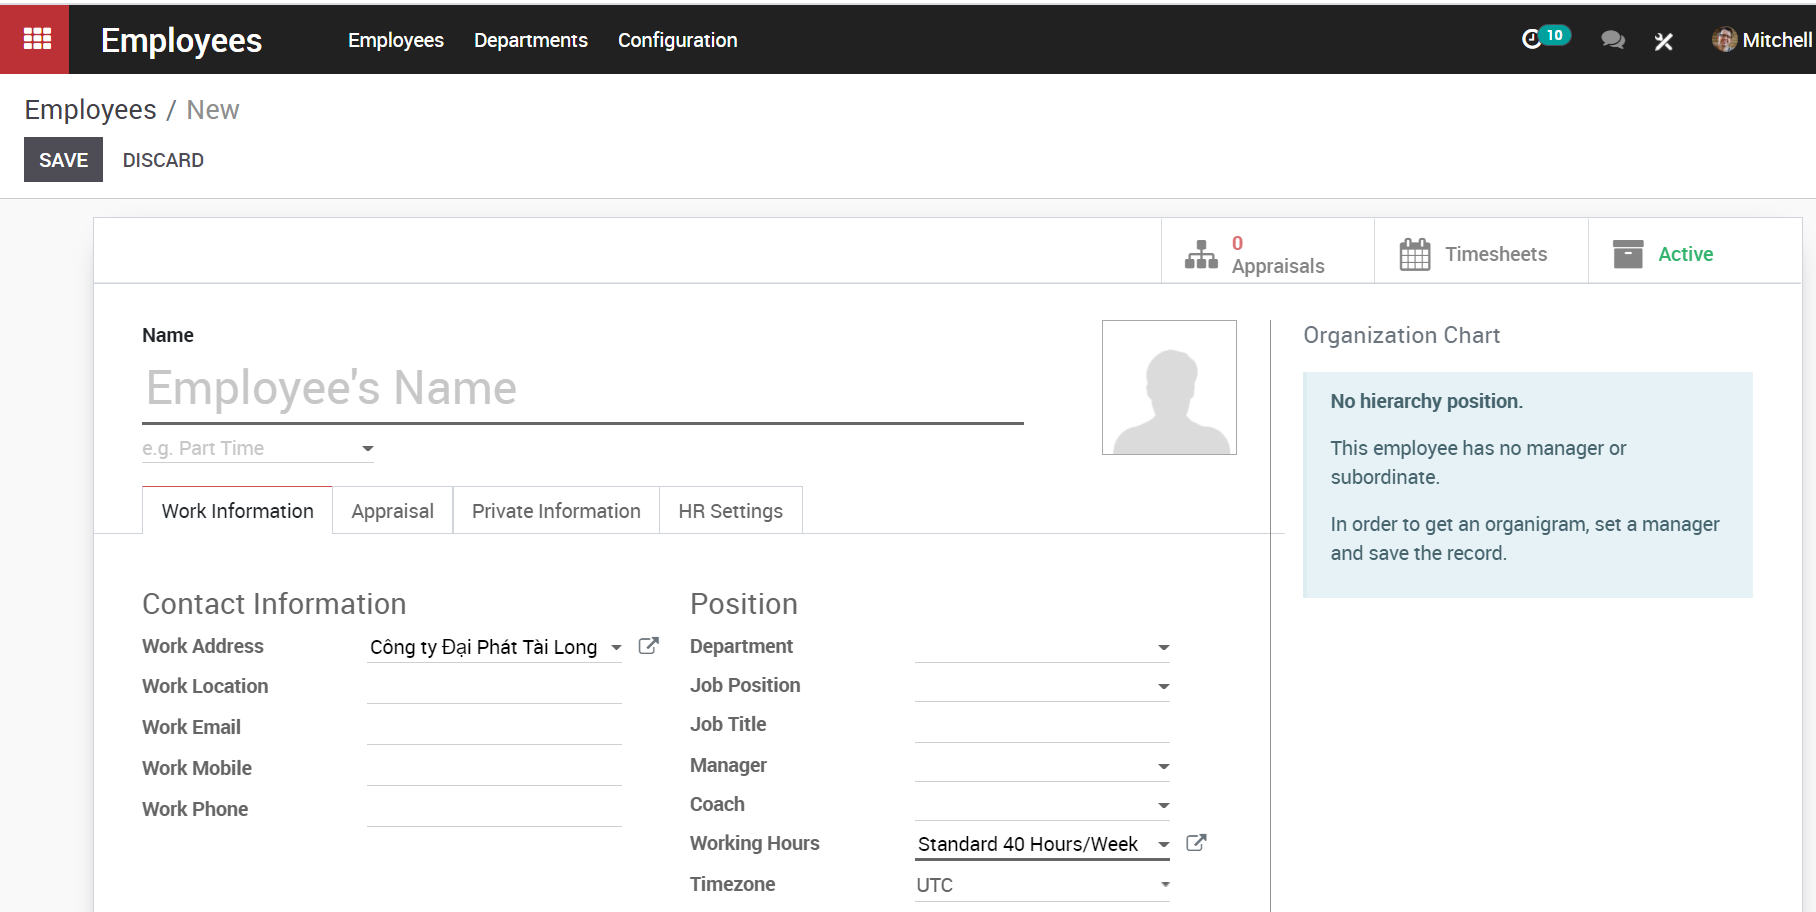
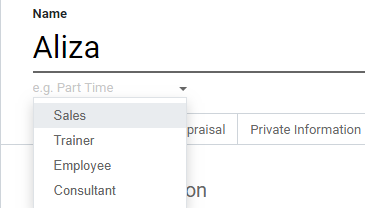
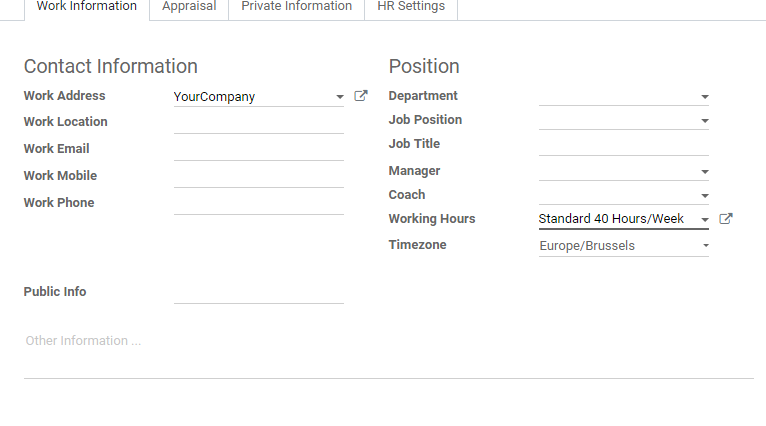
Upon clicking the CREATE button, you will be navigated to a new window just like below;
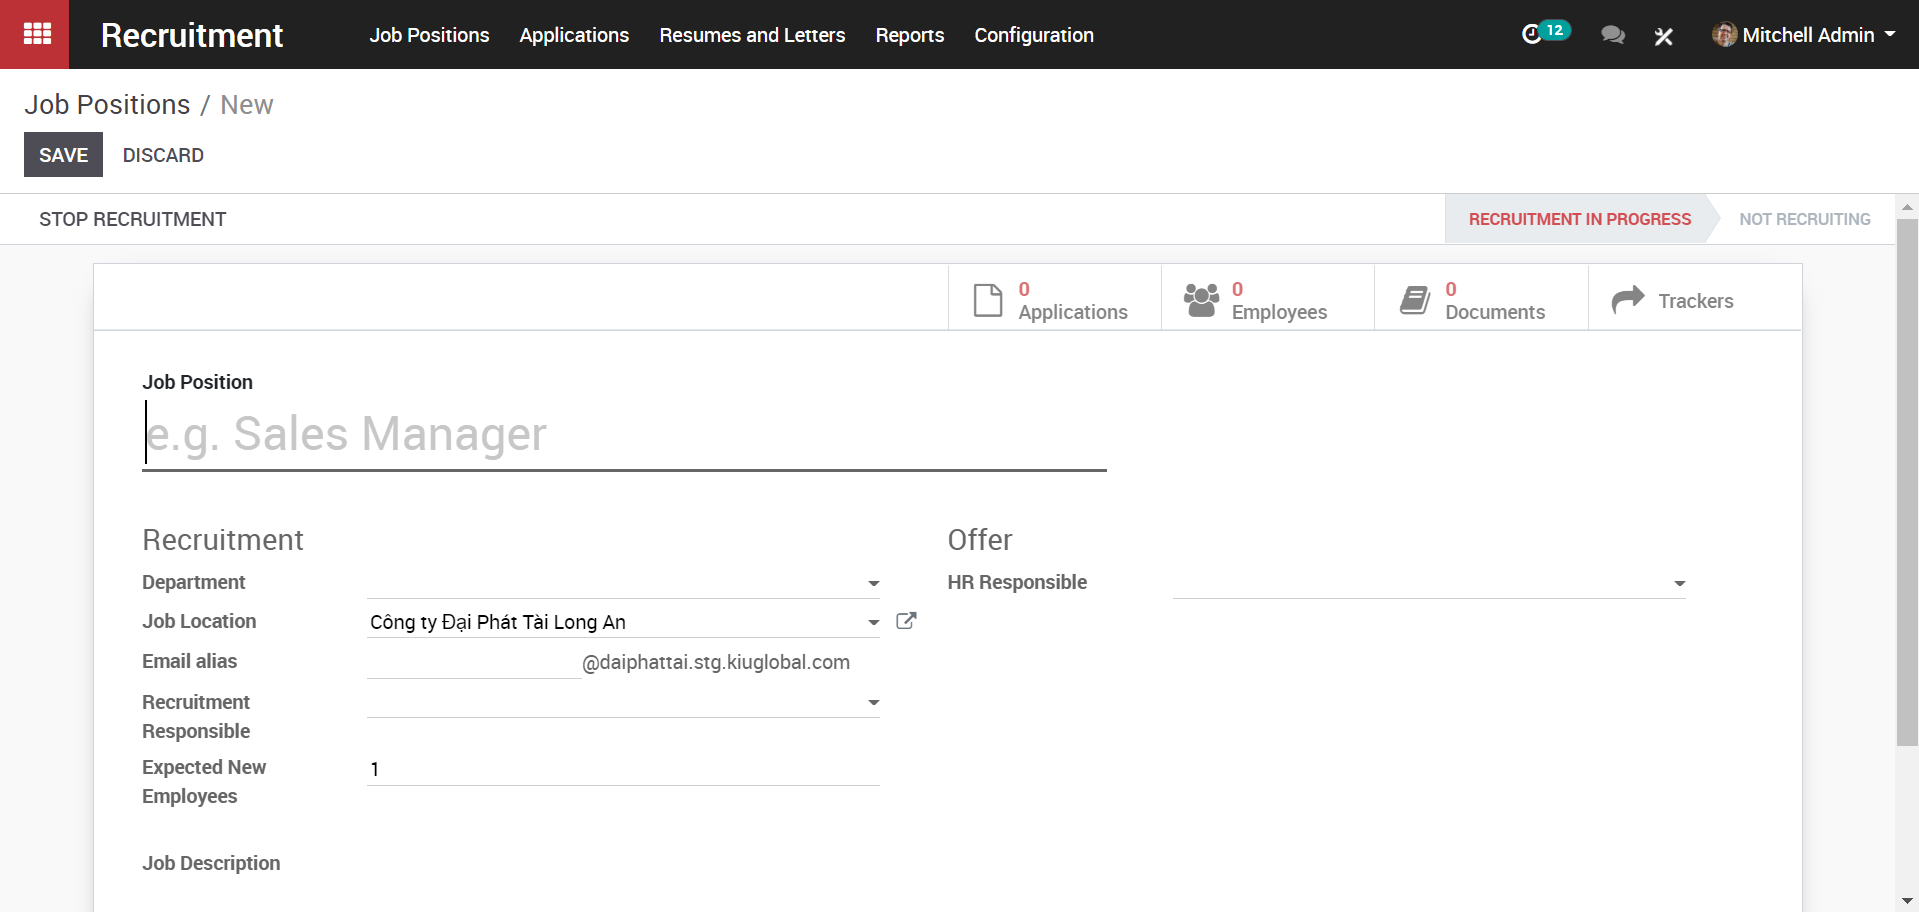
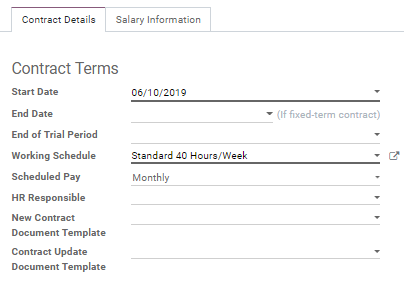
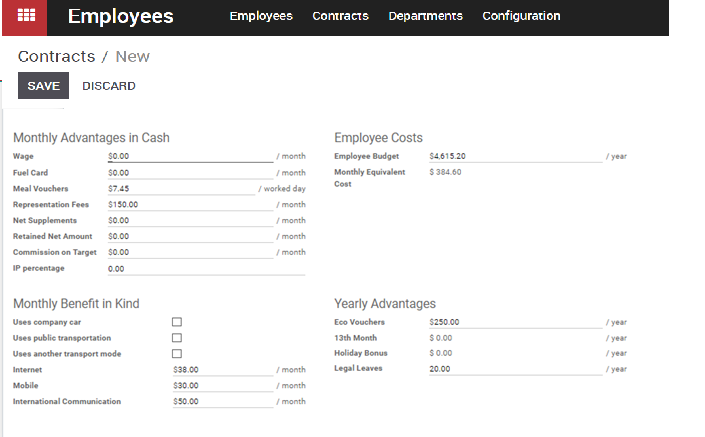
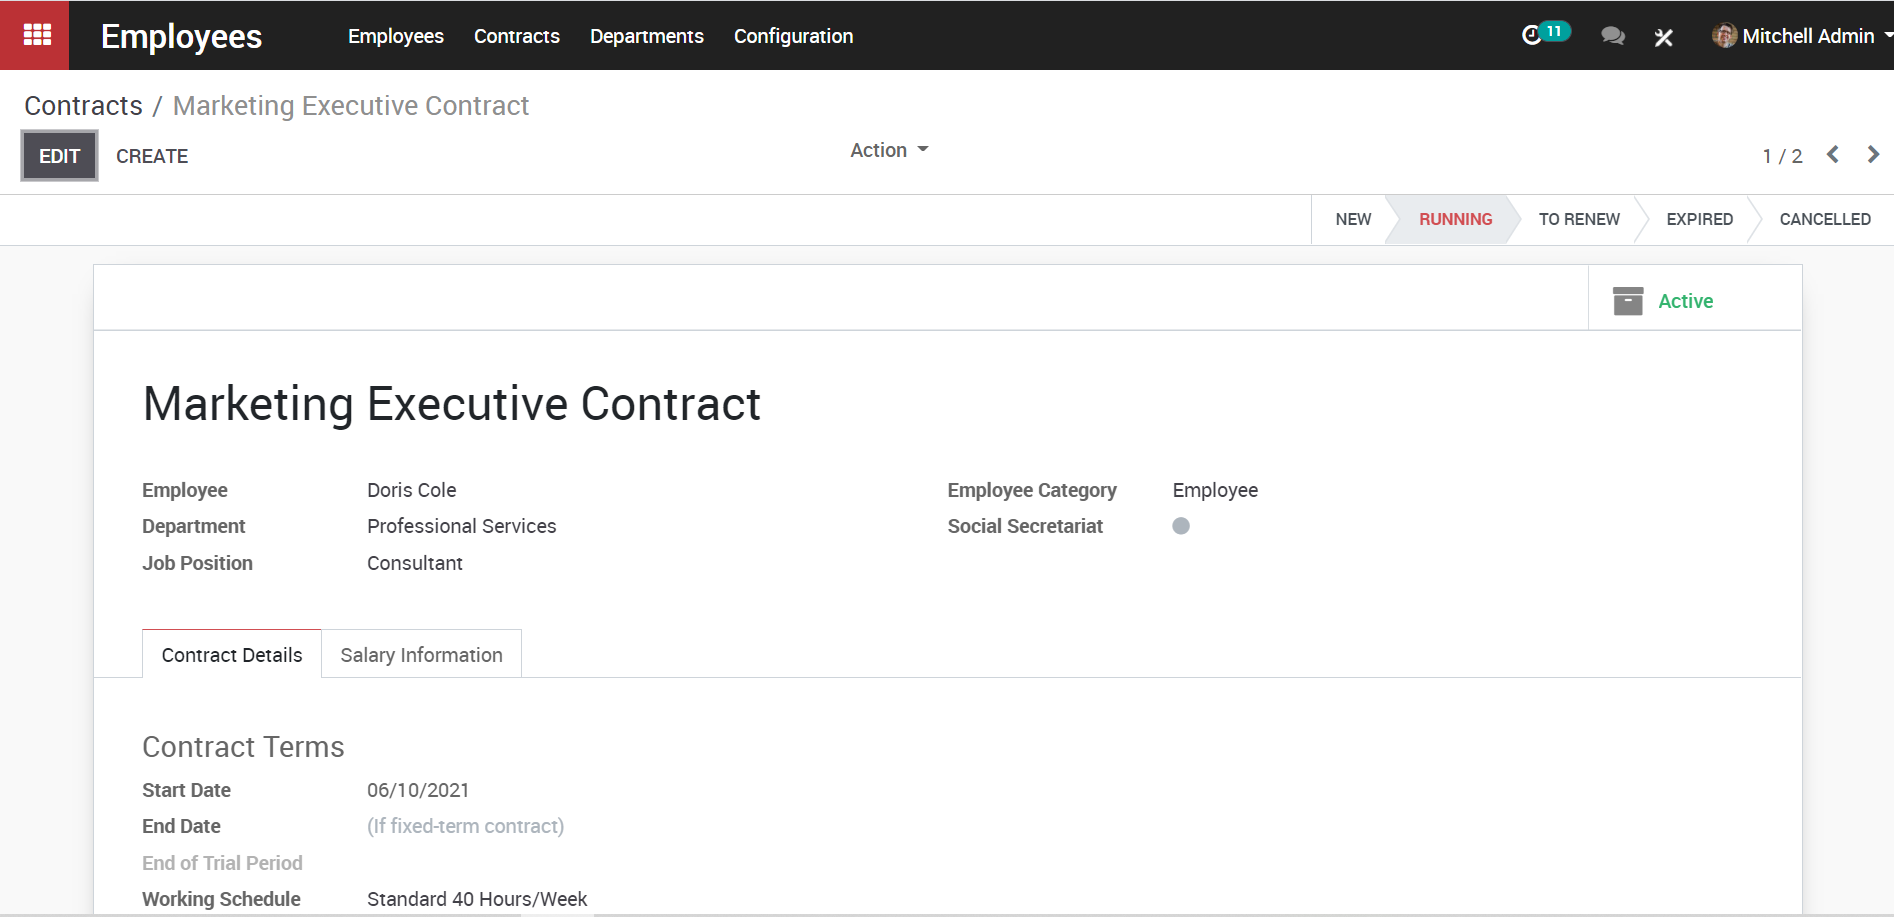
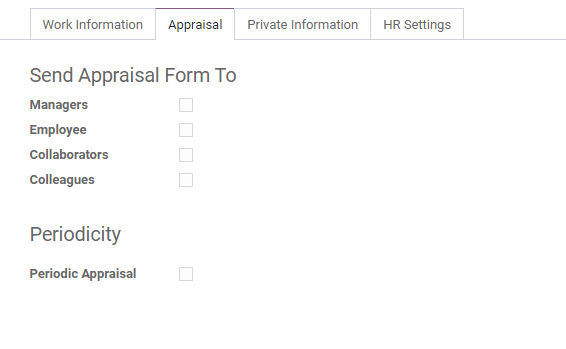
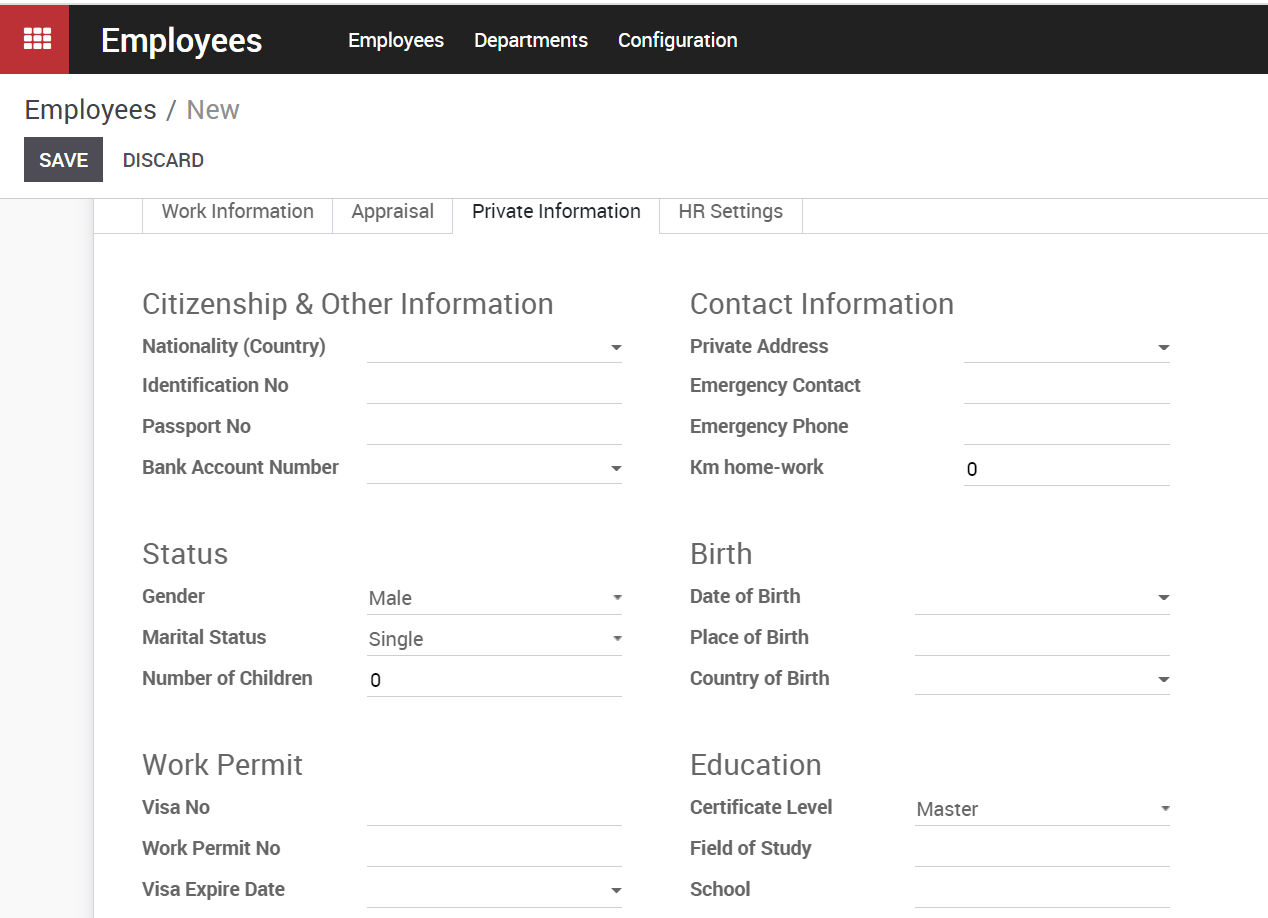
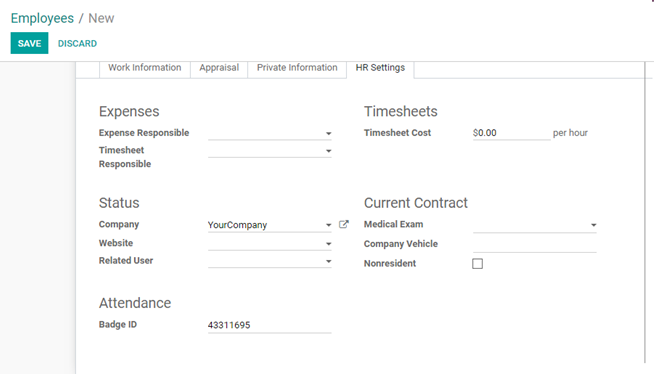
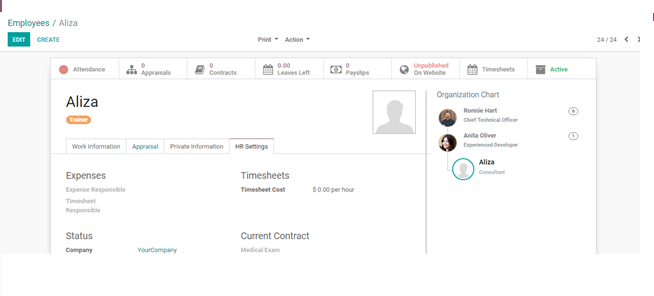
Here, one can specify the Job position, recruitment details like the company, website, department, Interview form, job location, recruitment responsible, job description and much more. Once you have saved all the changes you can see on top the RECRUITMENT IN PROGRESS.
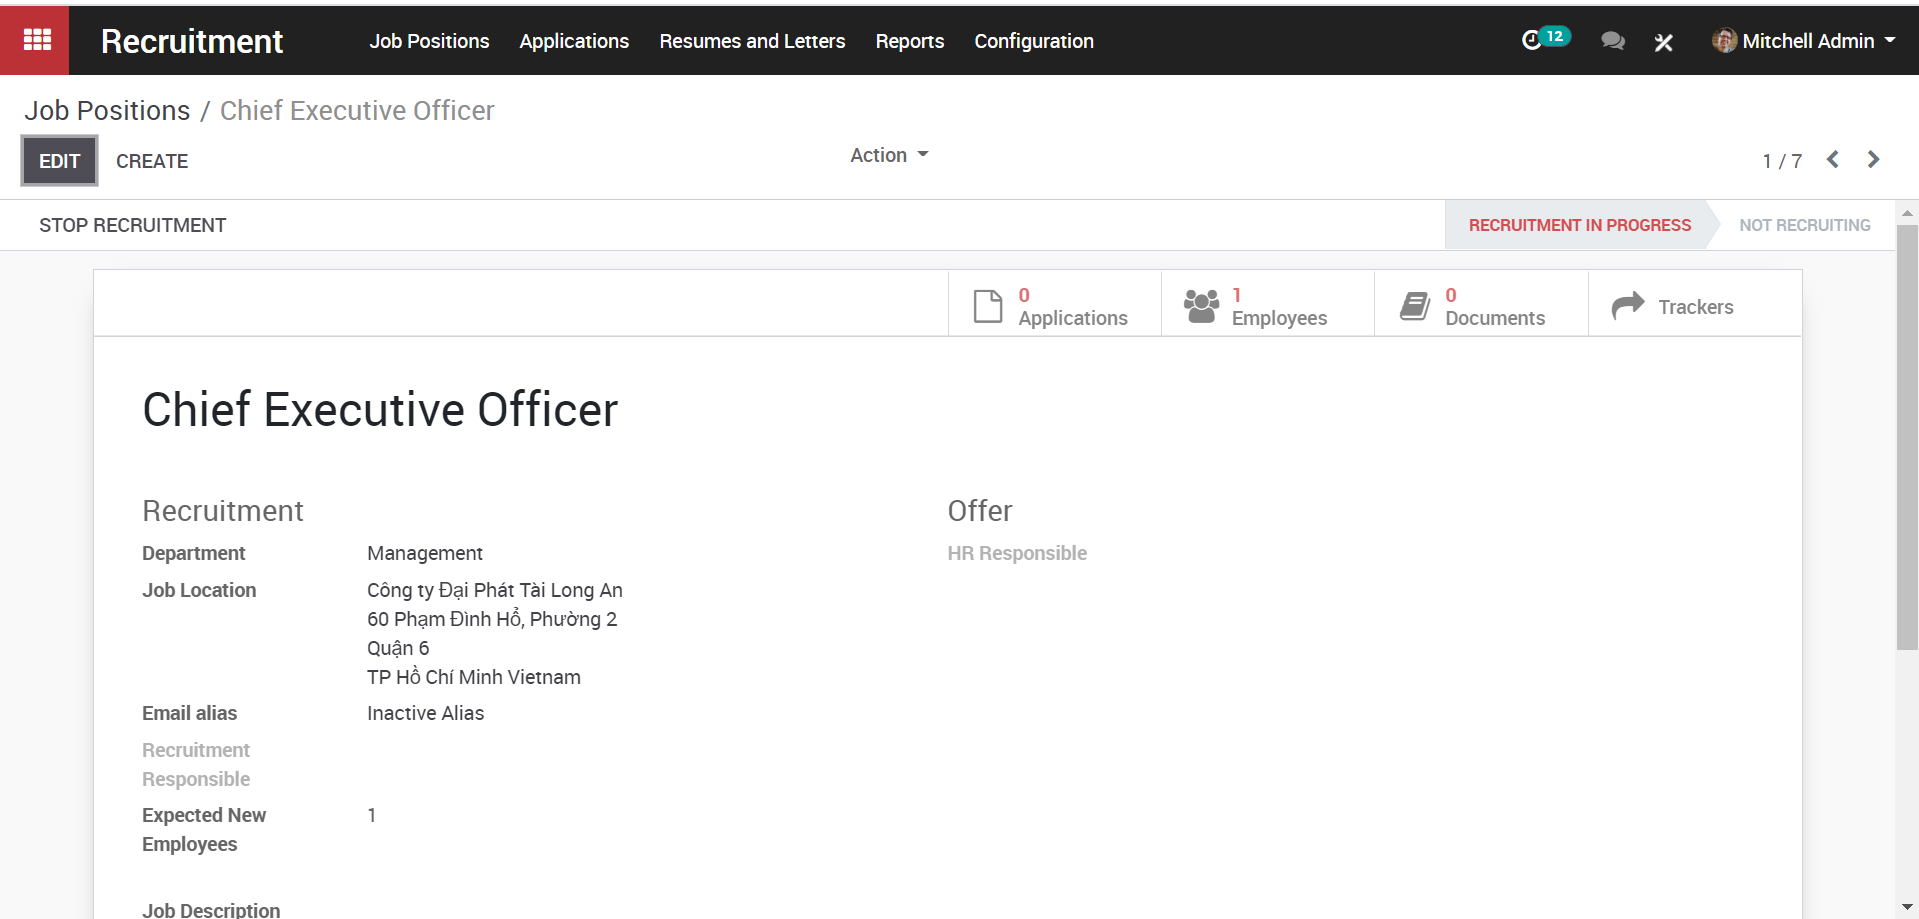
From here, one can also view the number of applications for this job position, no of employees, documents attached, also add some trackers to know what medium the applicants are using.
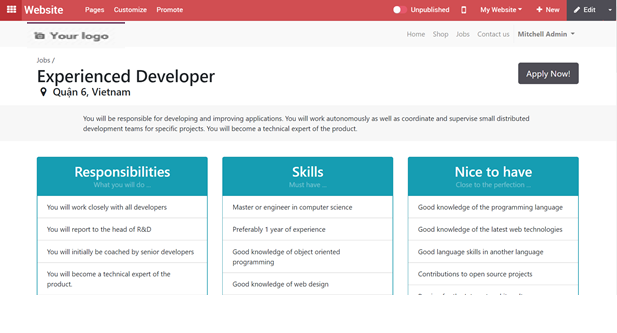
If you want to publish the job position in the website, click the UNPUBLISHED ON WEBSITE BUTTON.You will be redirected to the website page.
Here, one can make the editions to the job description via clicking on the edit button.
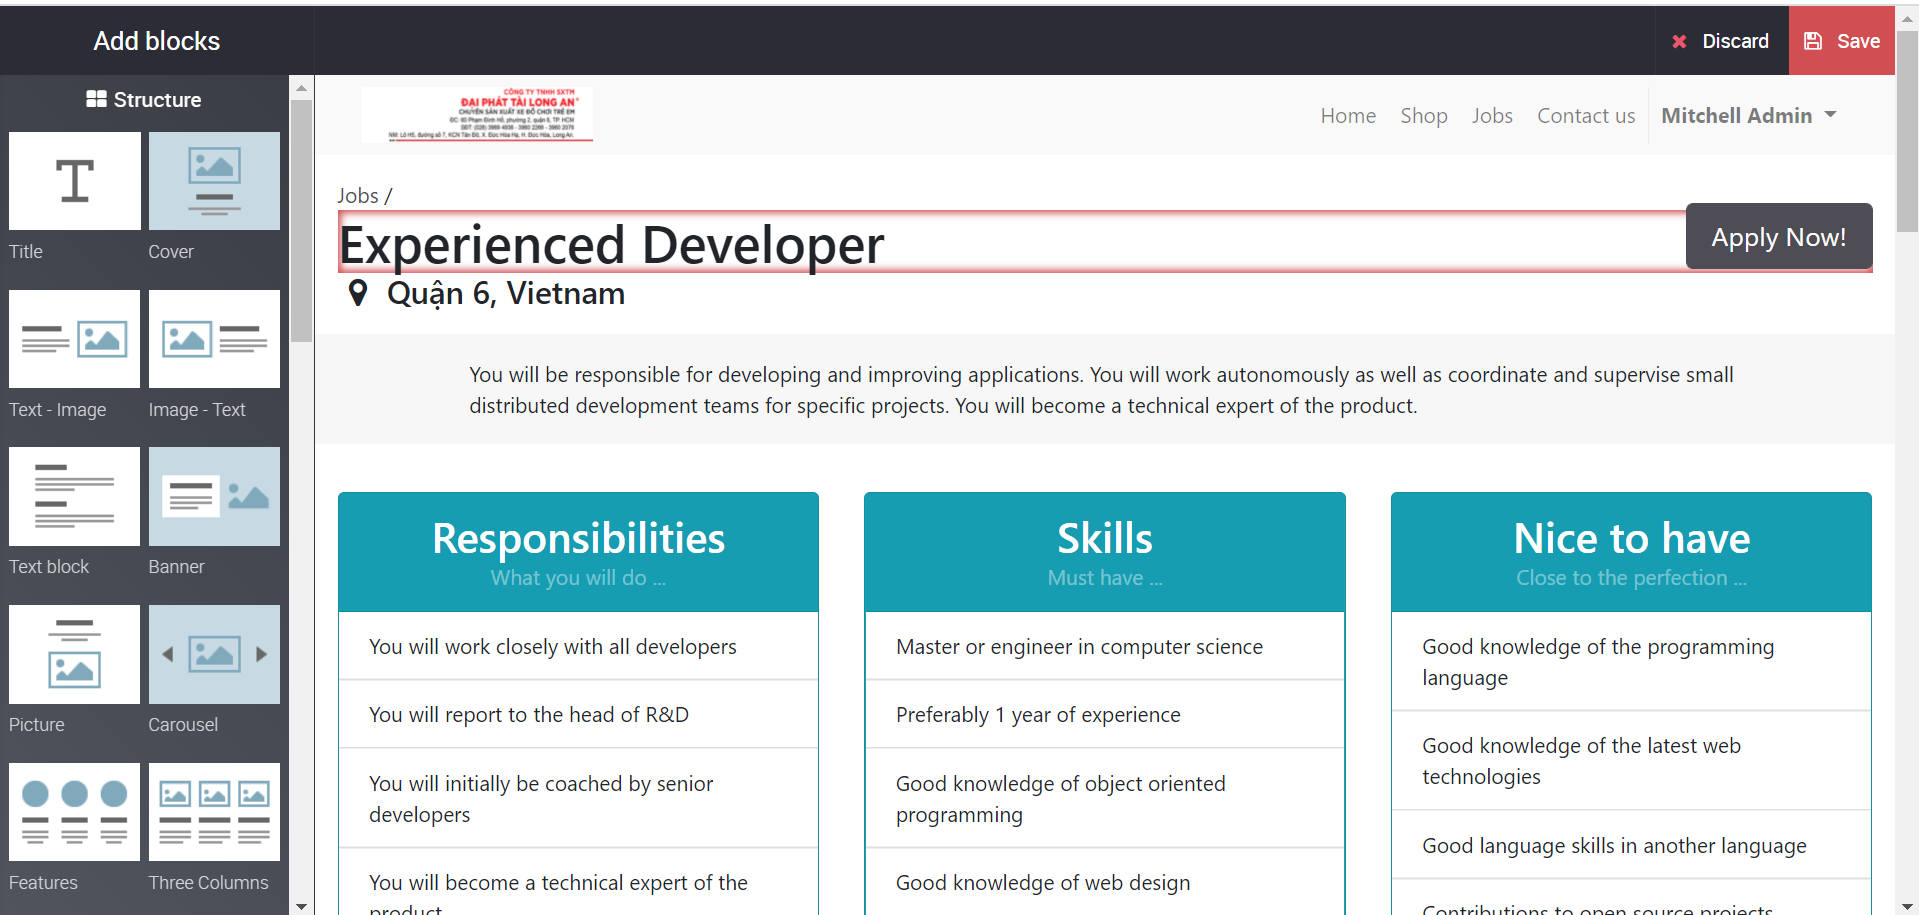
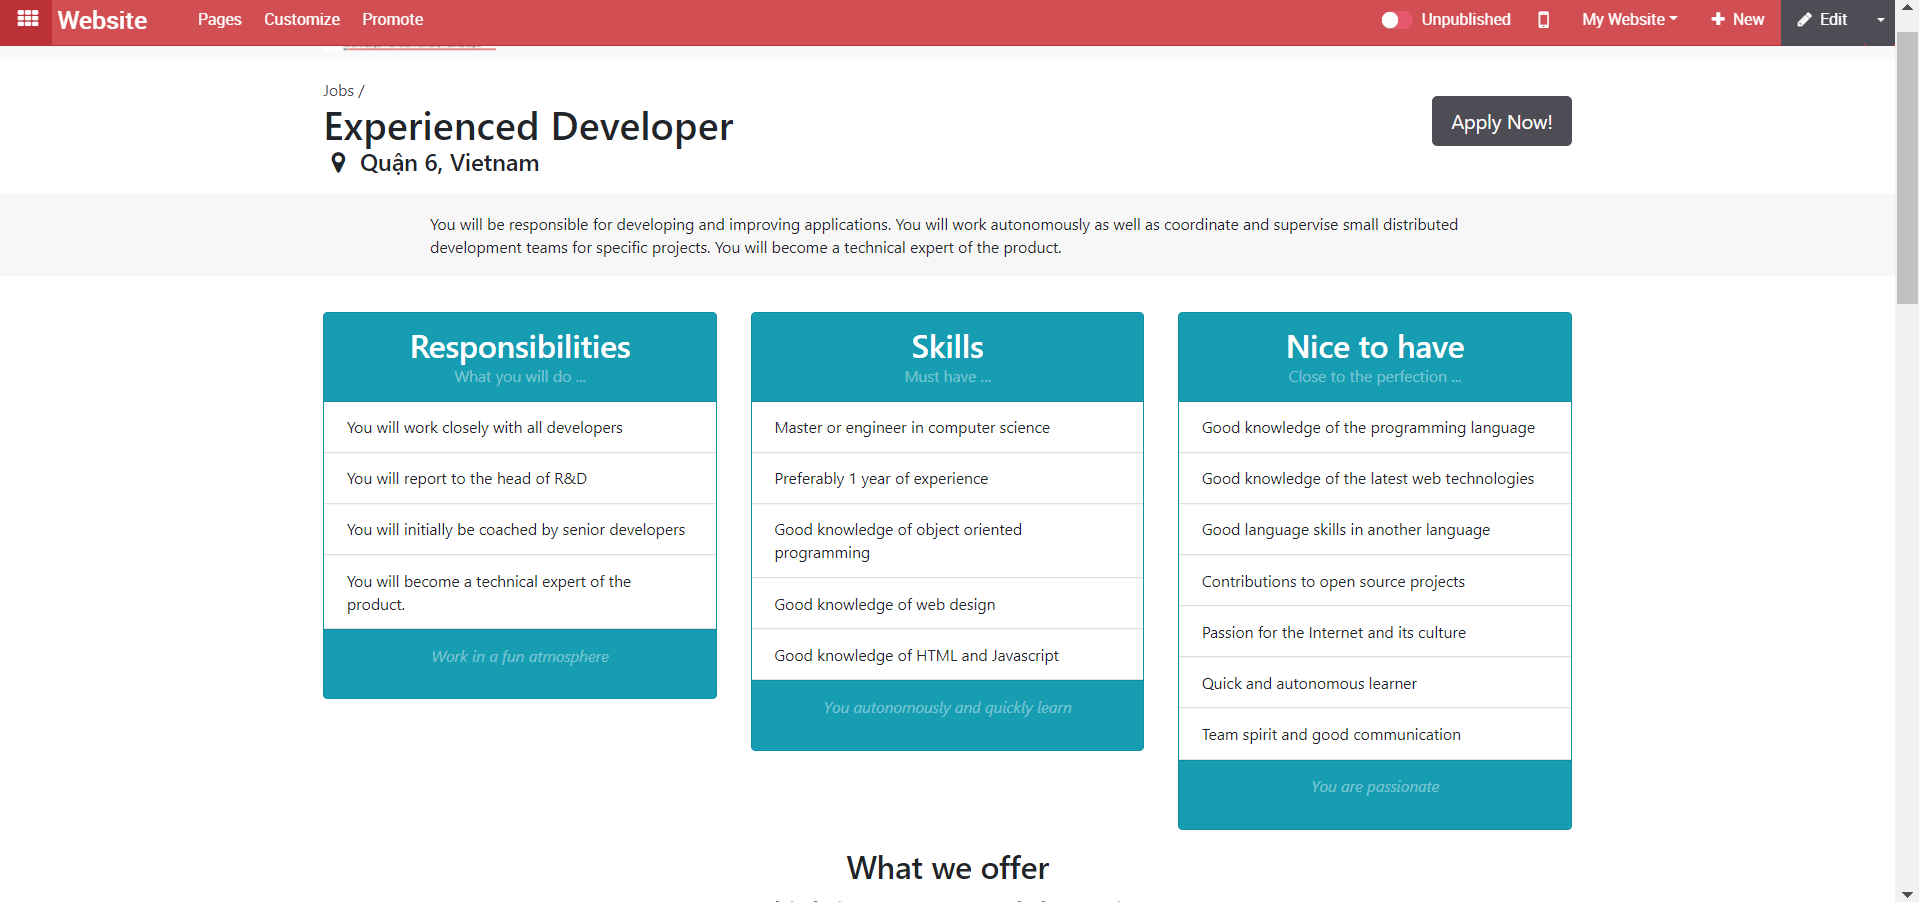
You get some building blocks on left to customize your website look. Edit accordingly the way it should get published in the website and save changes.
b. Applying for job
KIU provides a complete solution for recruitment process. Once you publish the created opportunities in website, job seekers can view the same. User can view detailed advertisement and Apply by just clicking on the advertisement.
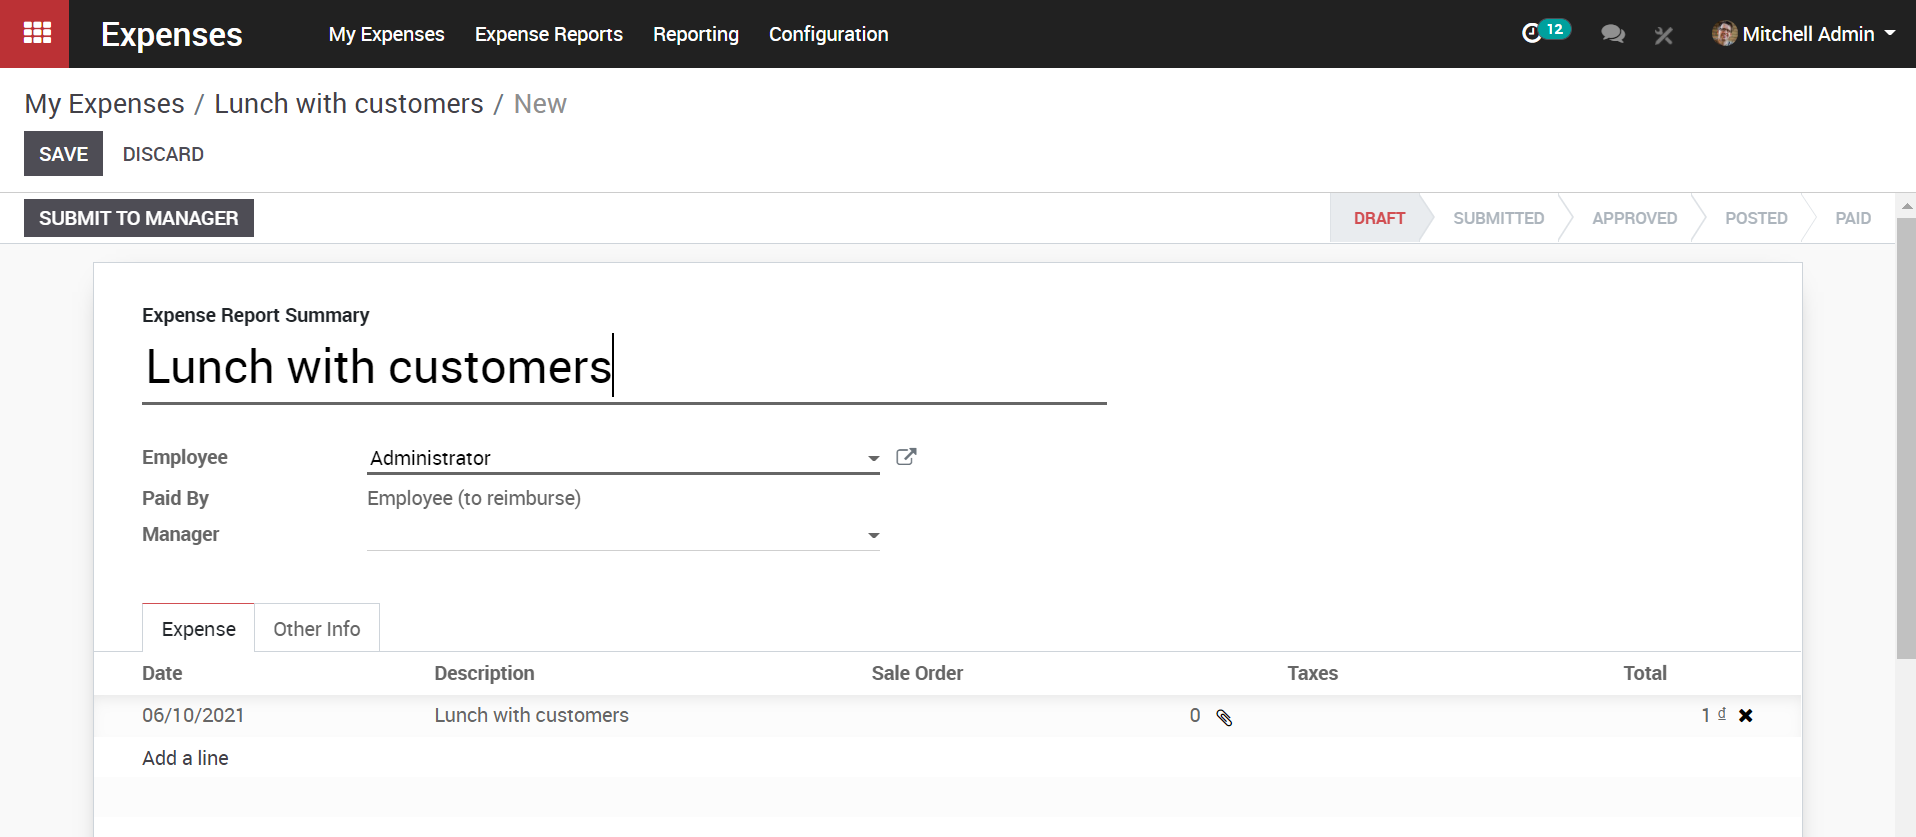
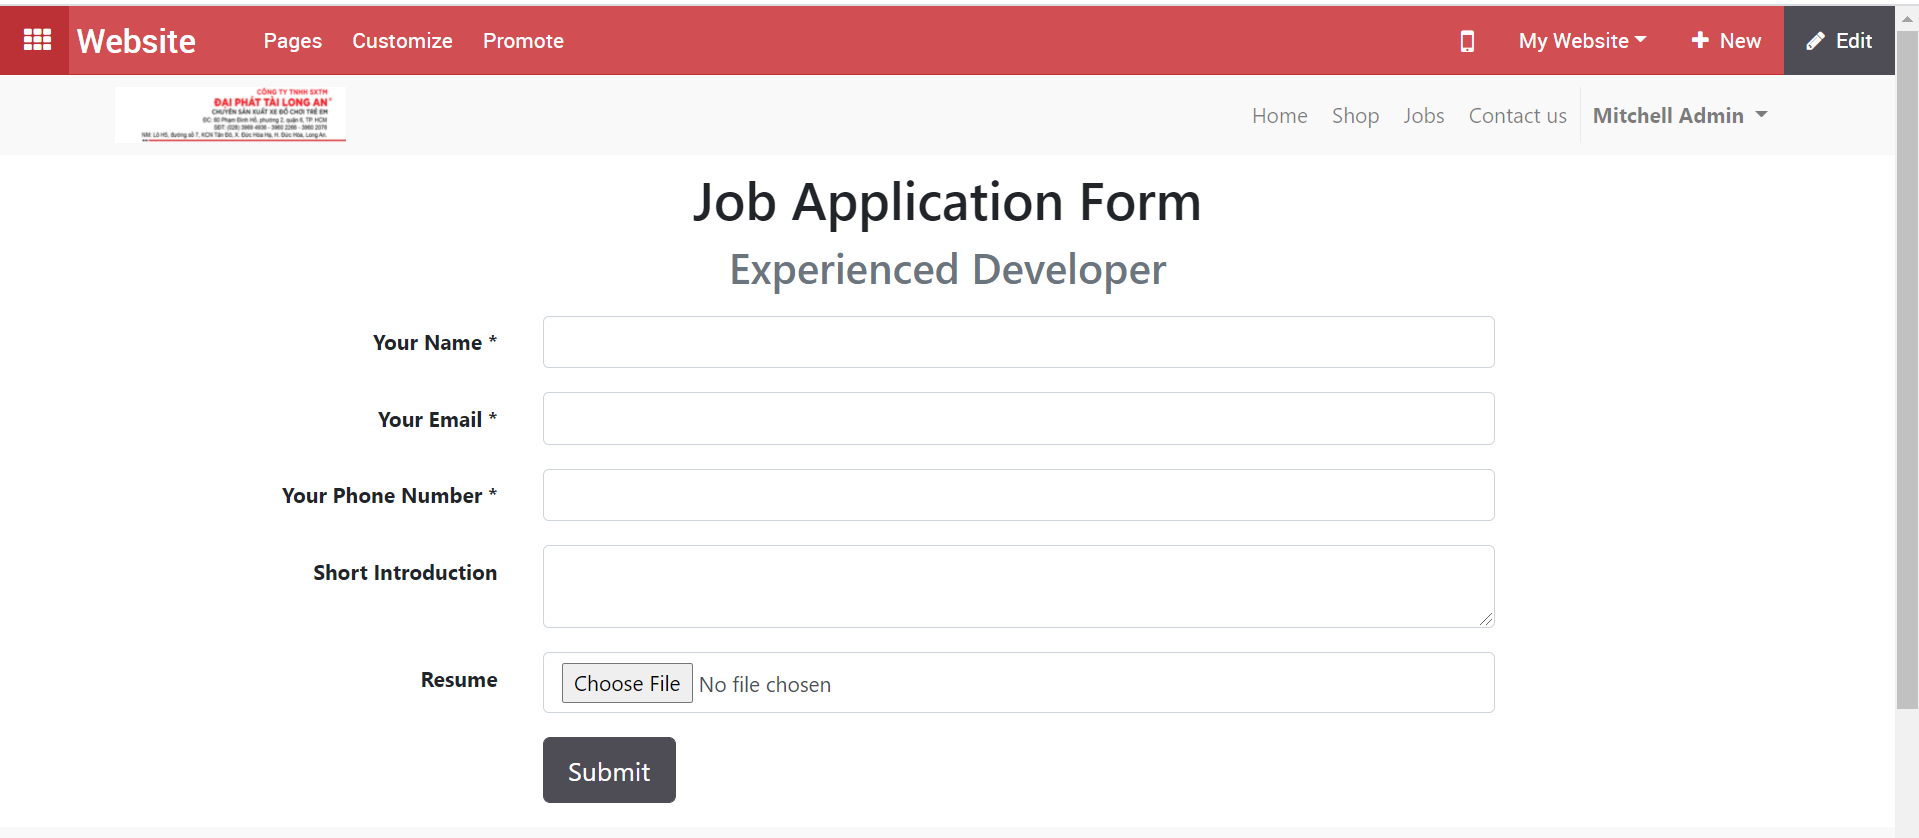
Upon clicking the apply now button, job seeker will be navigated to new window like below, where he can add his basic details like name, phone number, small introduction, email address and also attach the resume.
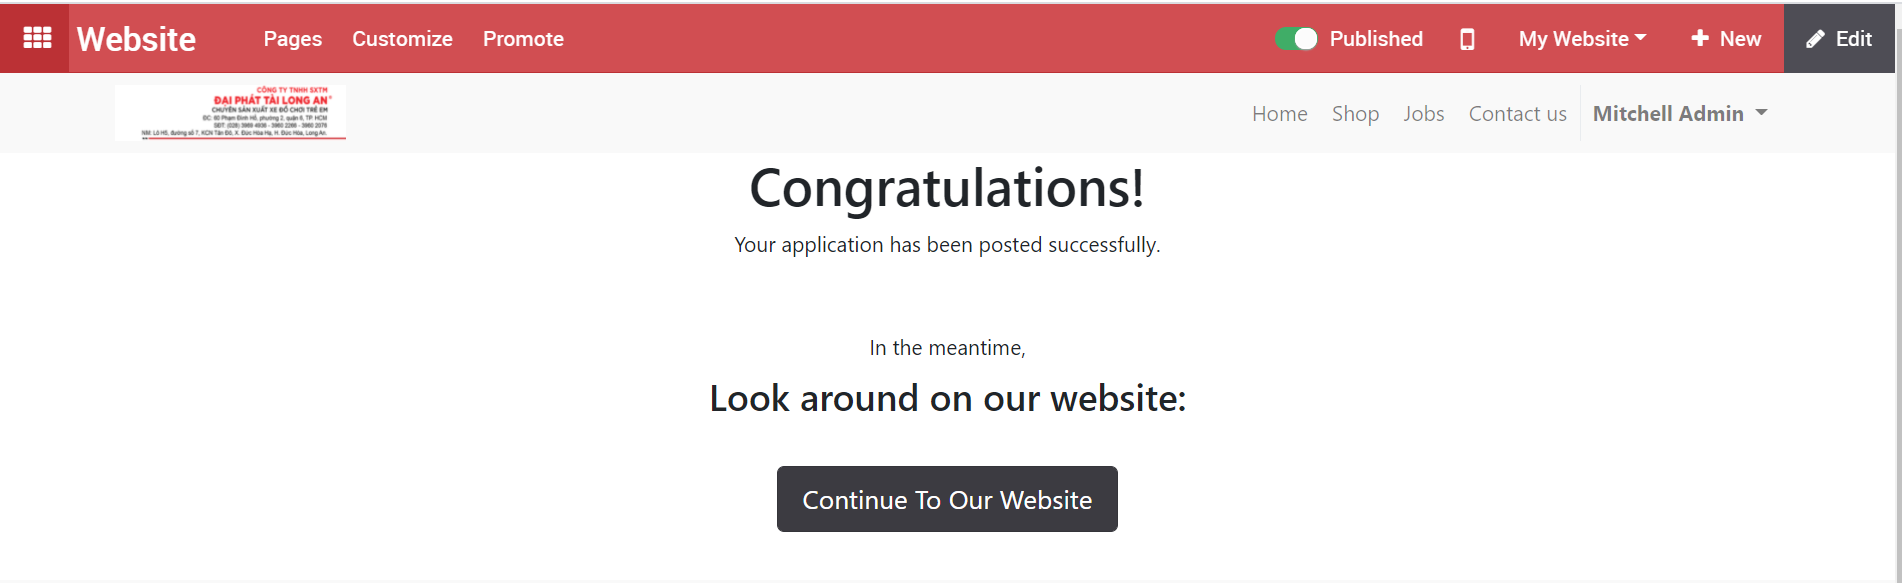
By clicking on , the user can submit his application. Upon the action, again the user will be redirected to a Congratulations page. Can later continue to check out the rest of website pages.
c. Process Job Application
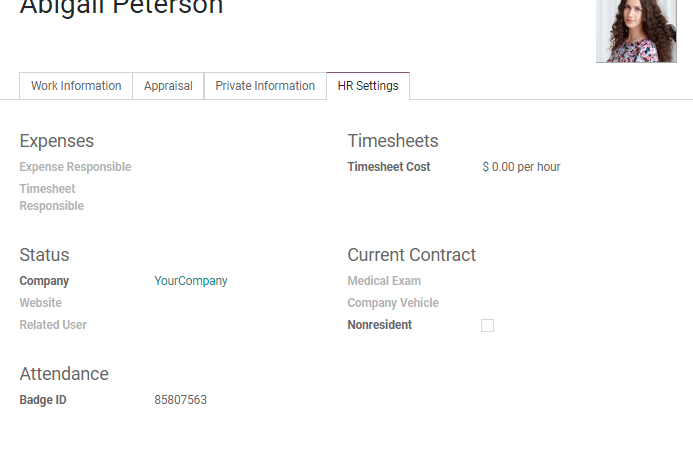
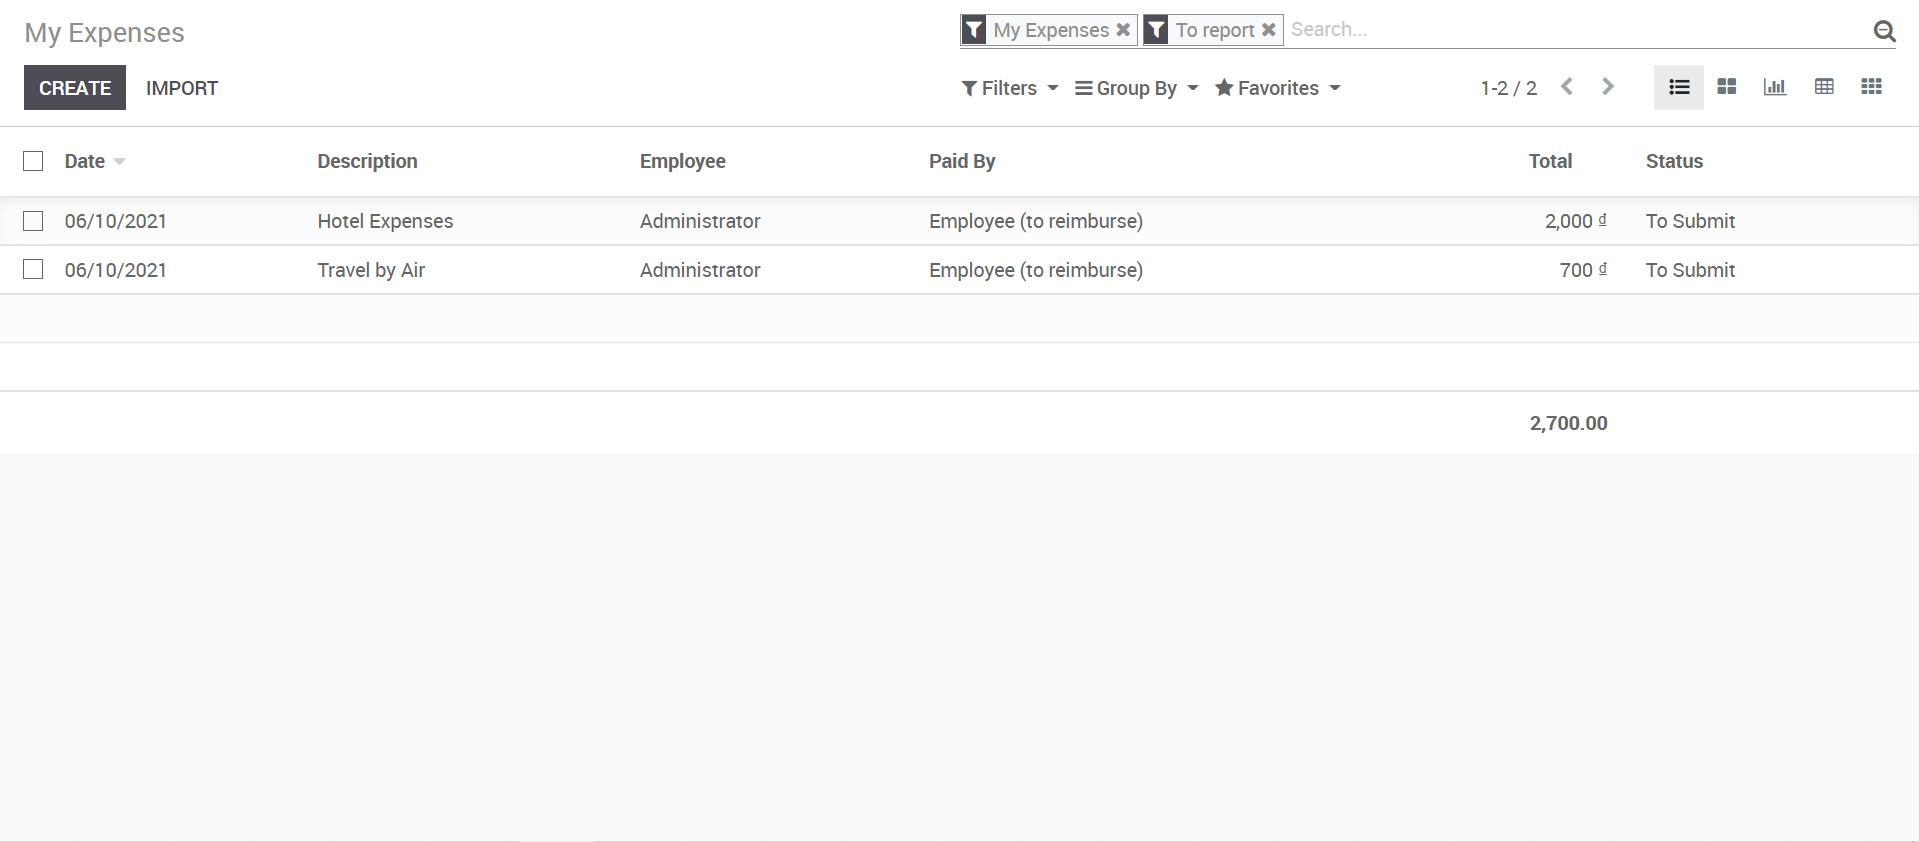
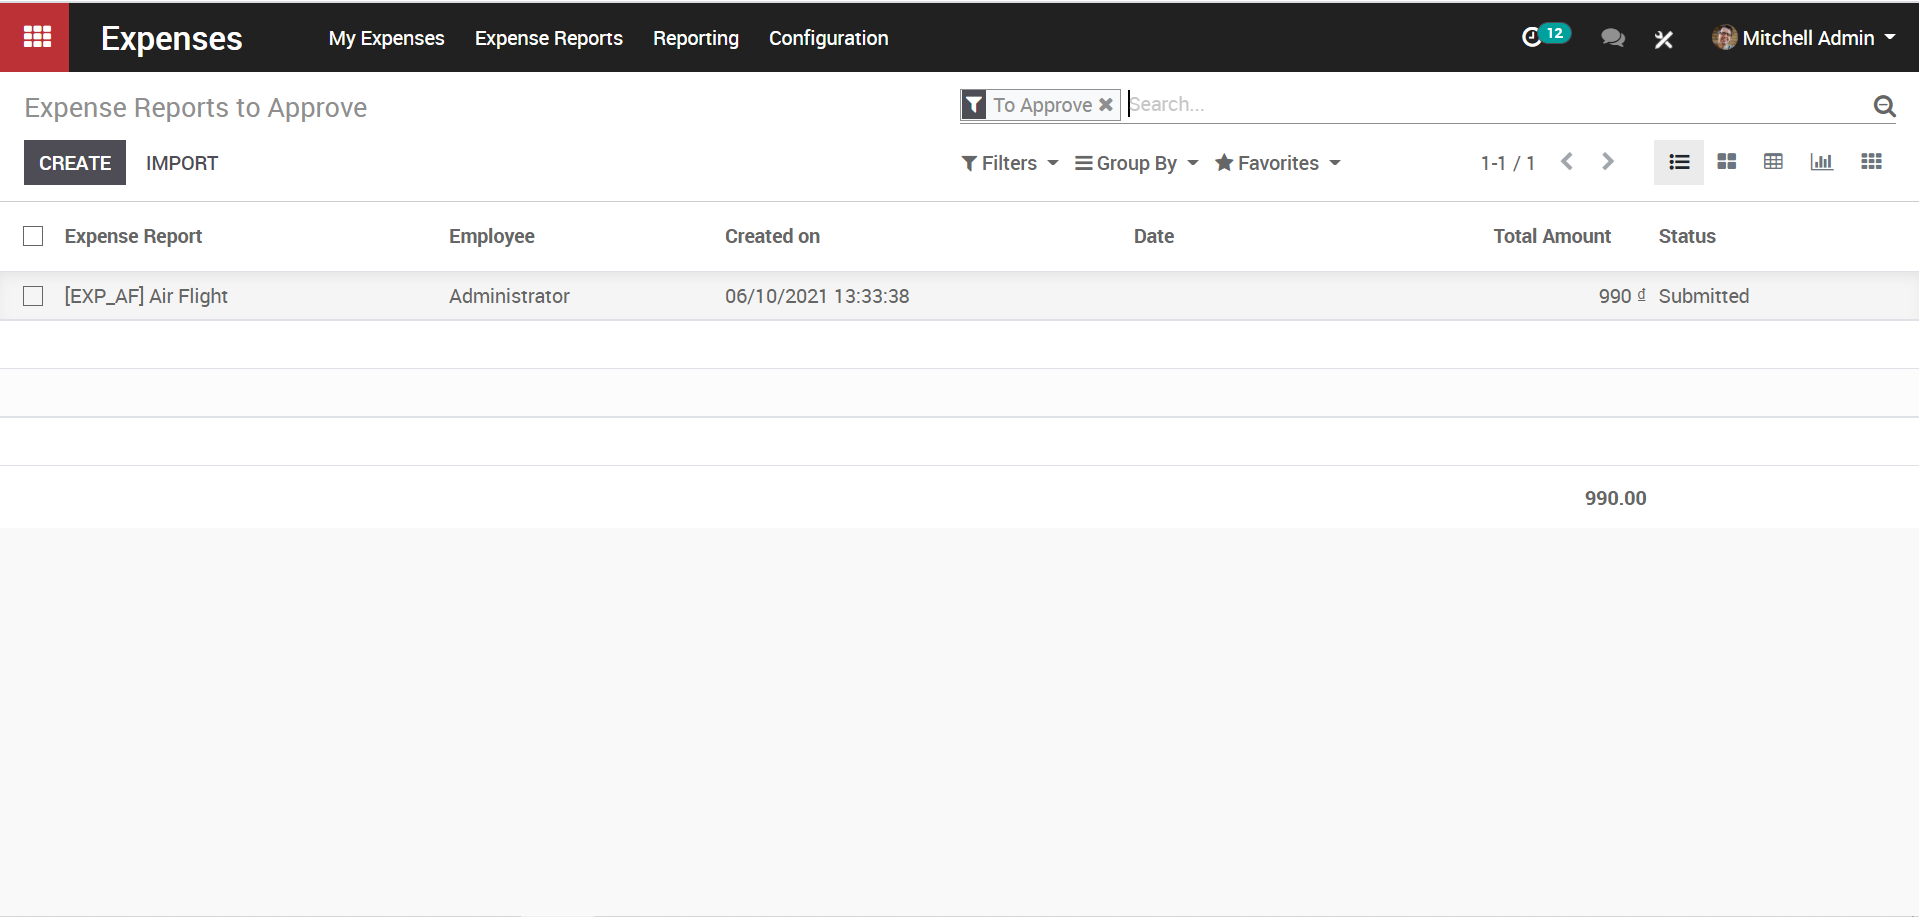
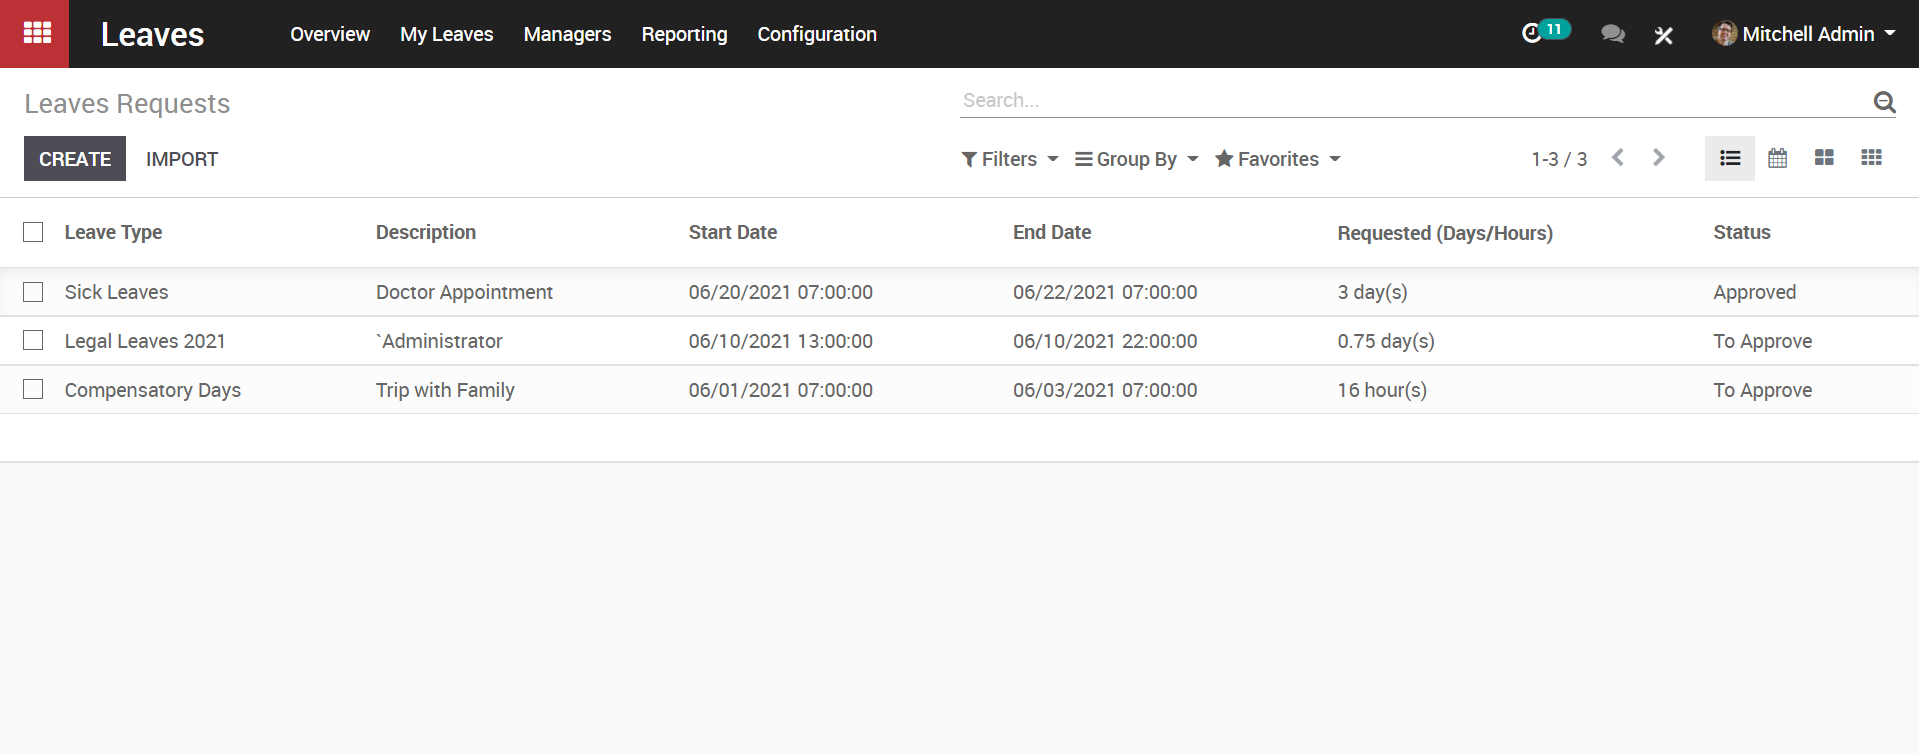
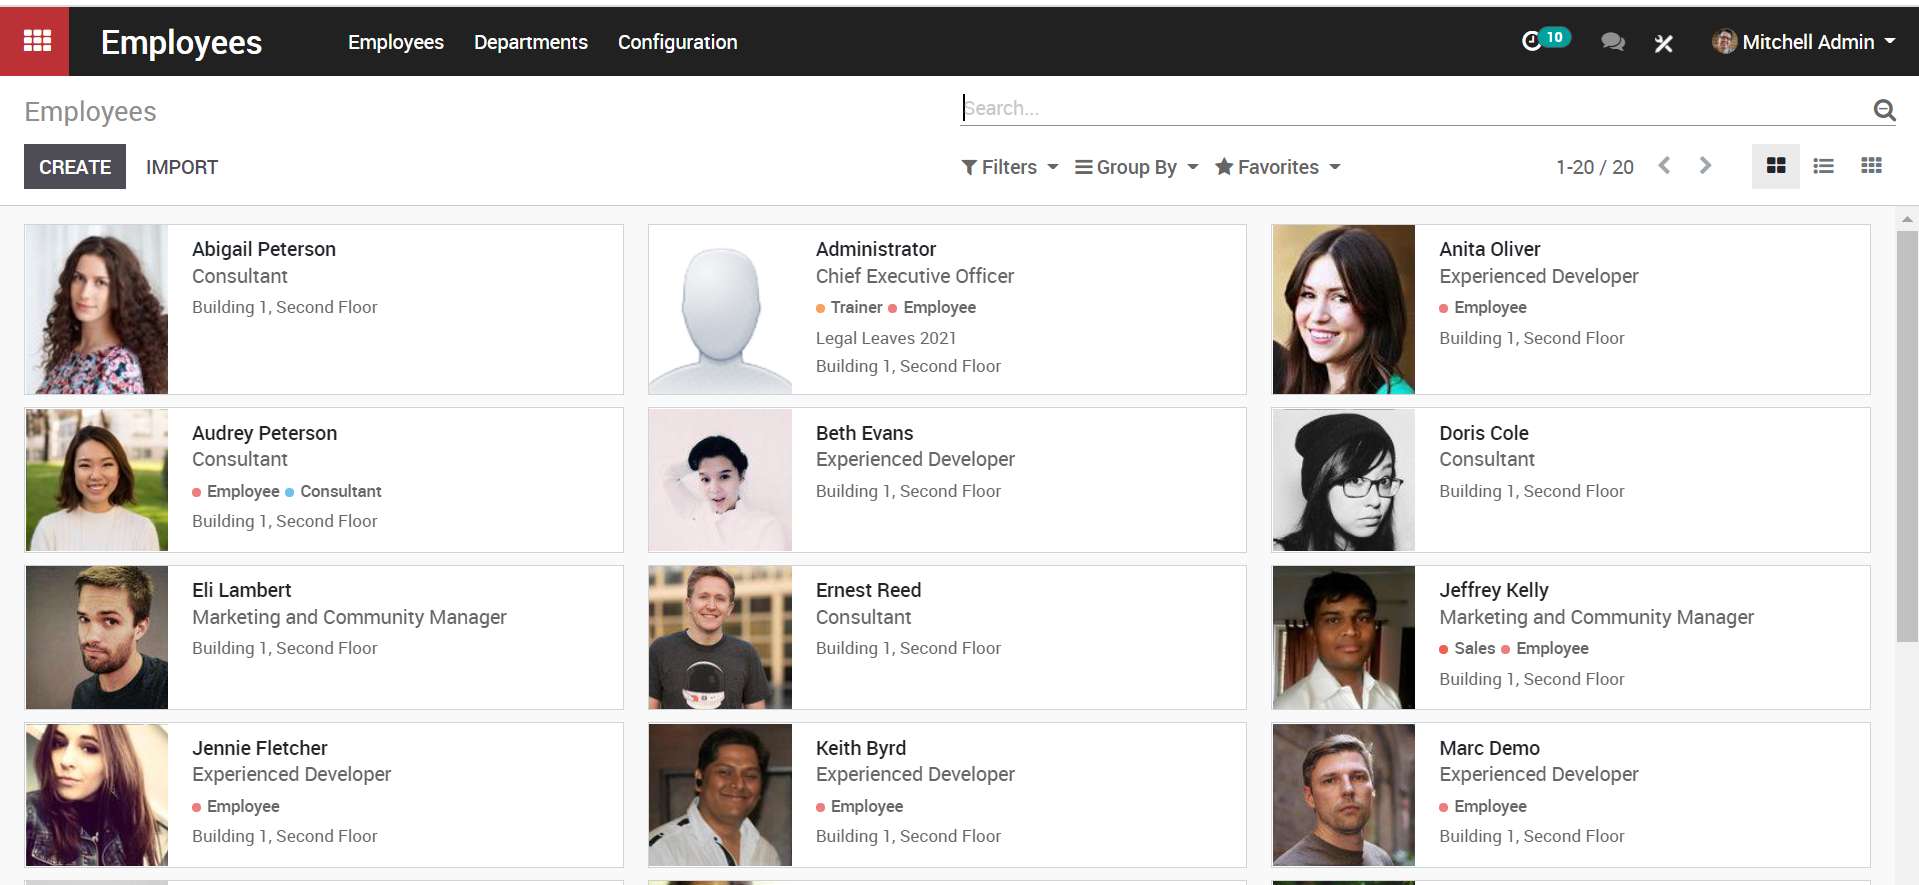
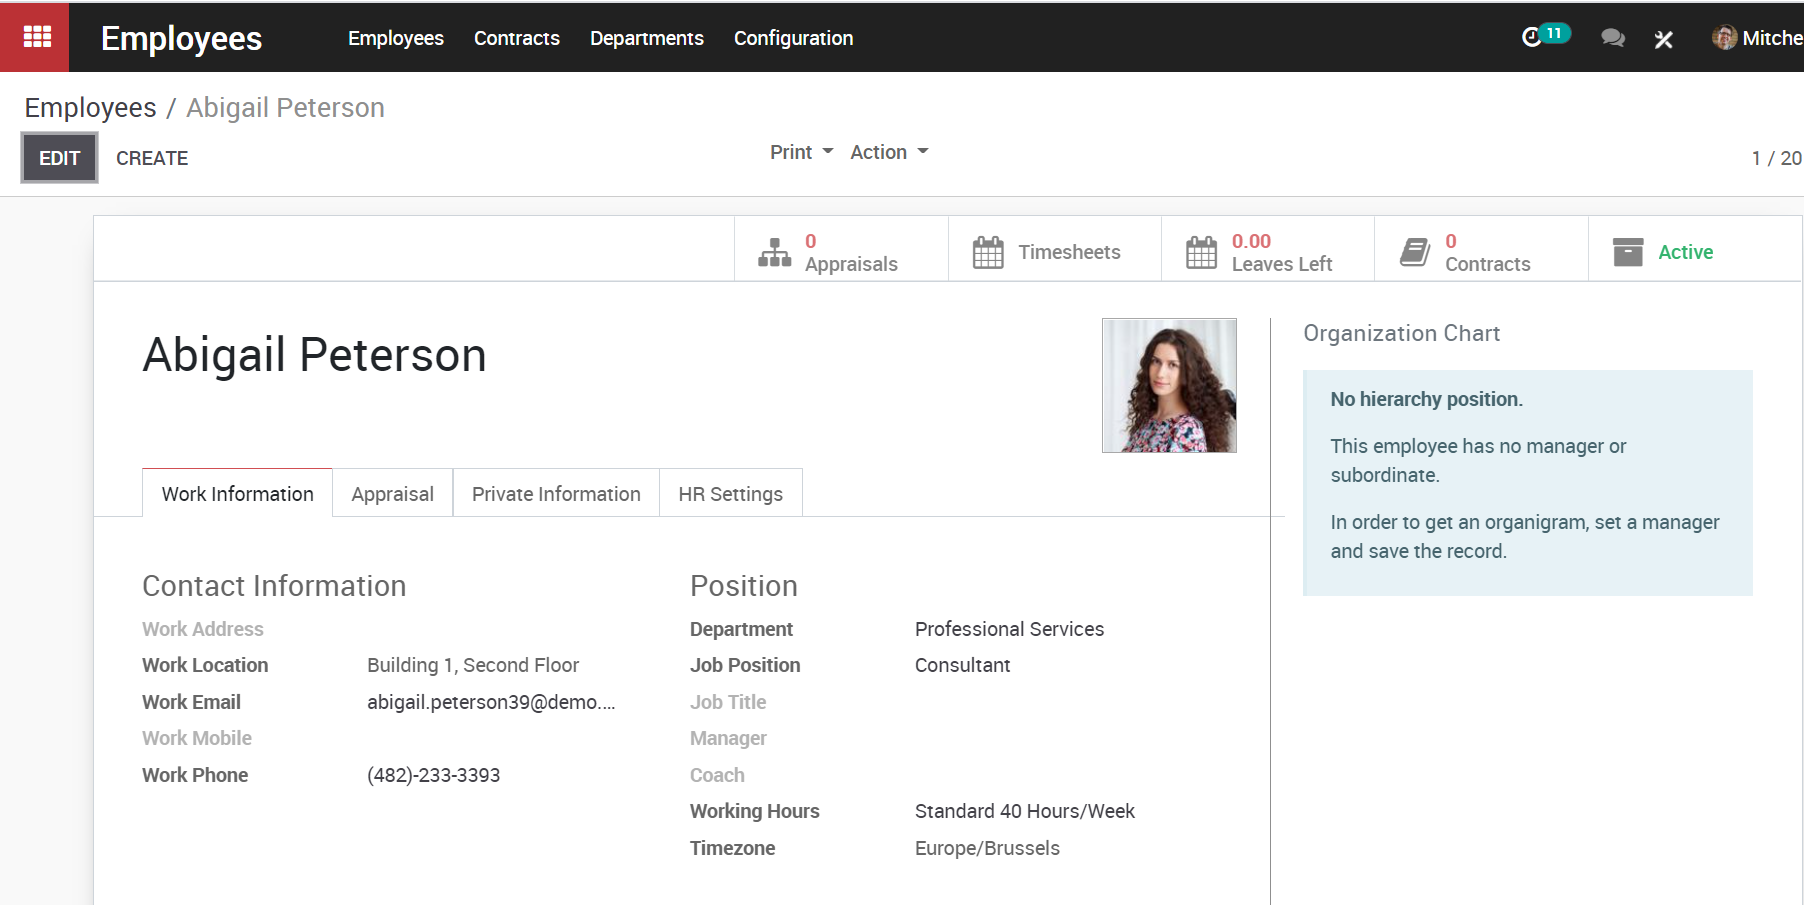
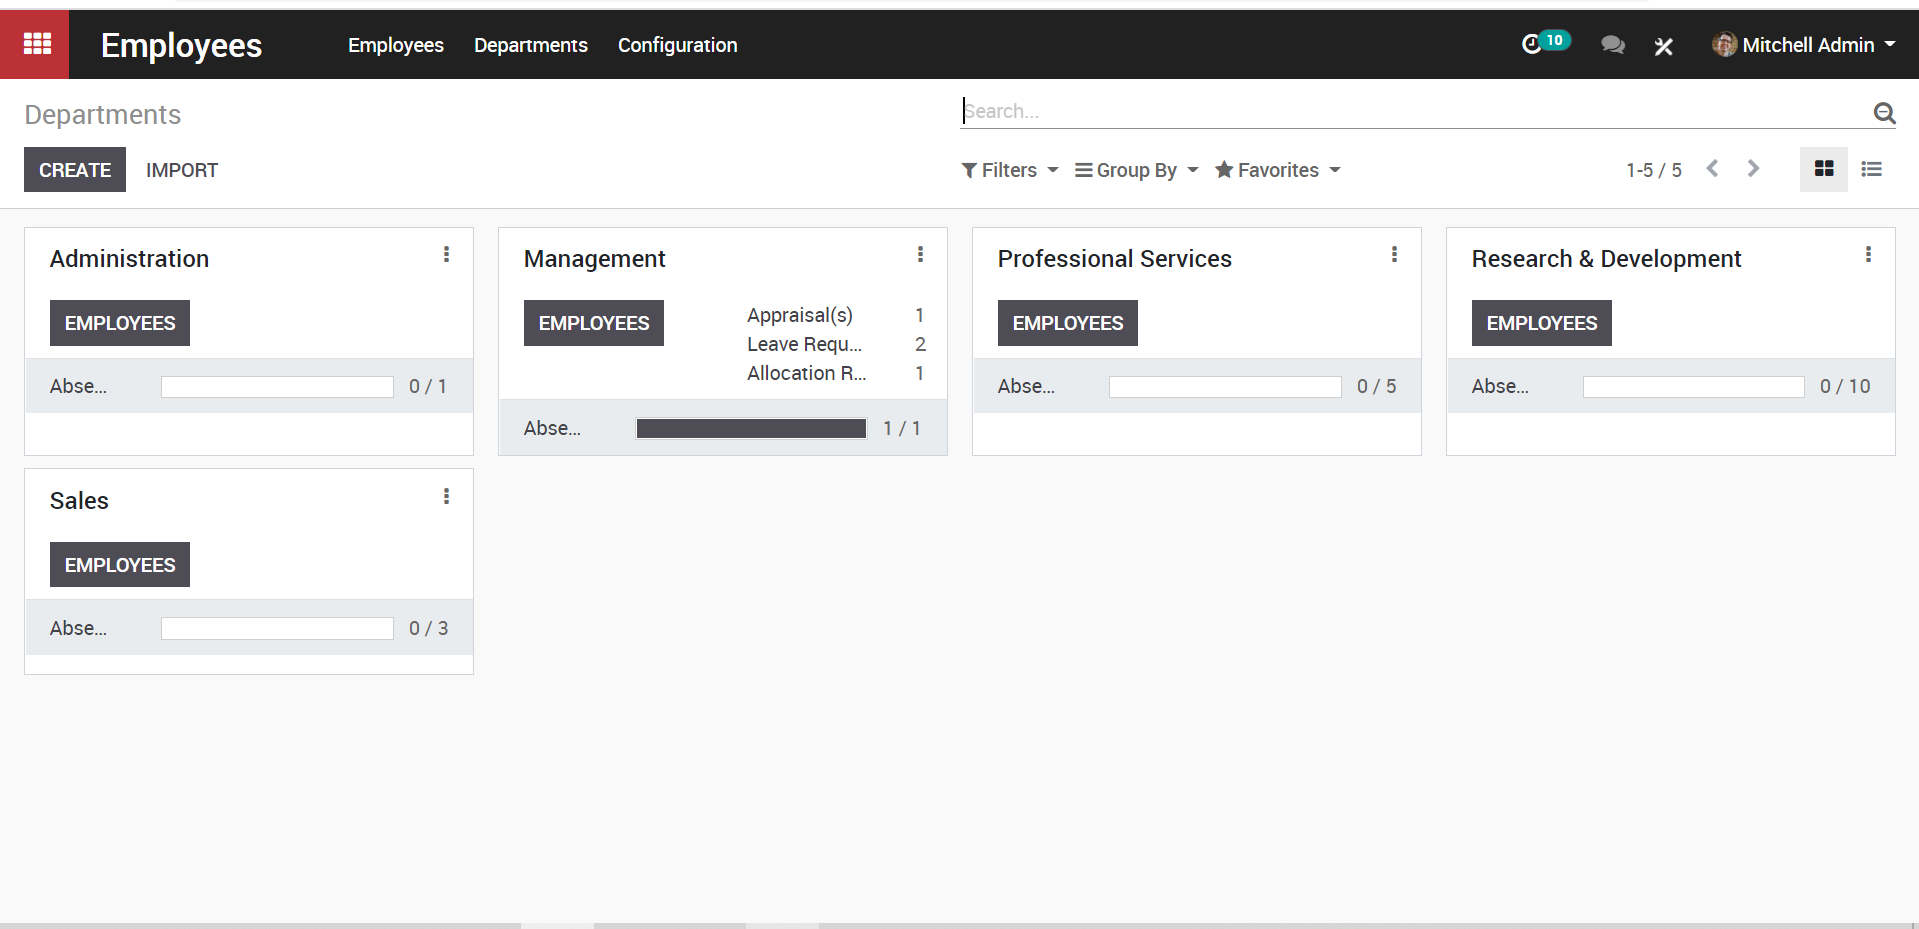
Recruitment administrator can view all the application and related personal information listed in his dashboard.
Recruitment > Job Position
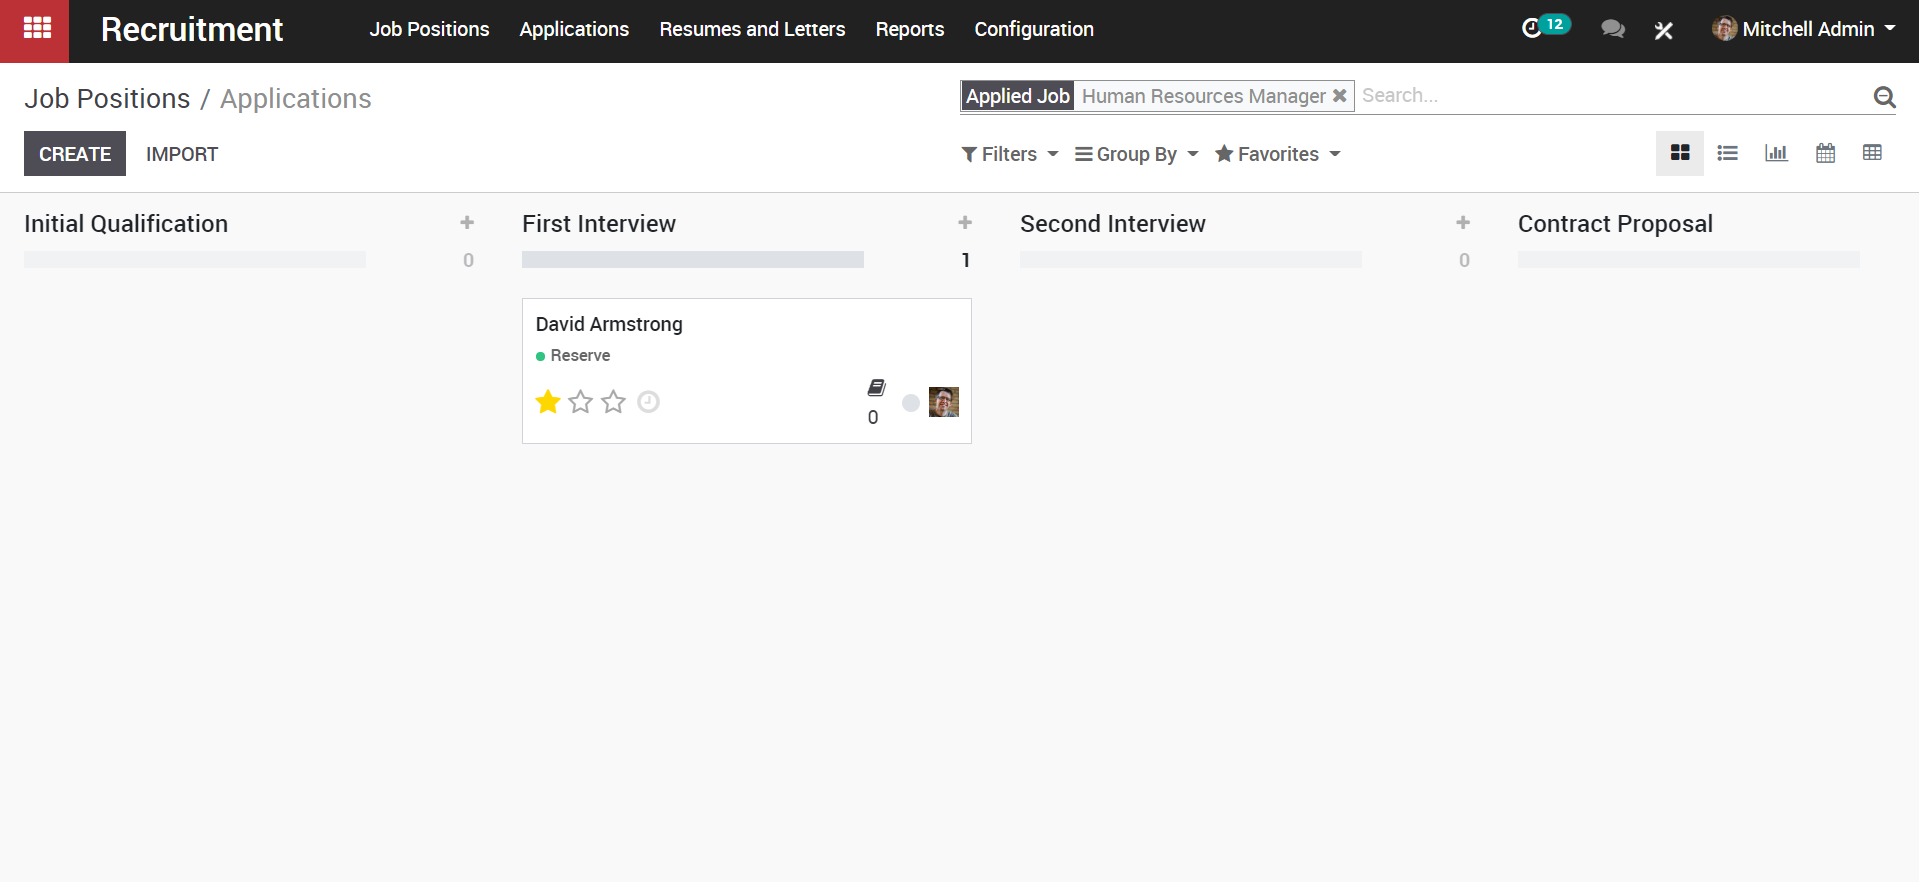
Click Application View the applicants and their recruitment status.
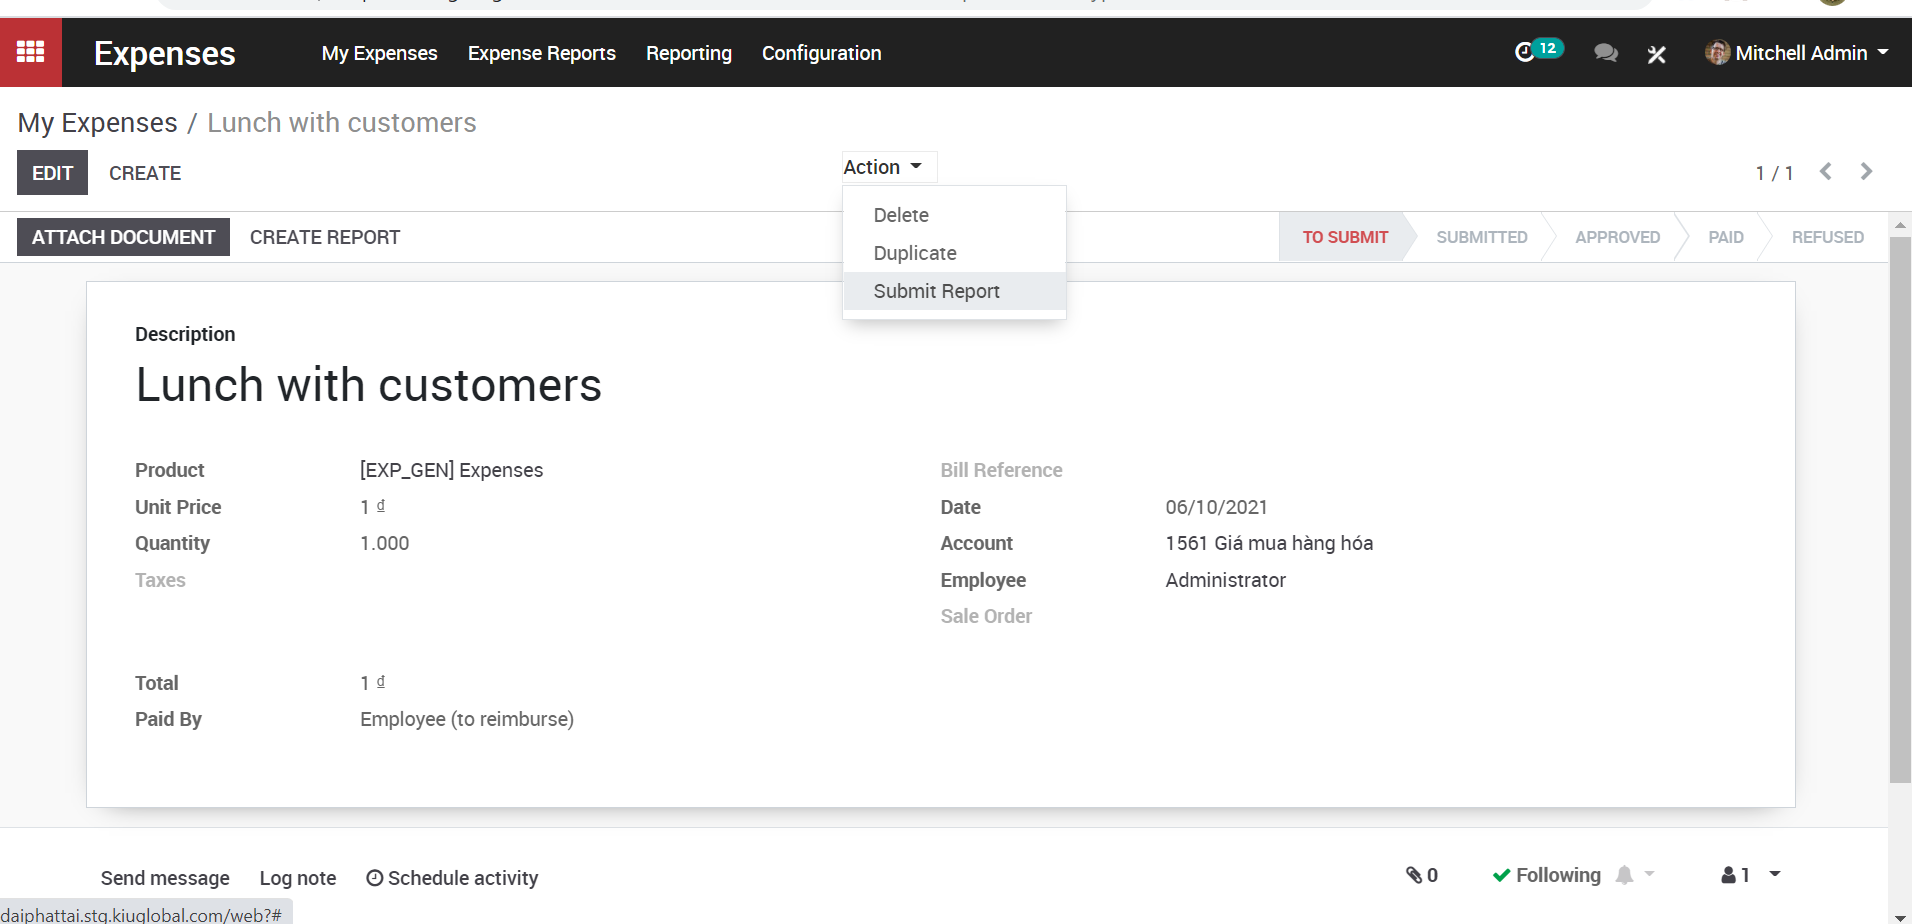
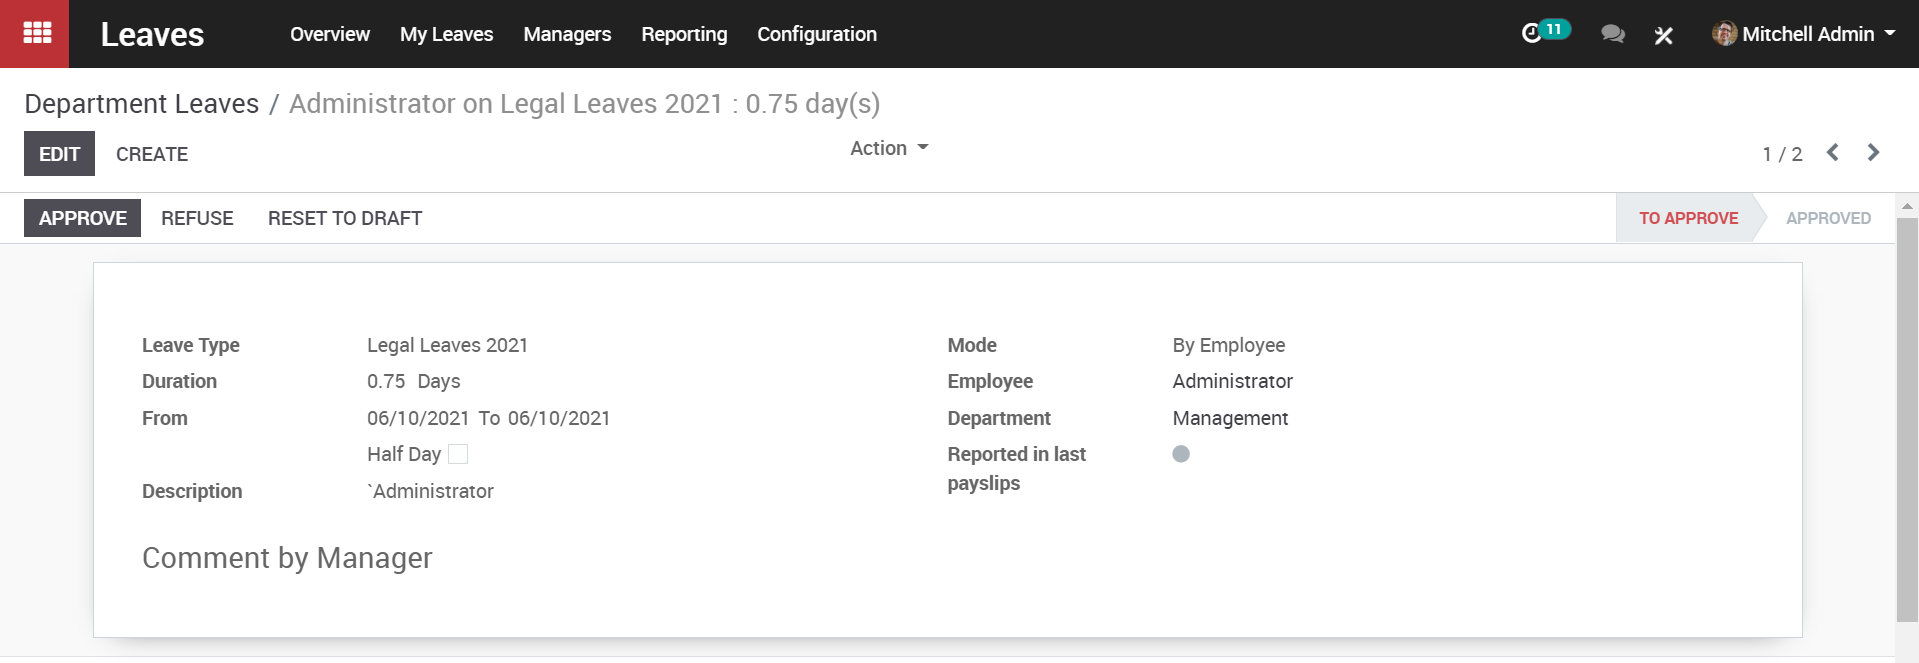
One can find a lot of information about the applicant here and also can add further information like the source, referred person, expected salary, proposed salary etc to the profile via clicking on the EDIT button.
If the applicant has attached any document, it shall be seen in the chatter.
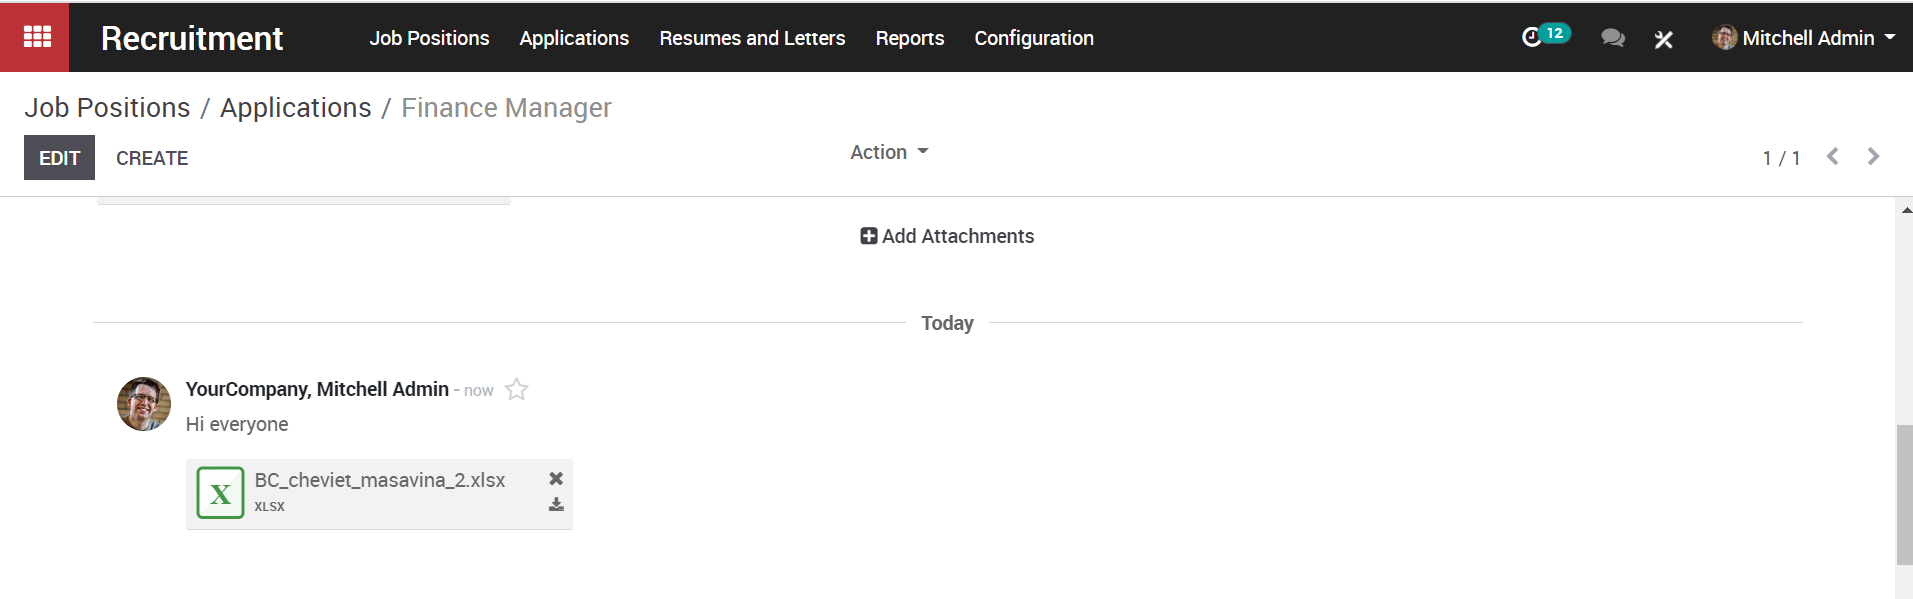
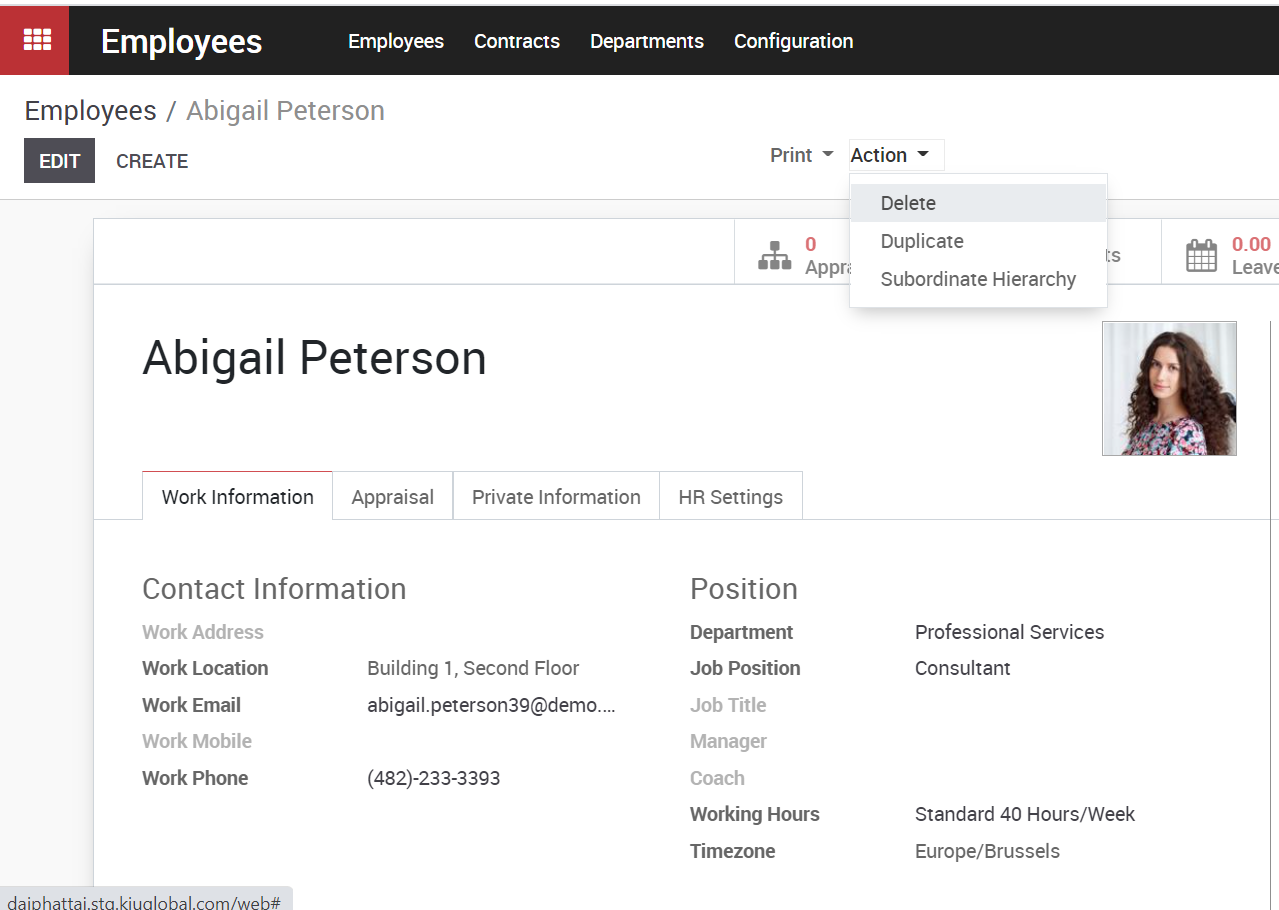
One can also create meetings from this page, start interview (which will give questions related to the job), print interview and access documents.

Also can assign a responsible person for different stages of interview.

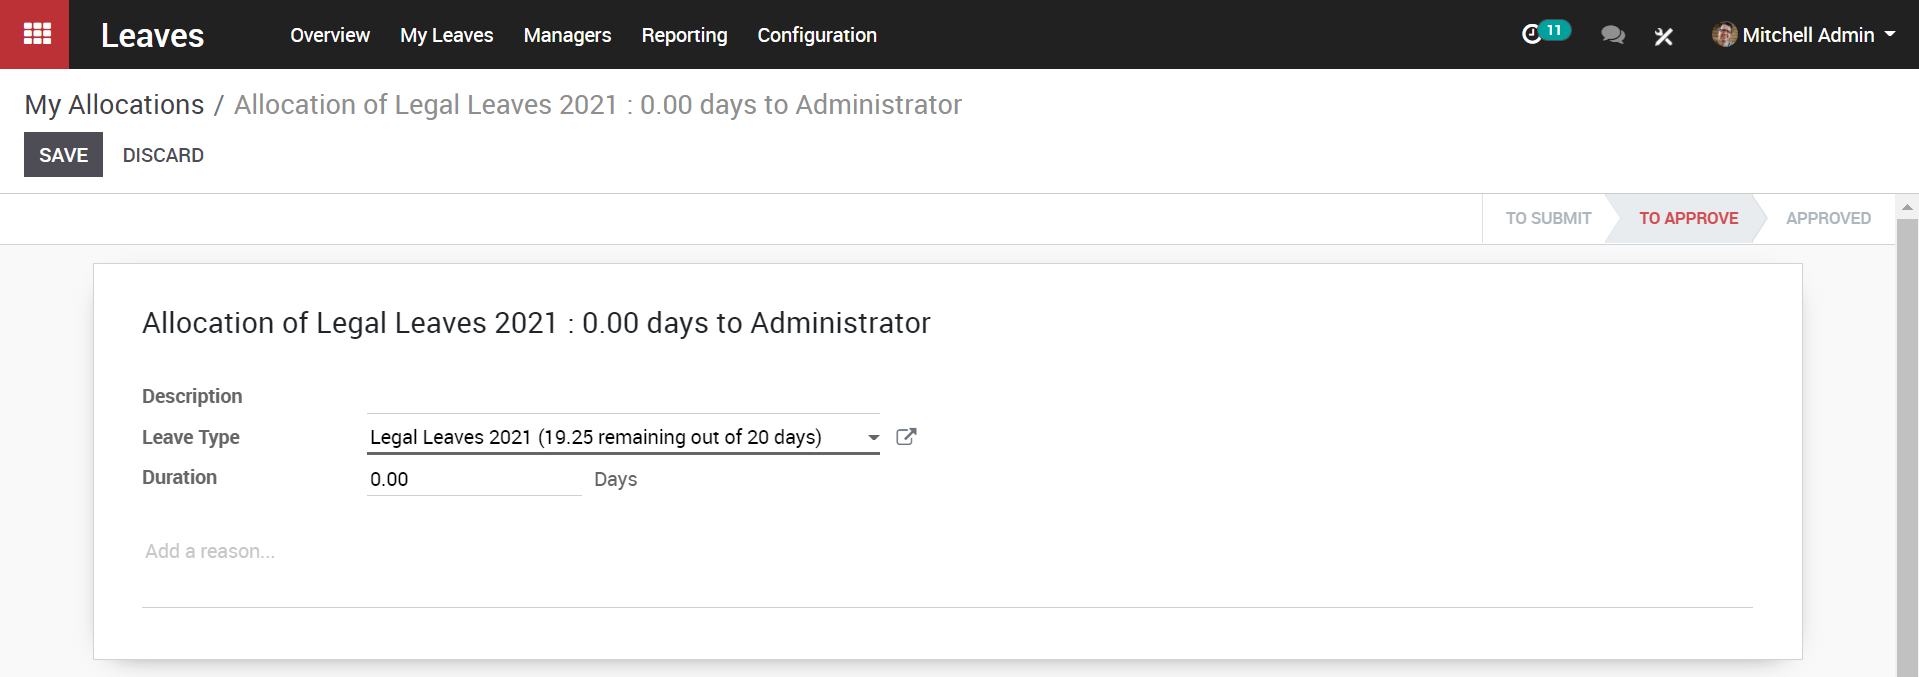
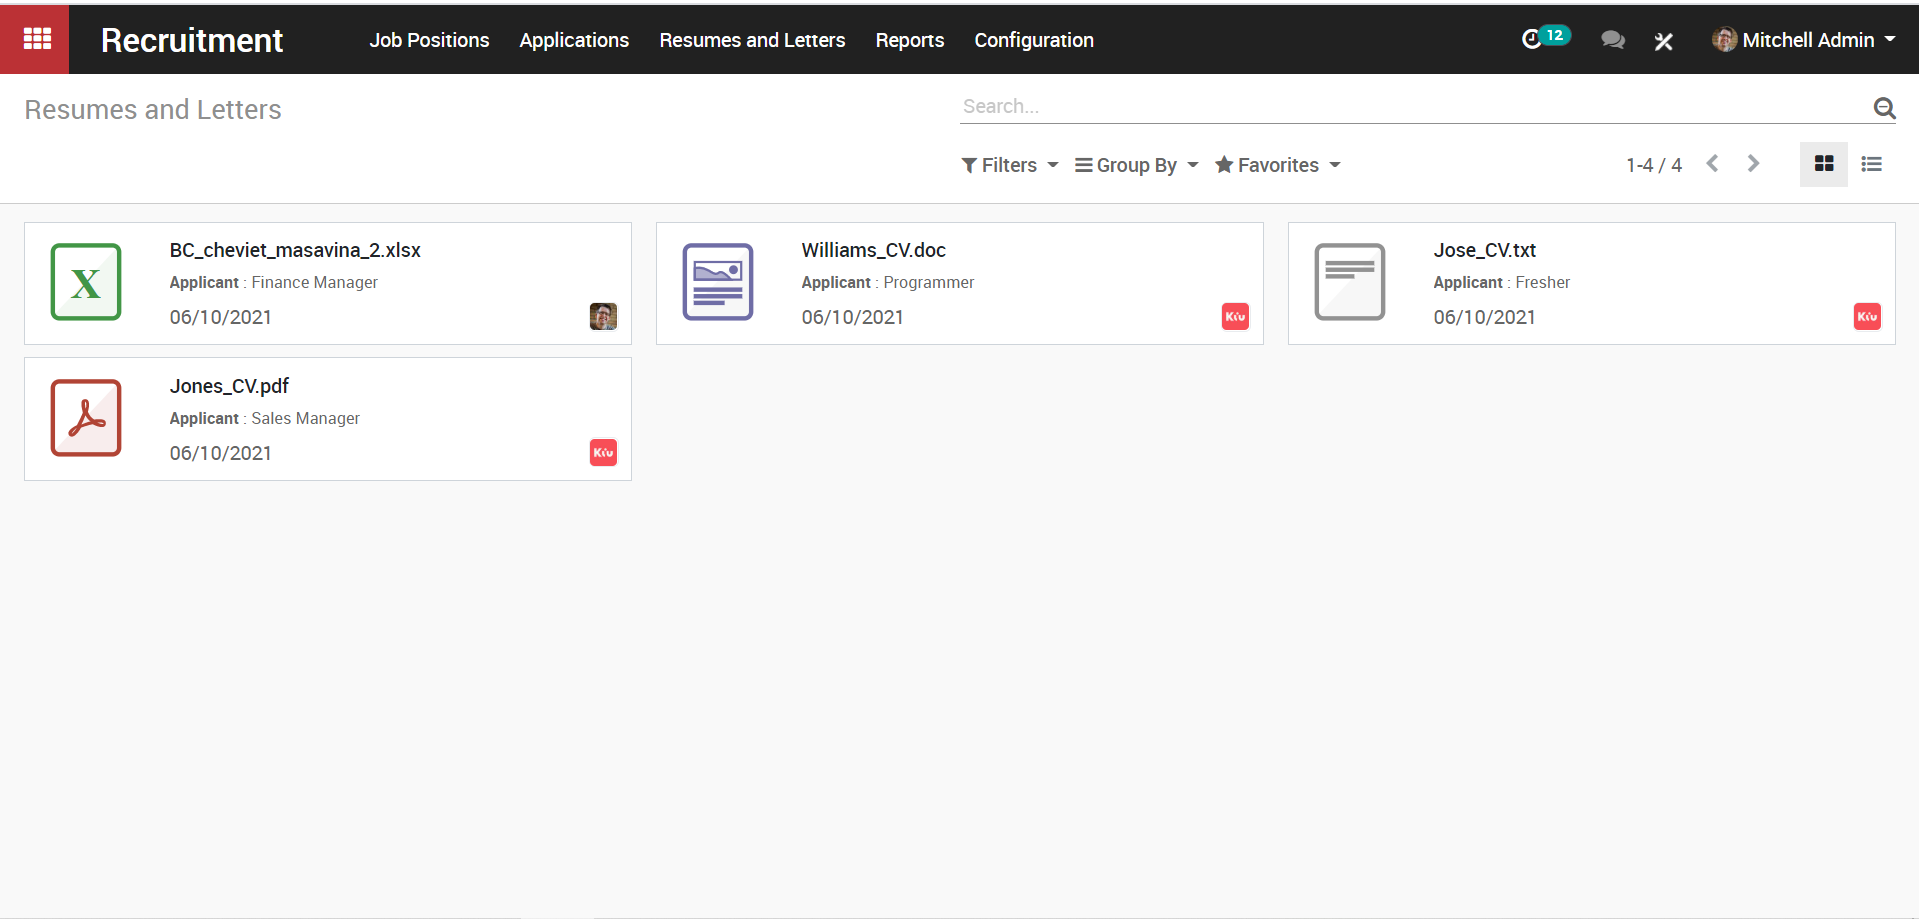
d. Resumes and Letter
To manage and view all the resumes and other documents provided by applicant, go to Recruitment-> Resumes and Letters
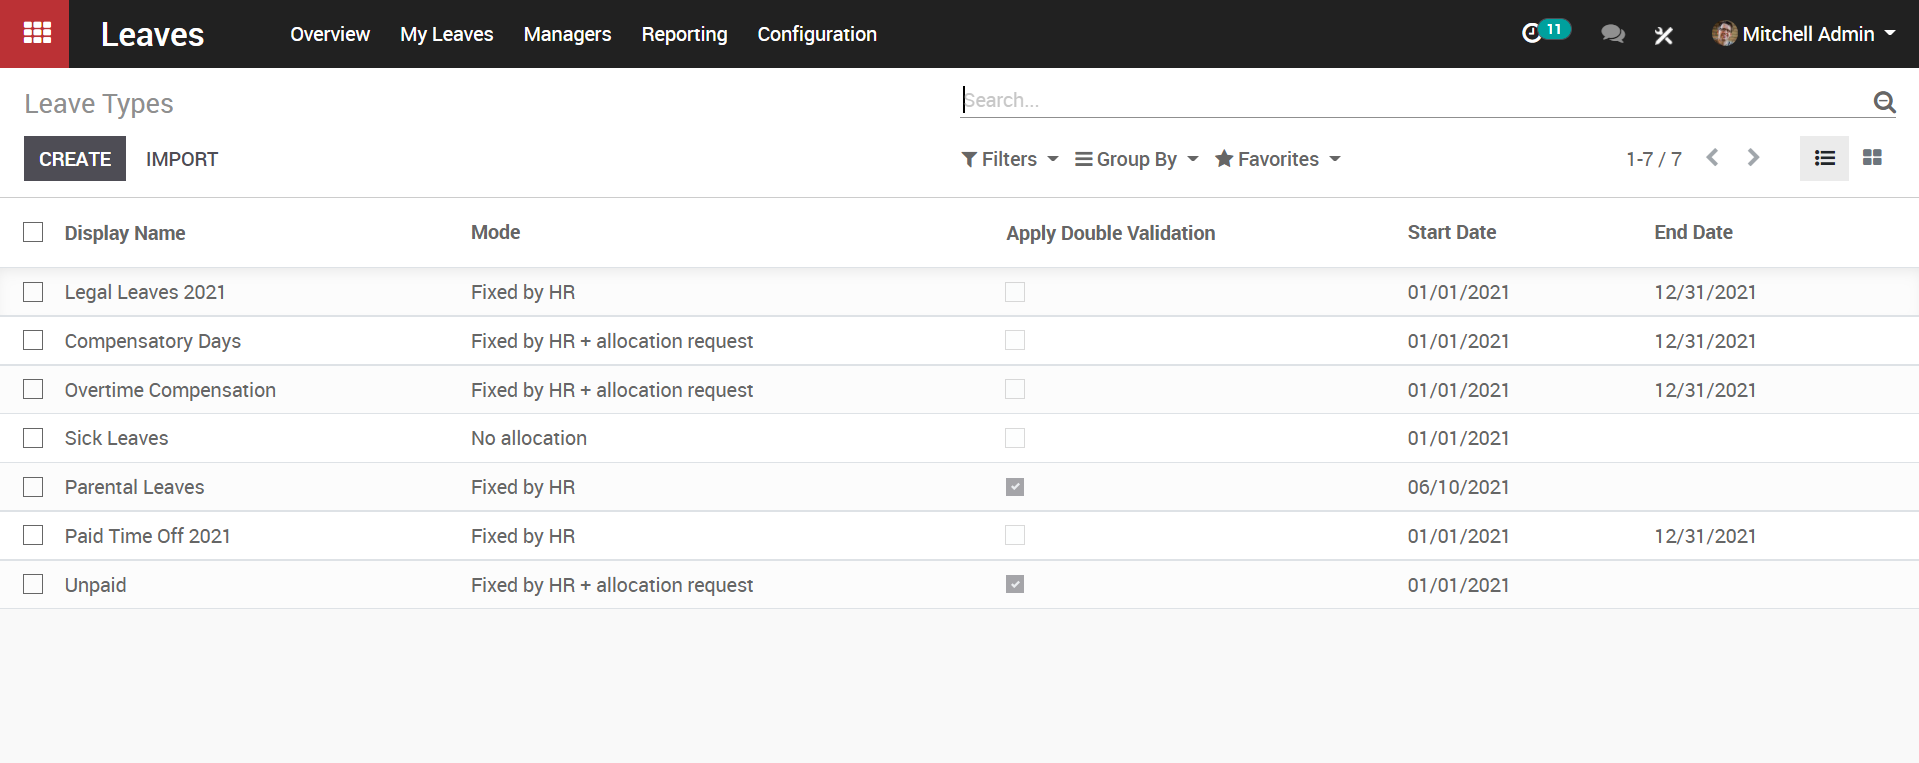
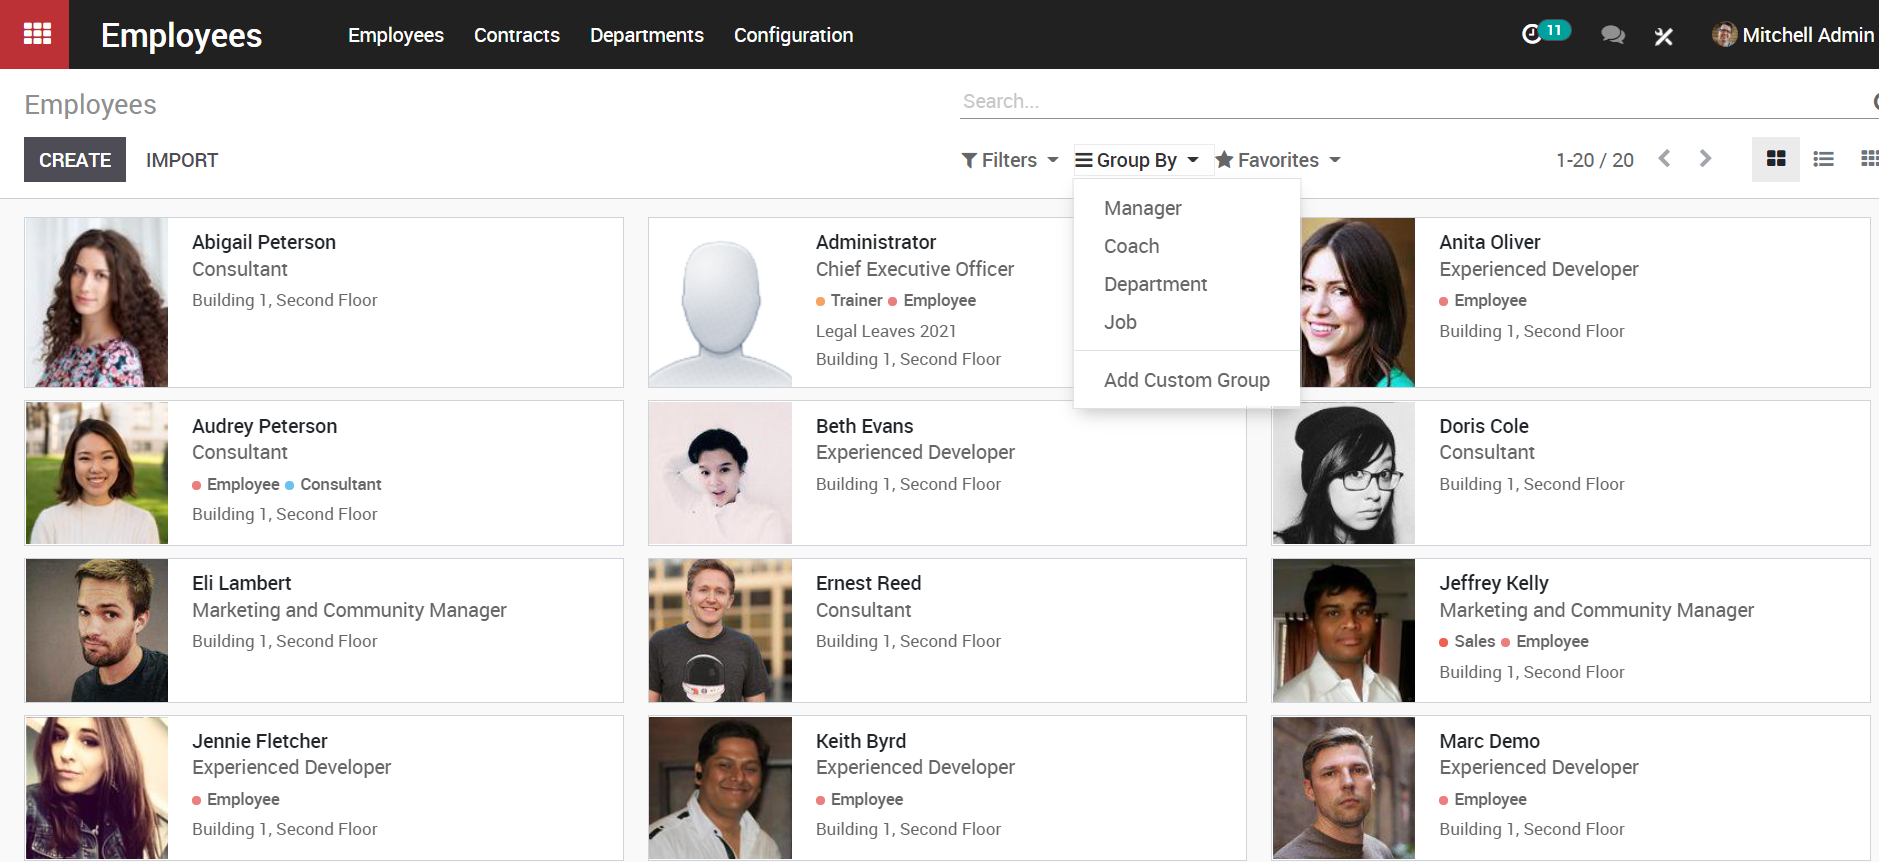
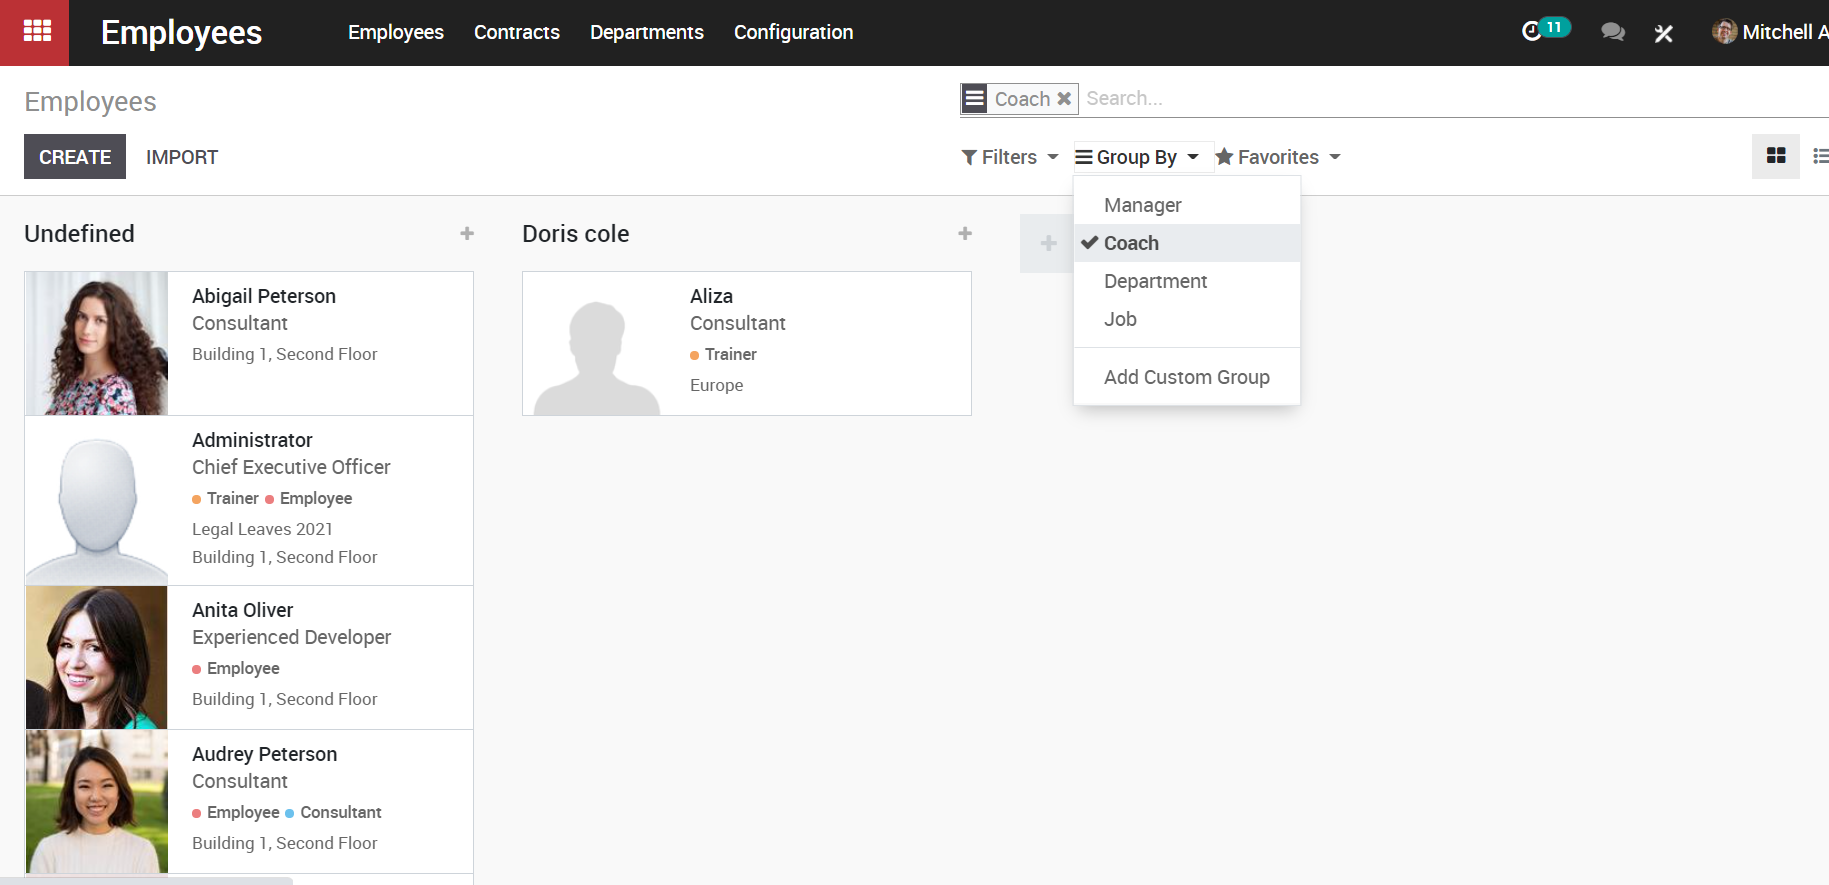
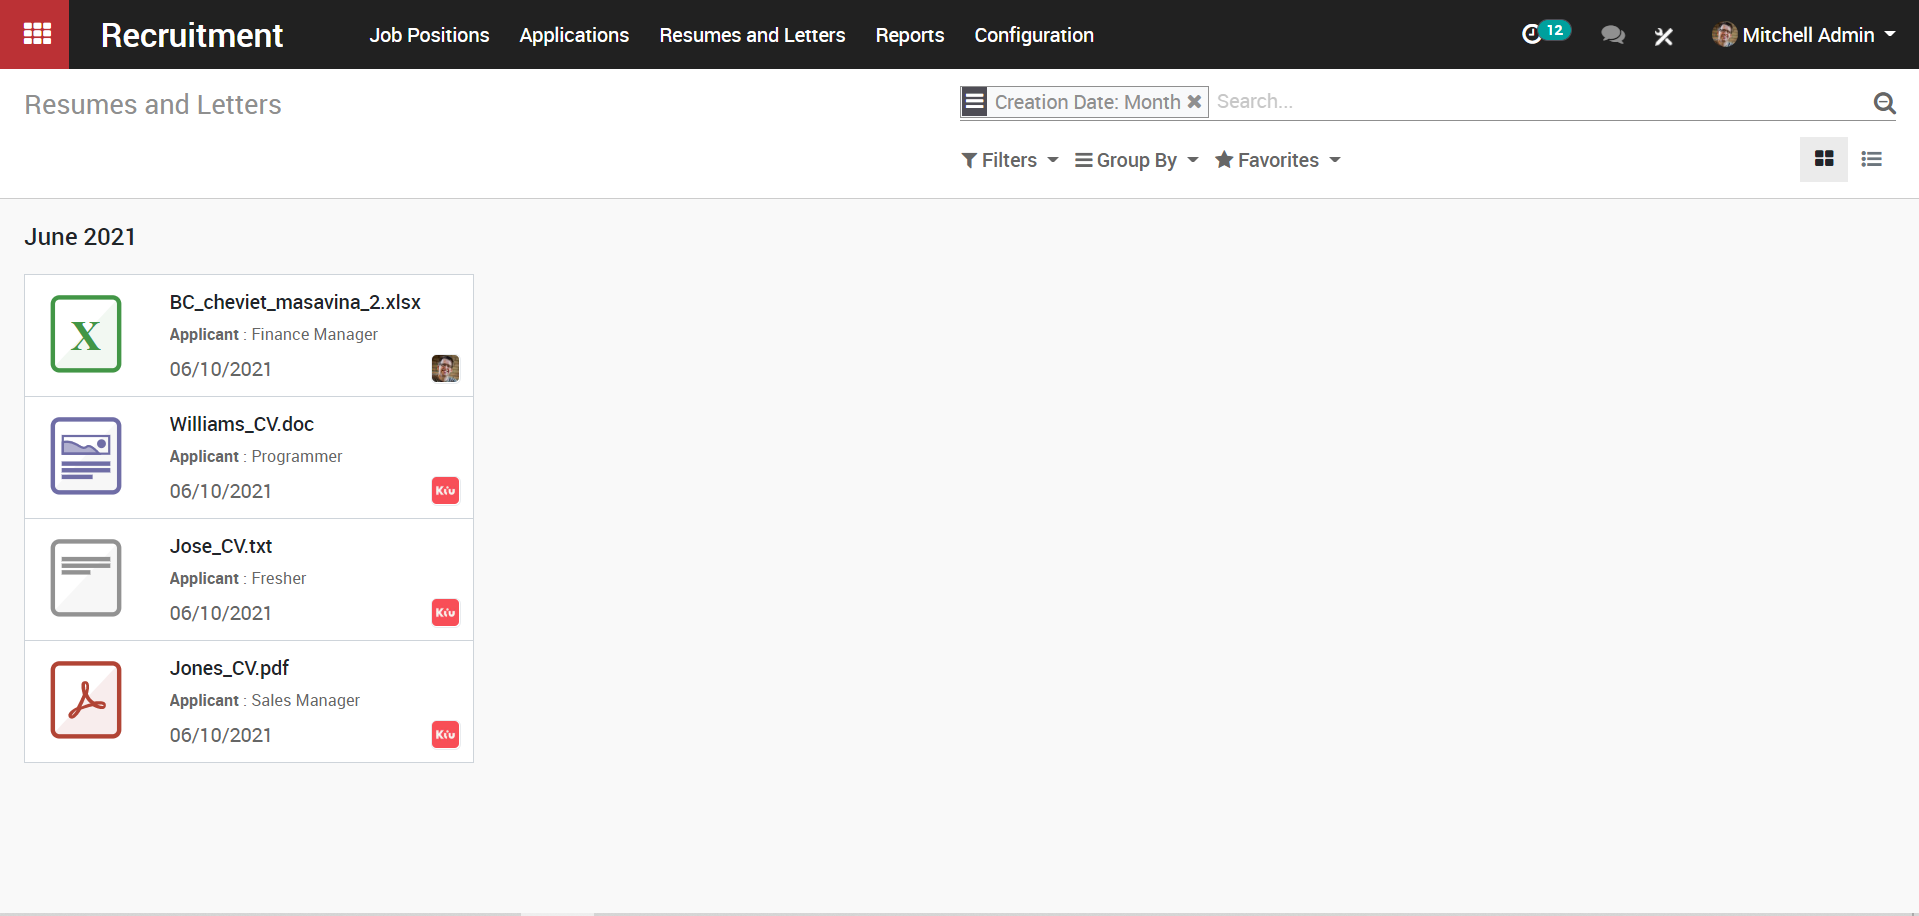
The Kanban view of all applicant’s letters will be presented here.
One can also filter and group the resumes via setting different criteria such creation date, owner, company or more.
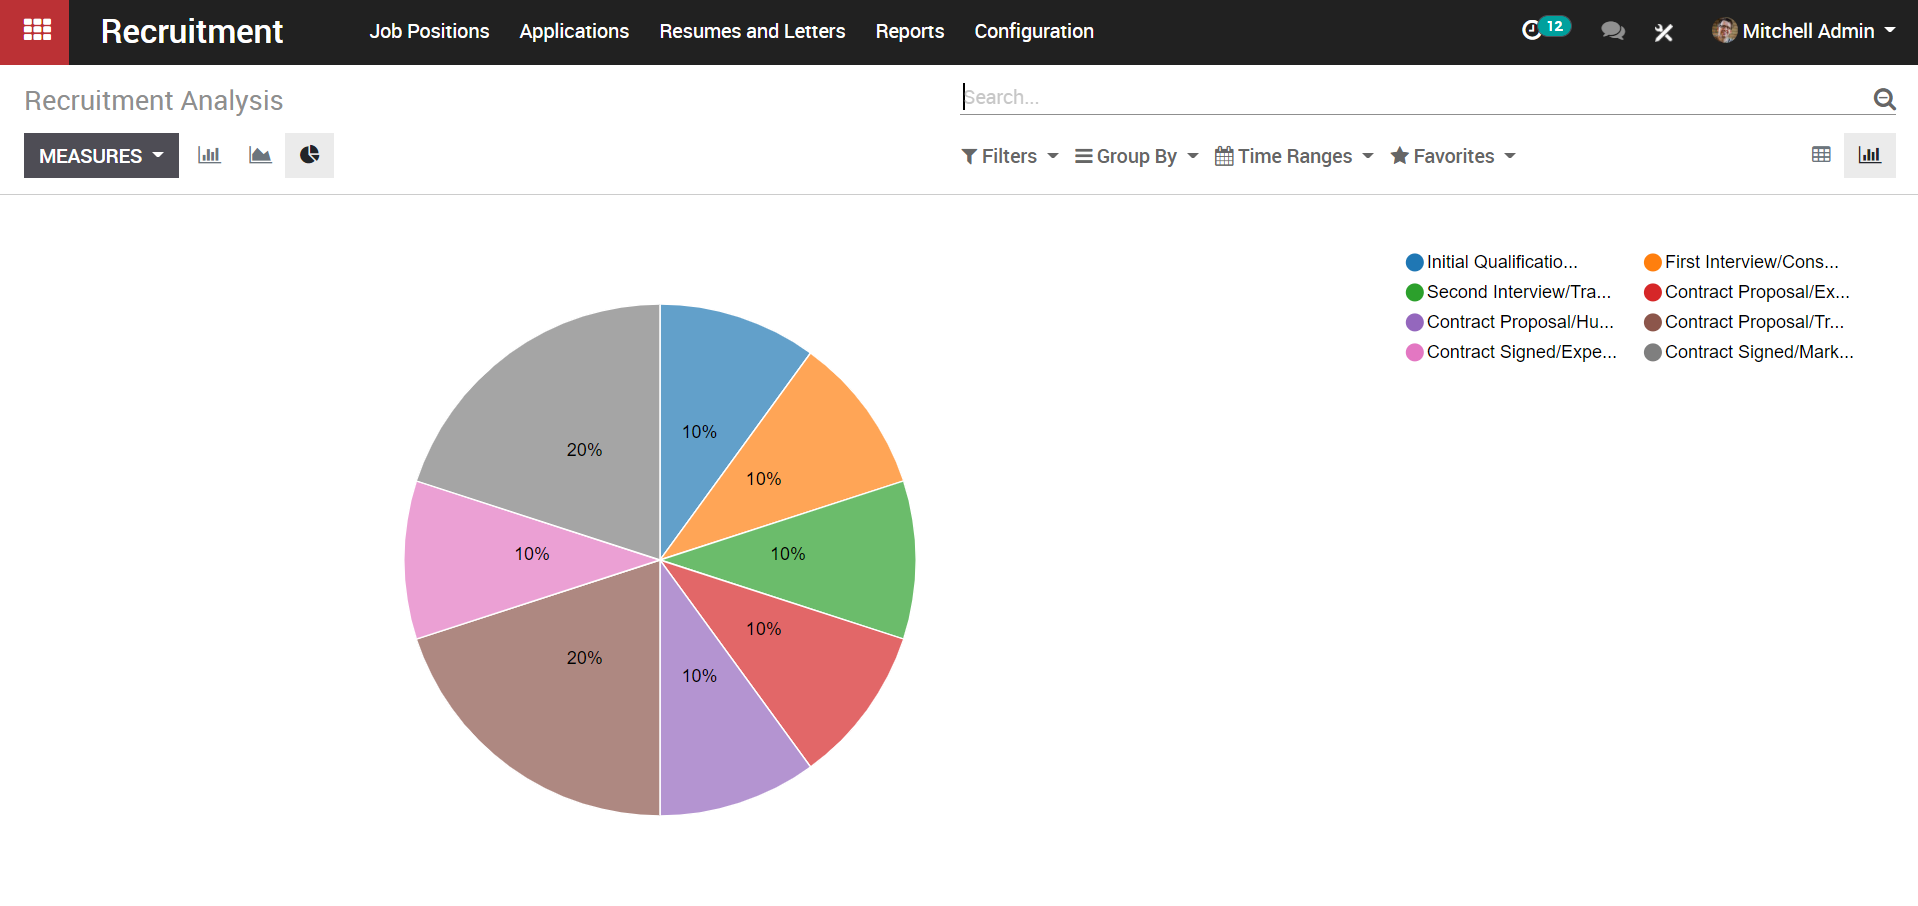
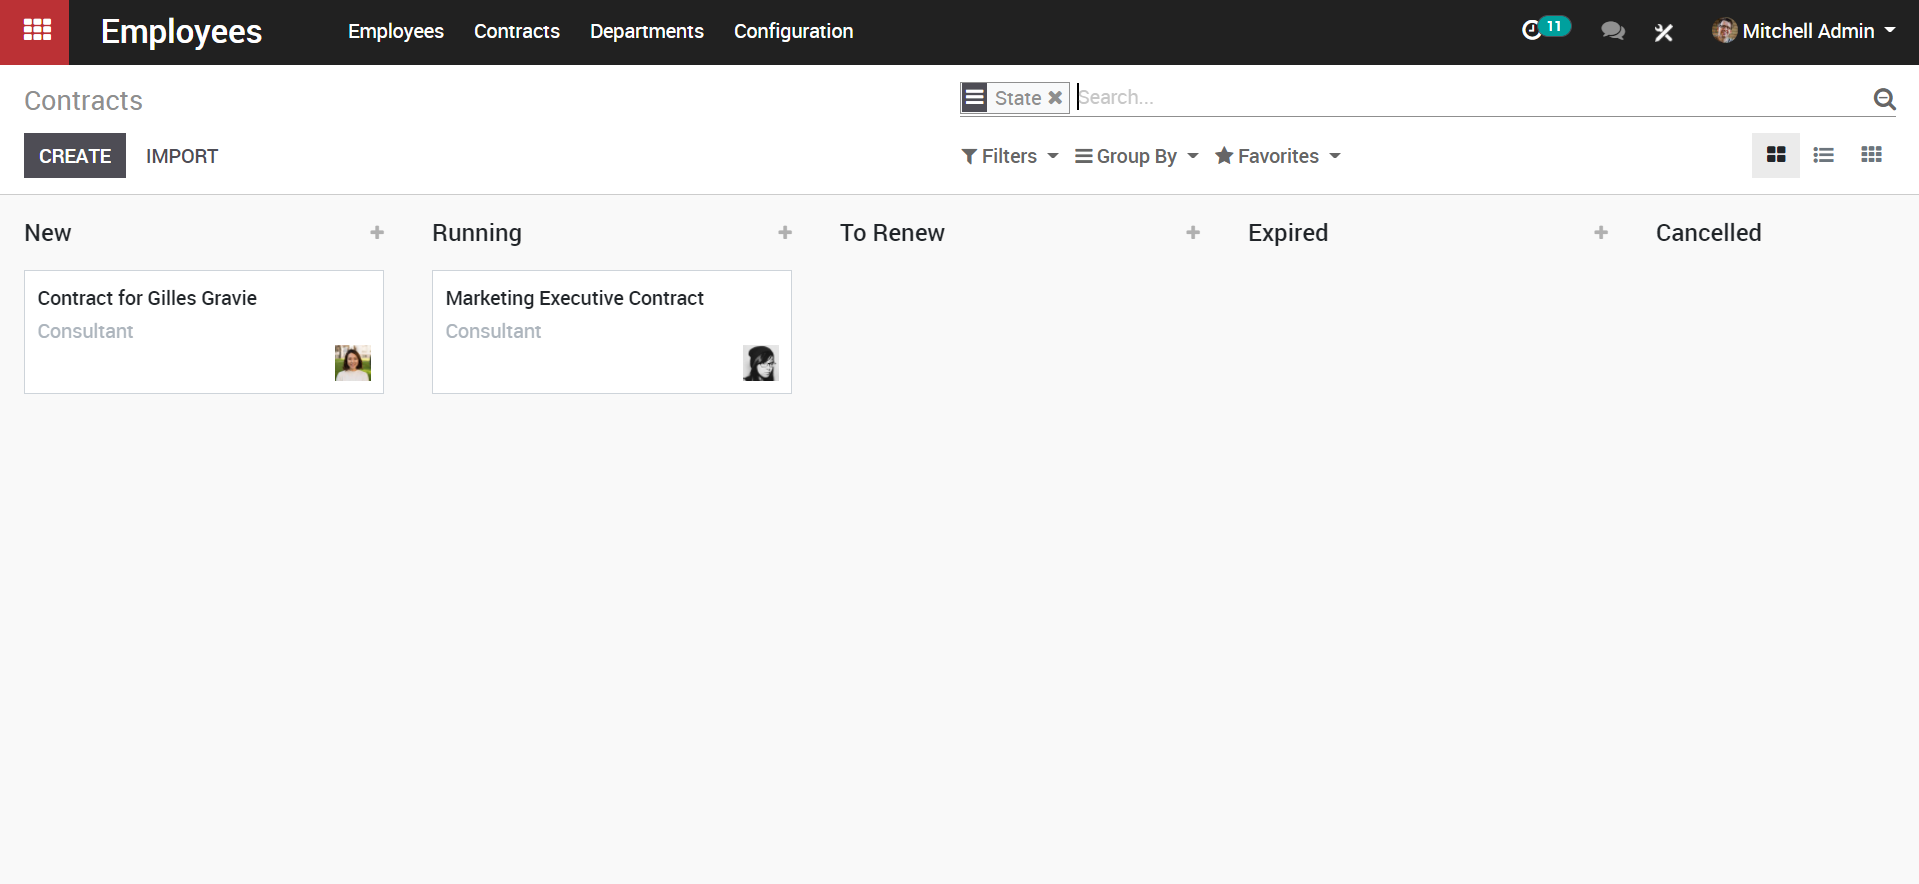
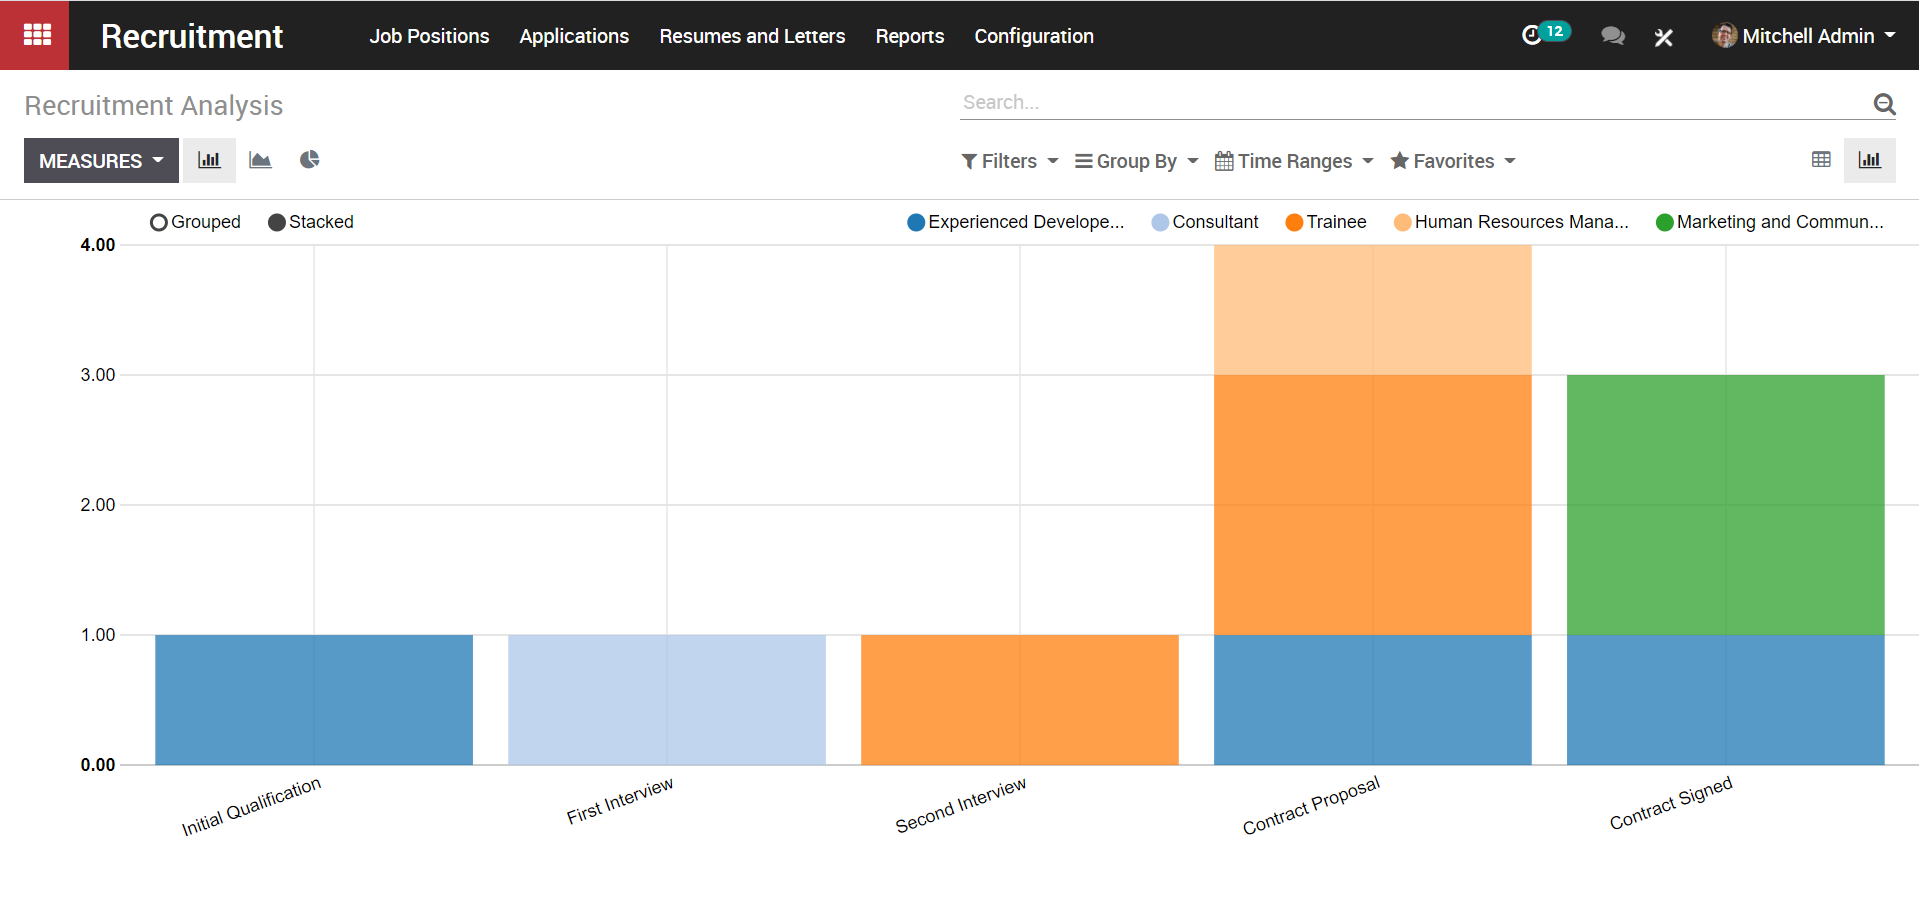
e. Reports
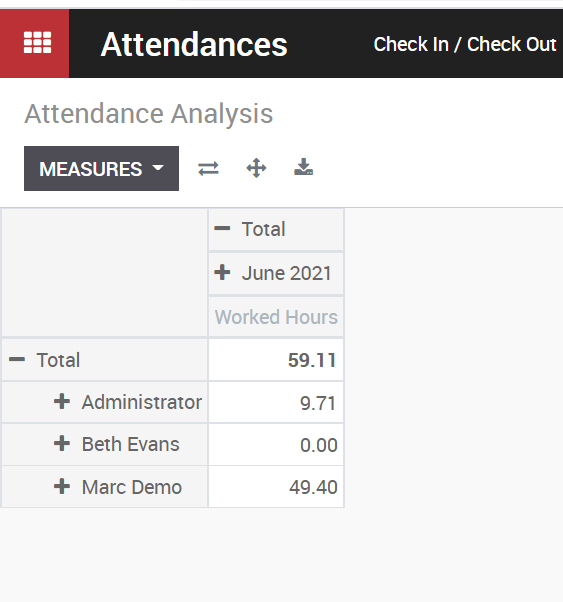
Managers or the head of departments can easily analyze the recruitment process and export it to excel. For that go to Recruitment->Reports.
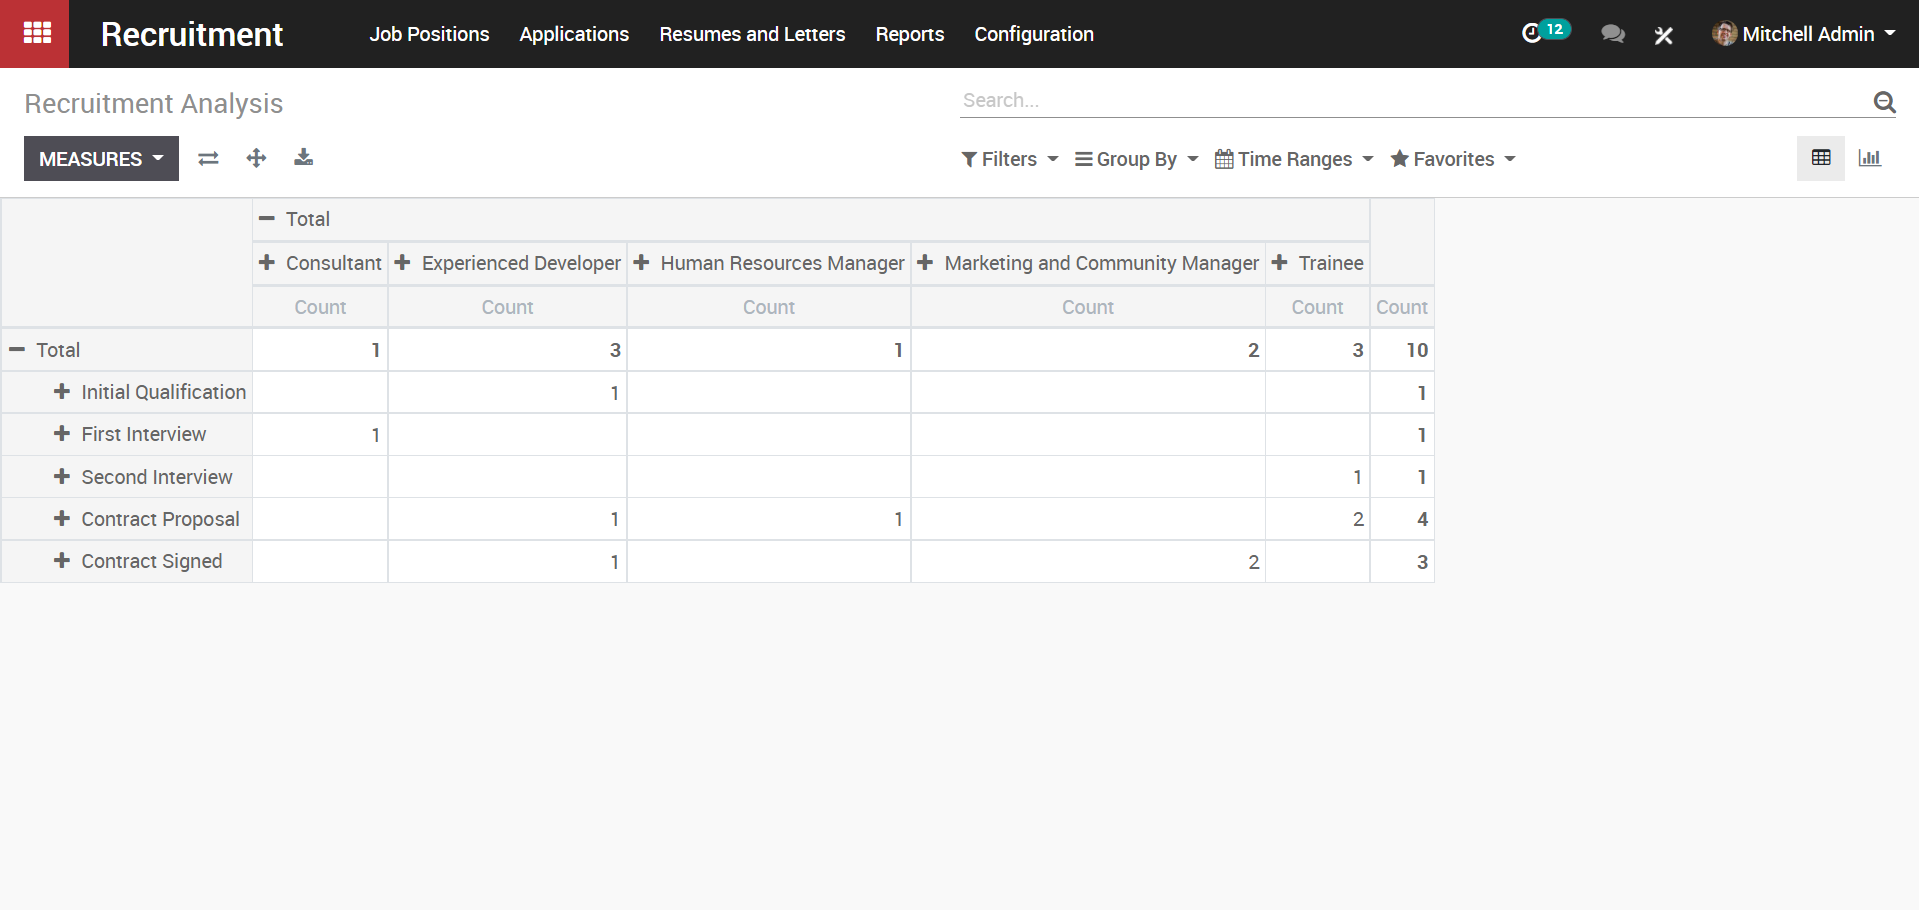
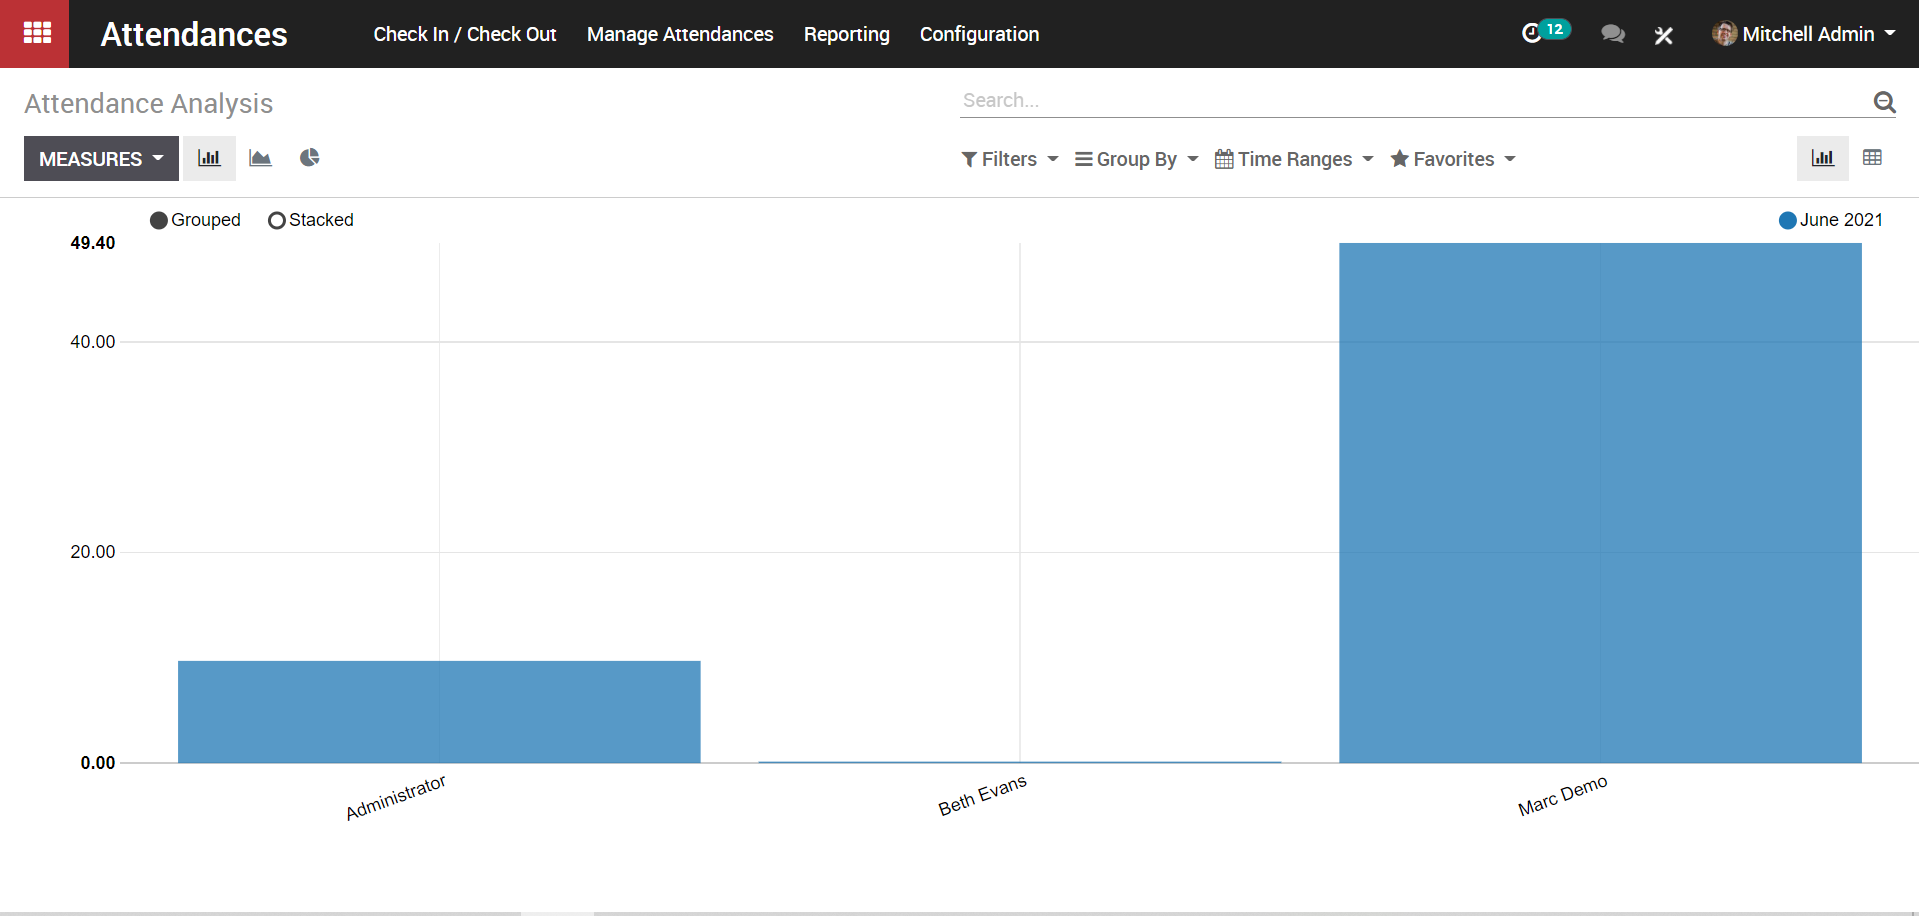
Reports Graph Views
Bar Chart
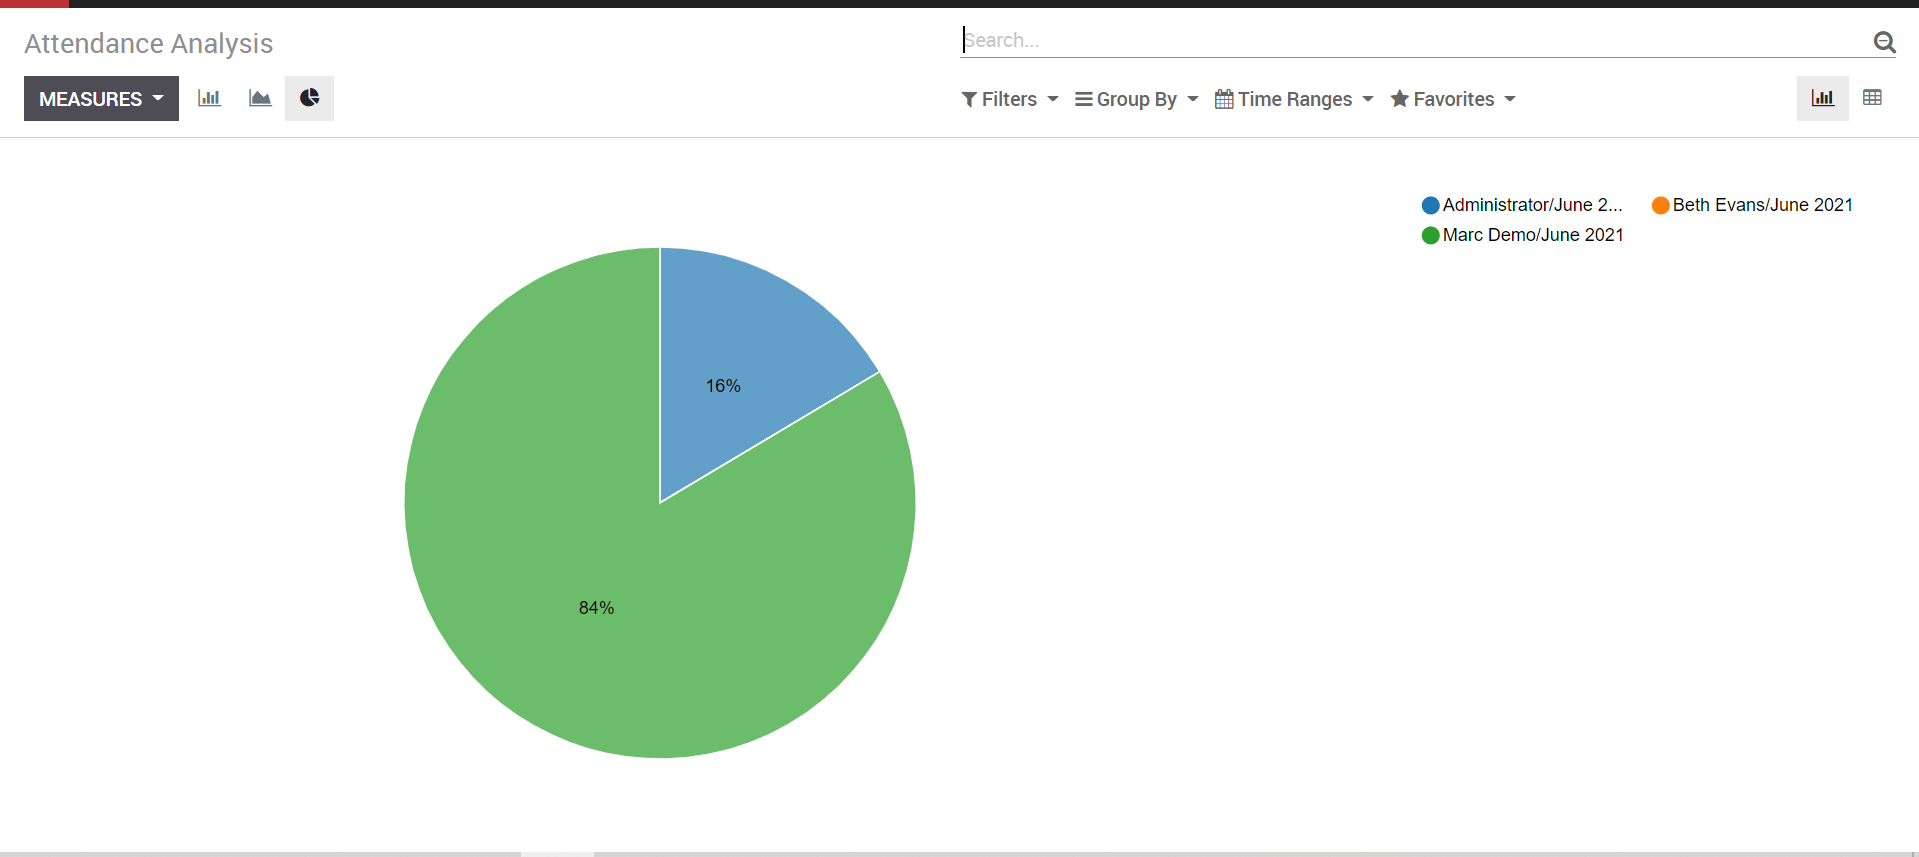
Pie Chart analysis