a. “Cash in” option
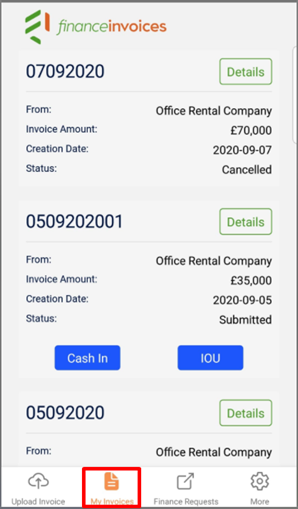
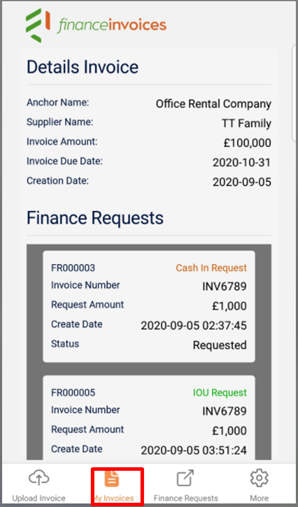
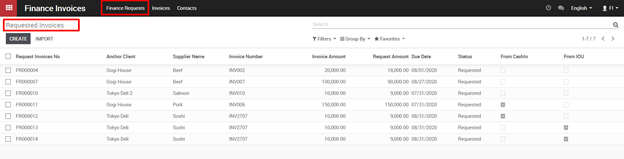
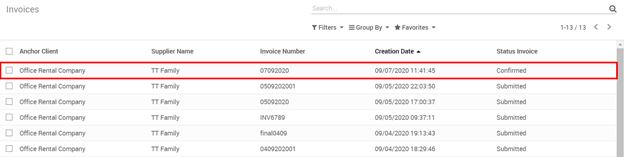
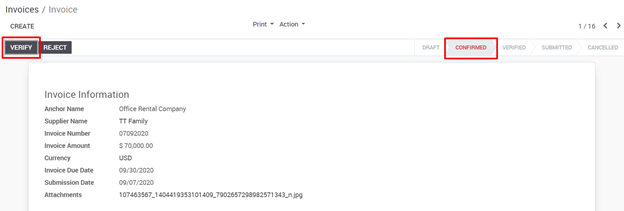
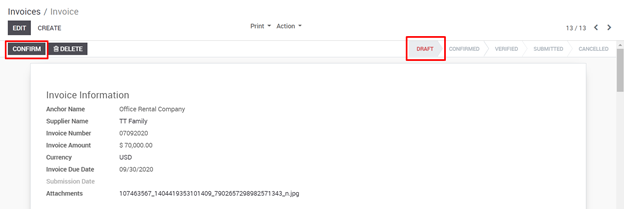
Supplier log in system > Invoices tab > Choose which invoice has “Verifed” state.

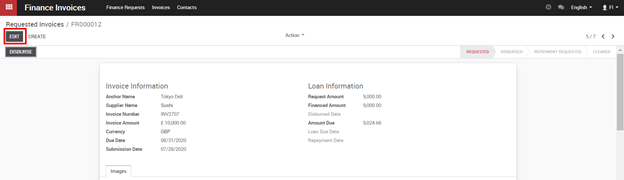
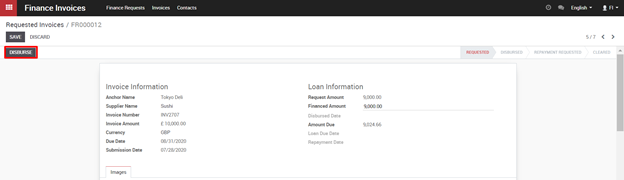
In Invoice detail screen, “Cash in” and “IOU” are two options for supplier selection. Click on “Cash in” button.
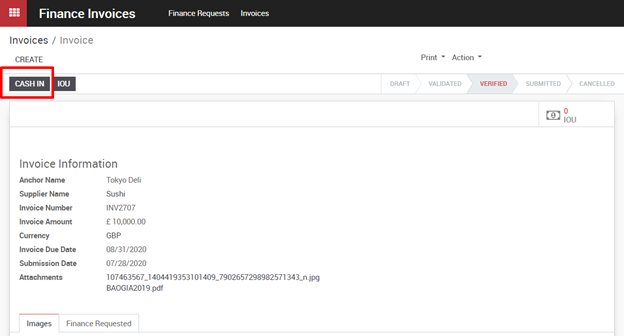
New pop up will be shown.
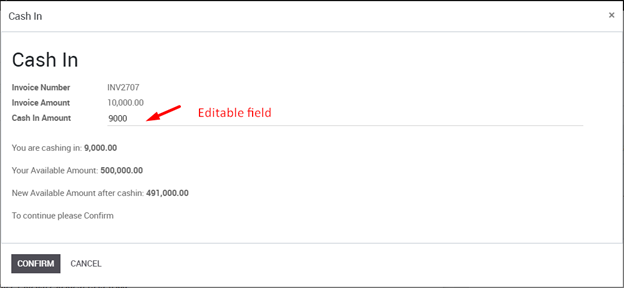
Cash in amount : ava
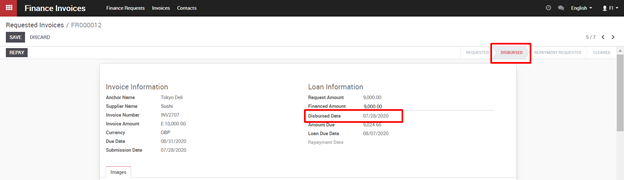
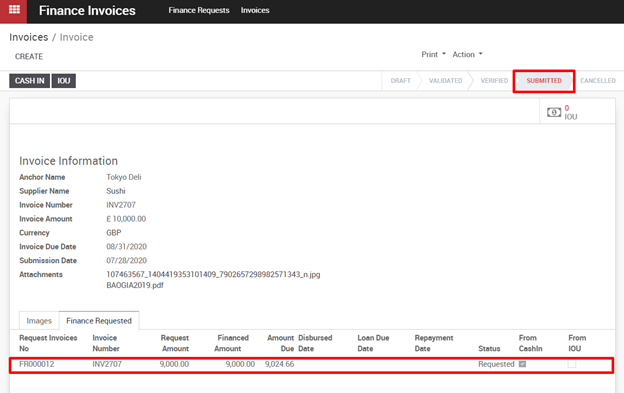
Click the “ Confirm” button, a warning message will show to be sure that a new finance request will be created and invoice status changes to “Submitted” state.
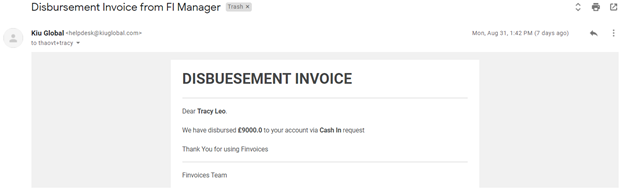
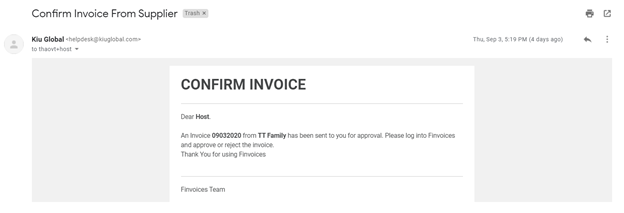
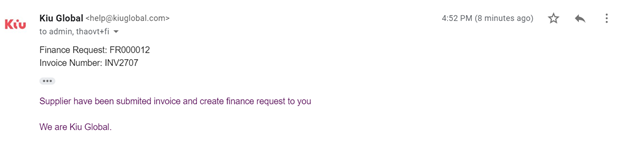
An email will be sent to FI that Supplier has submitted an invoice and created a finance request. FI needs to log in to the system to do the next steps.
Suppliers can click on “Cash in” many times and each time confirm cash in, there is a Finance request will be created.
b. IOU option
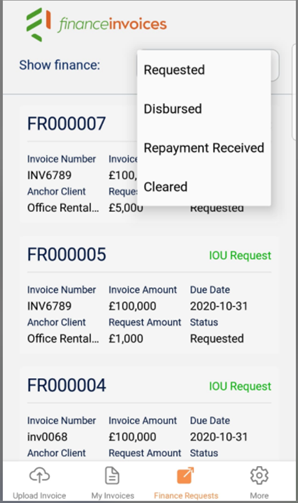
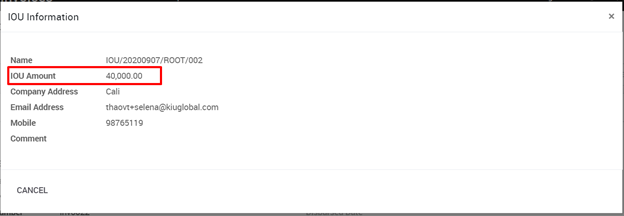
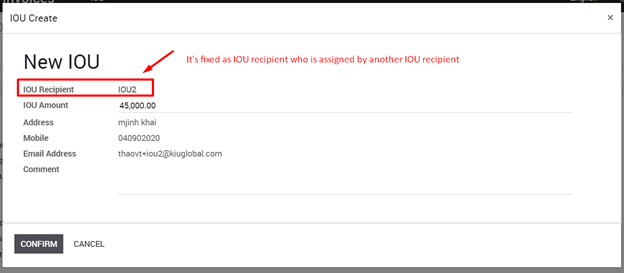
Supplier log in system > Invoices tab > Choose which invoice has “Verified” state. Click on the “IOU” button. New pop up will be shown for Suppliers to fill in Digital IOU information.
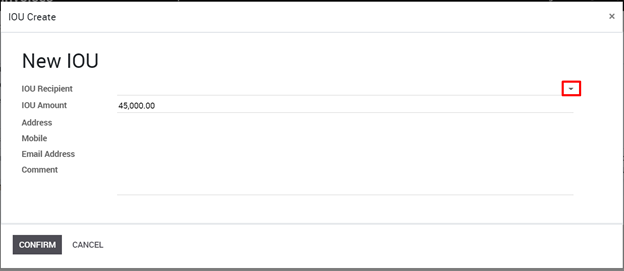
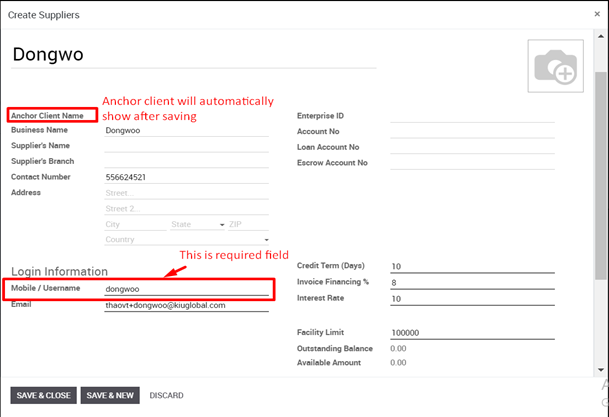
- IOU Amount : similar to Cash in amount, this field will default as invoice amount multiplied by the financing percentage (set by FI in the supplier contact form), Supplier can revise it as long as the total amount of cash in and iou is not exceeded invoice amt.
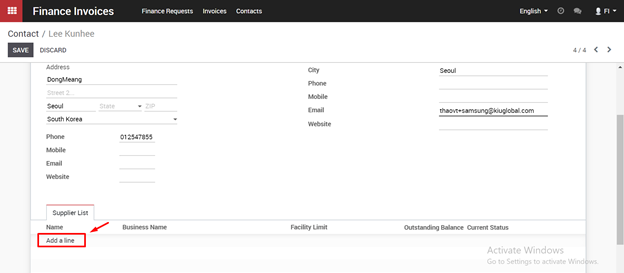
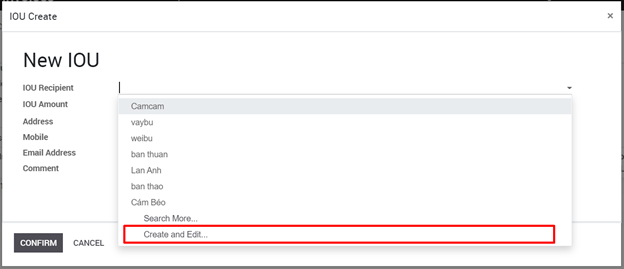
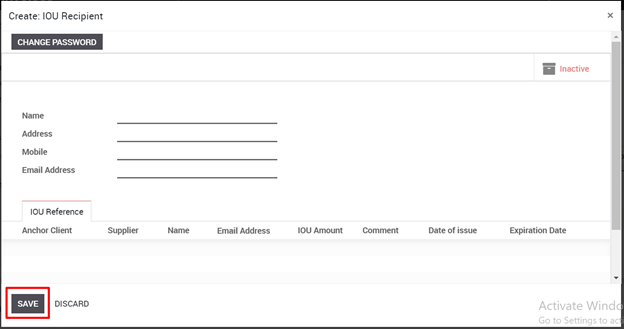
- IOU recipient : Supplier can choose existing IOU recipients or create a new one by clicking arrow icon
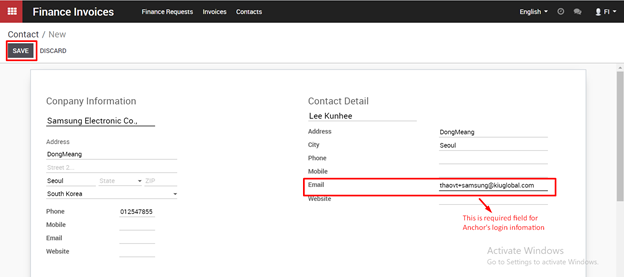
- Address/ Mobile/Email address will automatically appear whenever IOU recipient chosen.
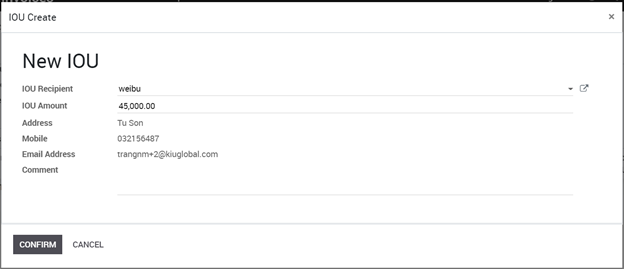
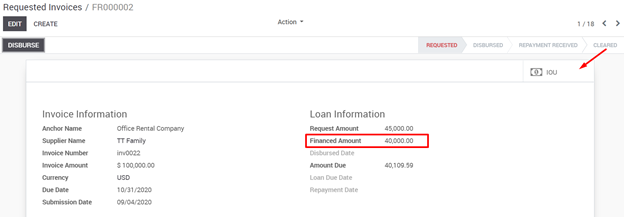
Click “Confirm” then a new finance request will be created.
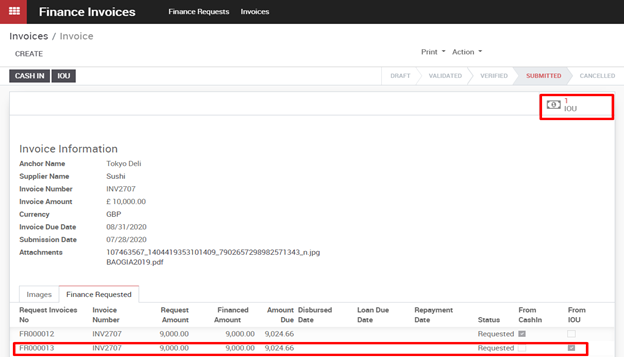
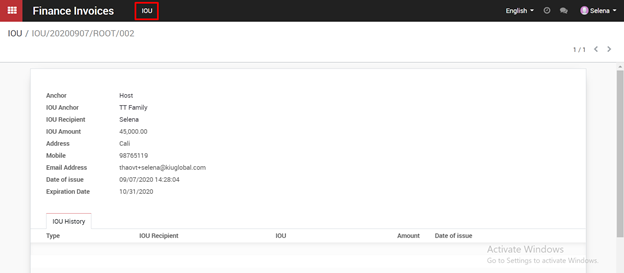
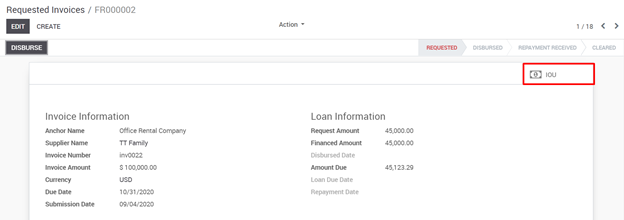
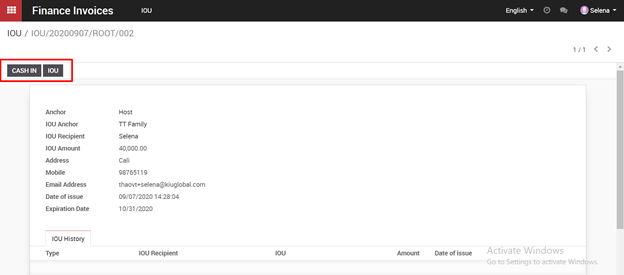
On the top right corner, FI and Supplier can see a shortcut to go IOU list.

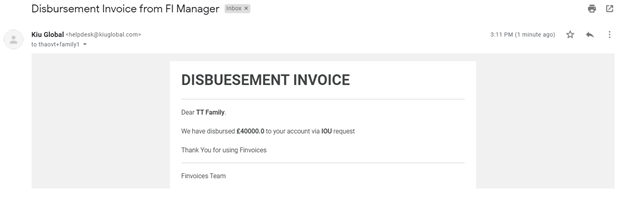
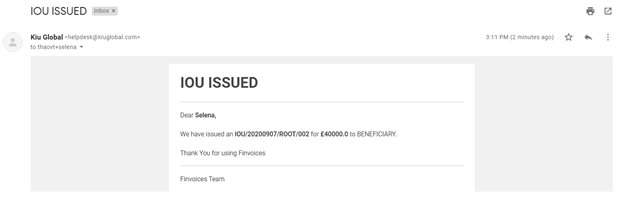
An email will be sent to FI that Supplier has submitted an invoice and created a finance request as well as if a new IOU recipient is created, FI also receives an email notification about new IOU recipient onboarding.
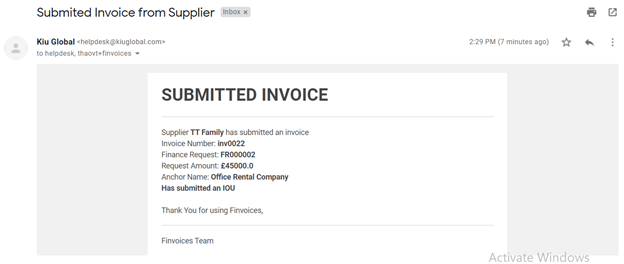
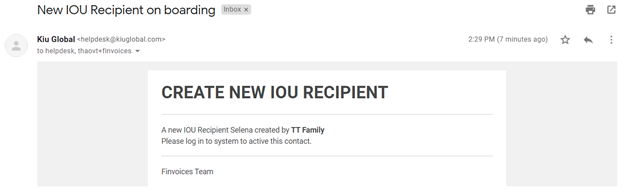
FI needs to log in to the system to do the next steps.
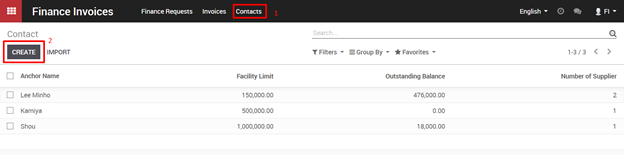
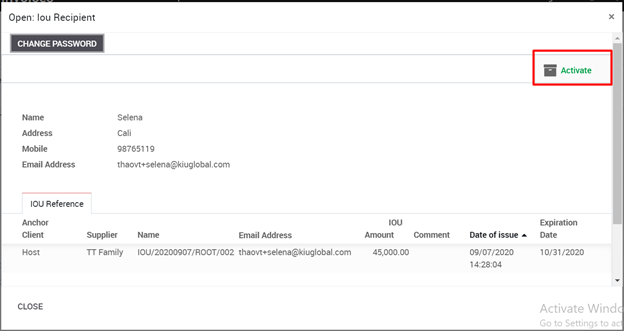
Firstly, FI checks IOU recipient information and then “Active” this account by going to Contact > Choose Anchor > Choose IOU recipient tab.
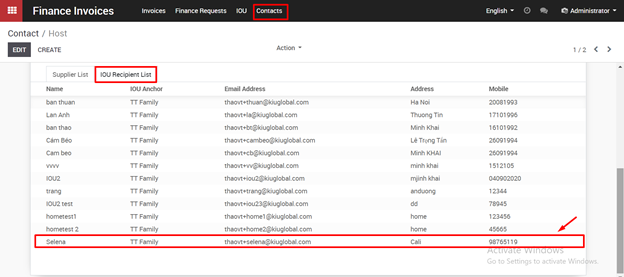
Click on “Active”
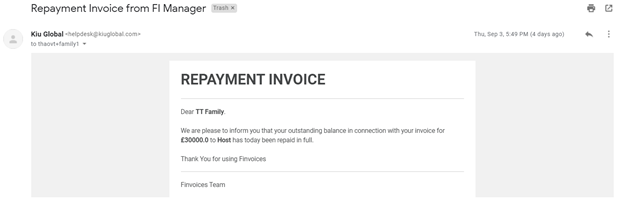
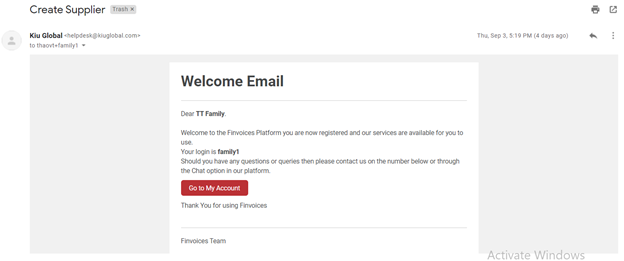
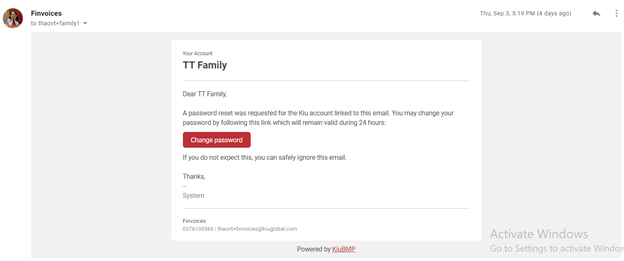
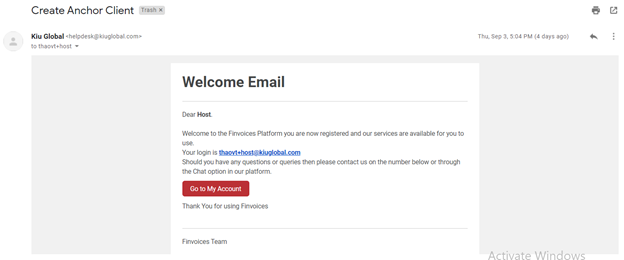
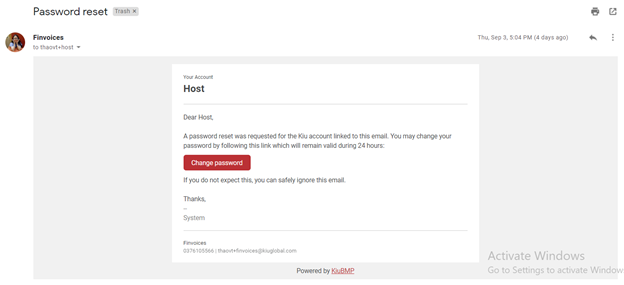
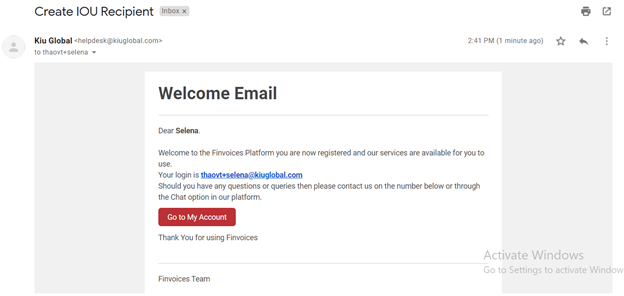
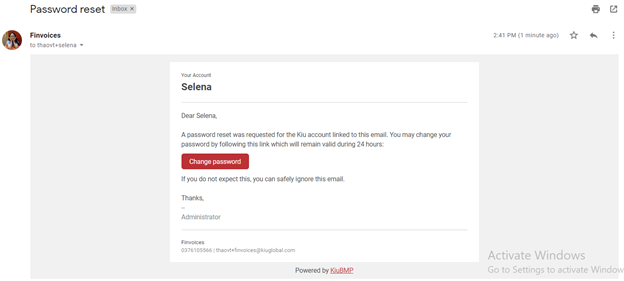
IOU recipients will receive a Welcome email and Password reset link via recognized email.
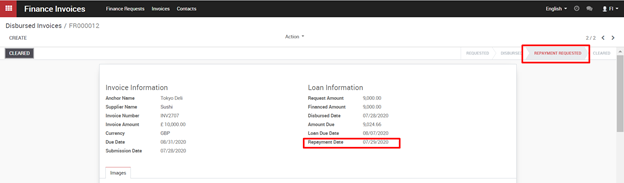
At this time, new IOU recipients can log in and see the IOU tab. However, before FI disburses this Finance Request by IOU, they can not do anything in here.